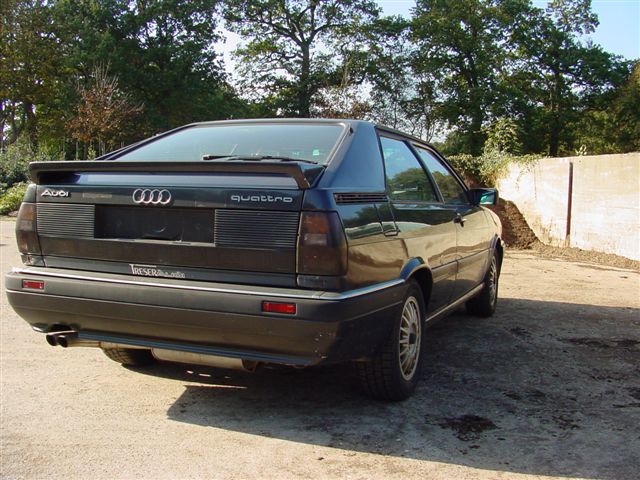
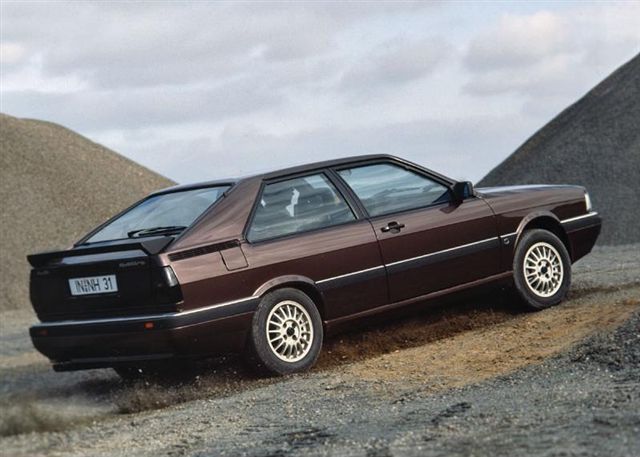
The Coupe Quattro
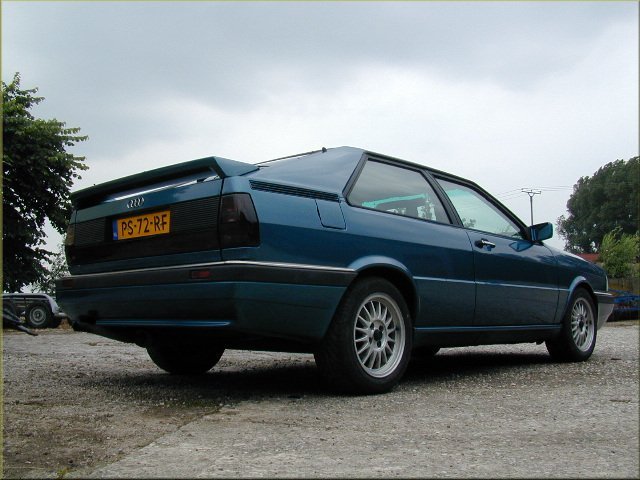
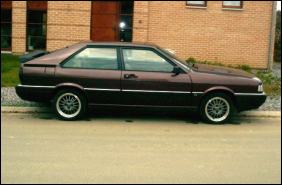
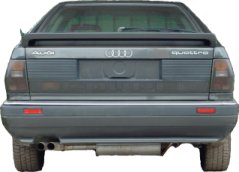
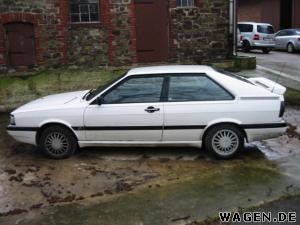
My CQ
Ongoing Restoration
Gallery
Info / Data
Suppliers
Links
Cylinder head refurb continues 01-04 Feb 2006
Apologies for the few out of focus shots, I must get a better
camera.....
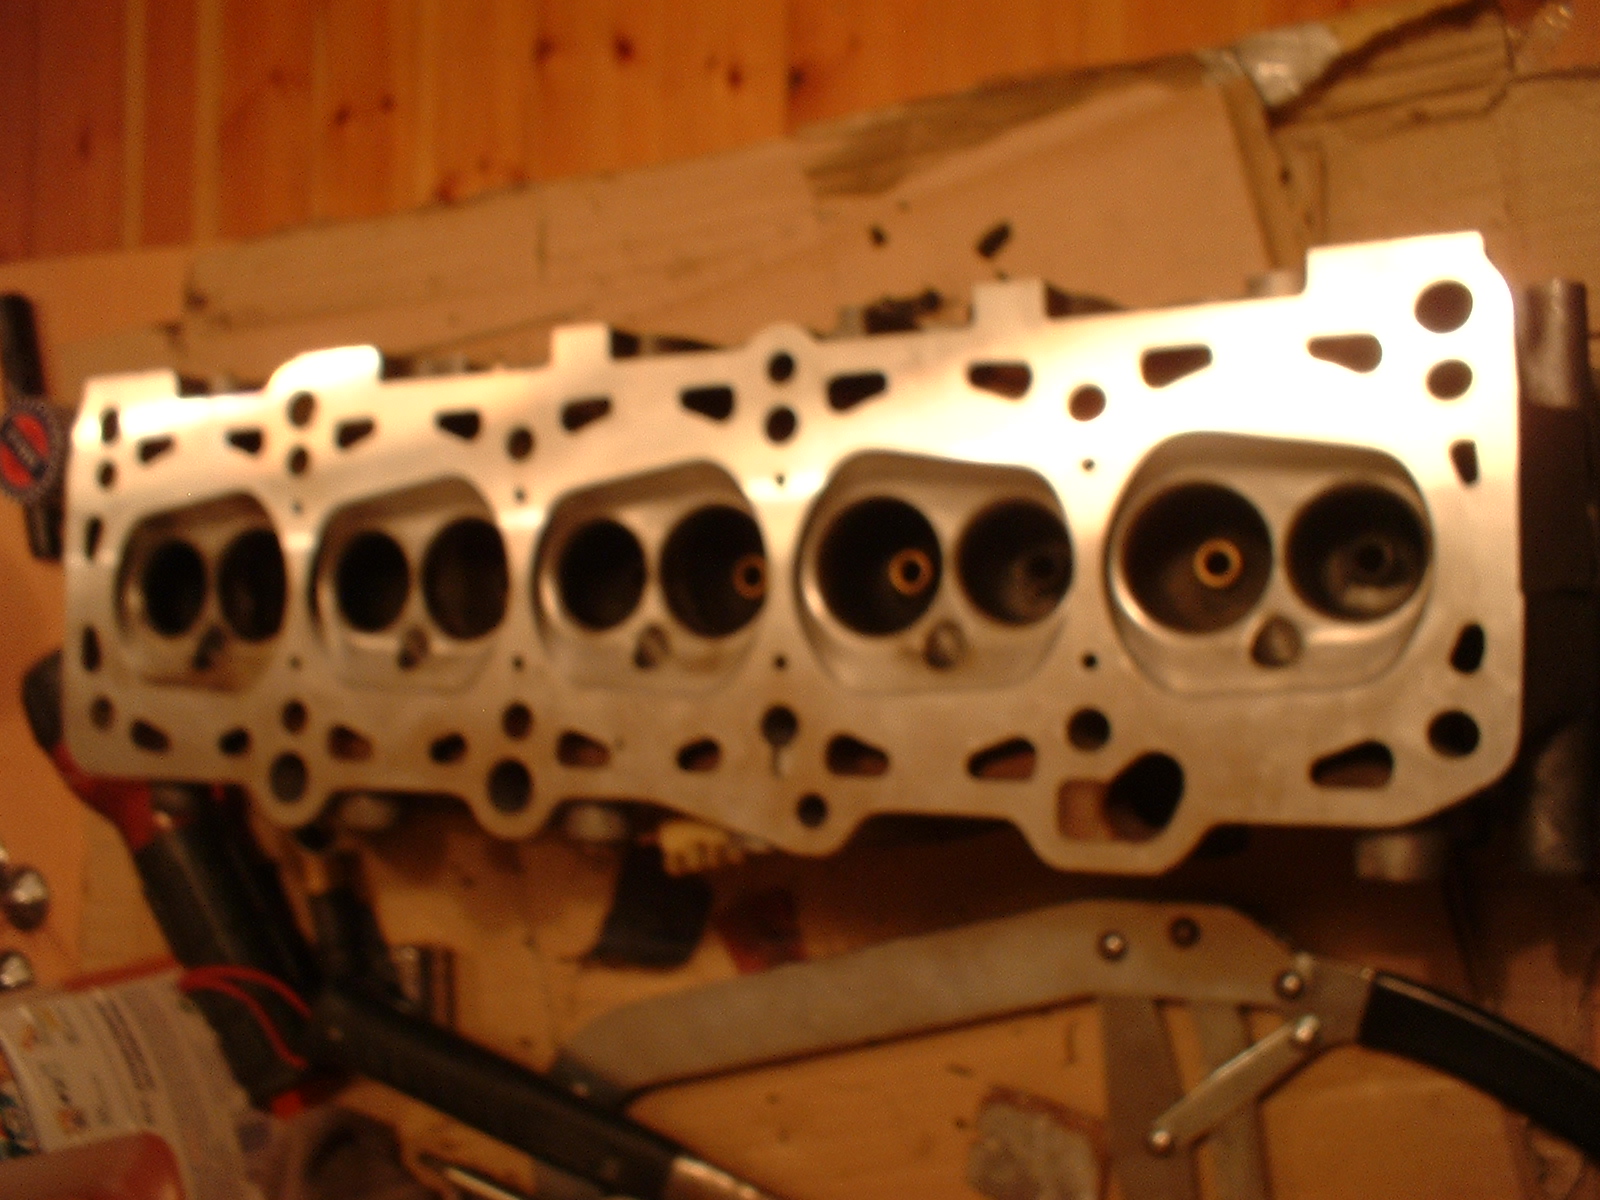
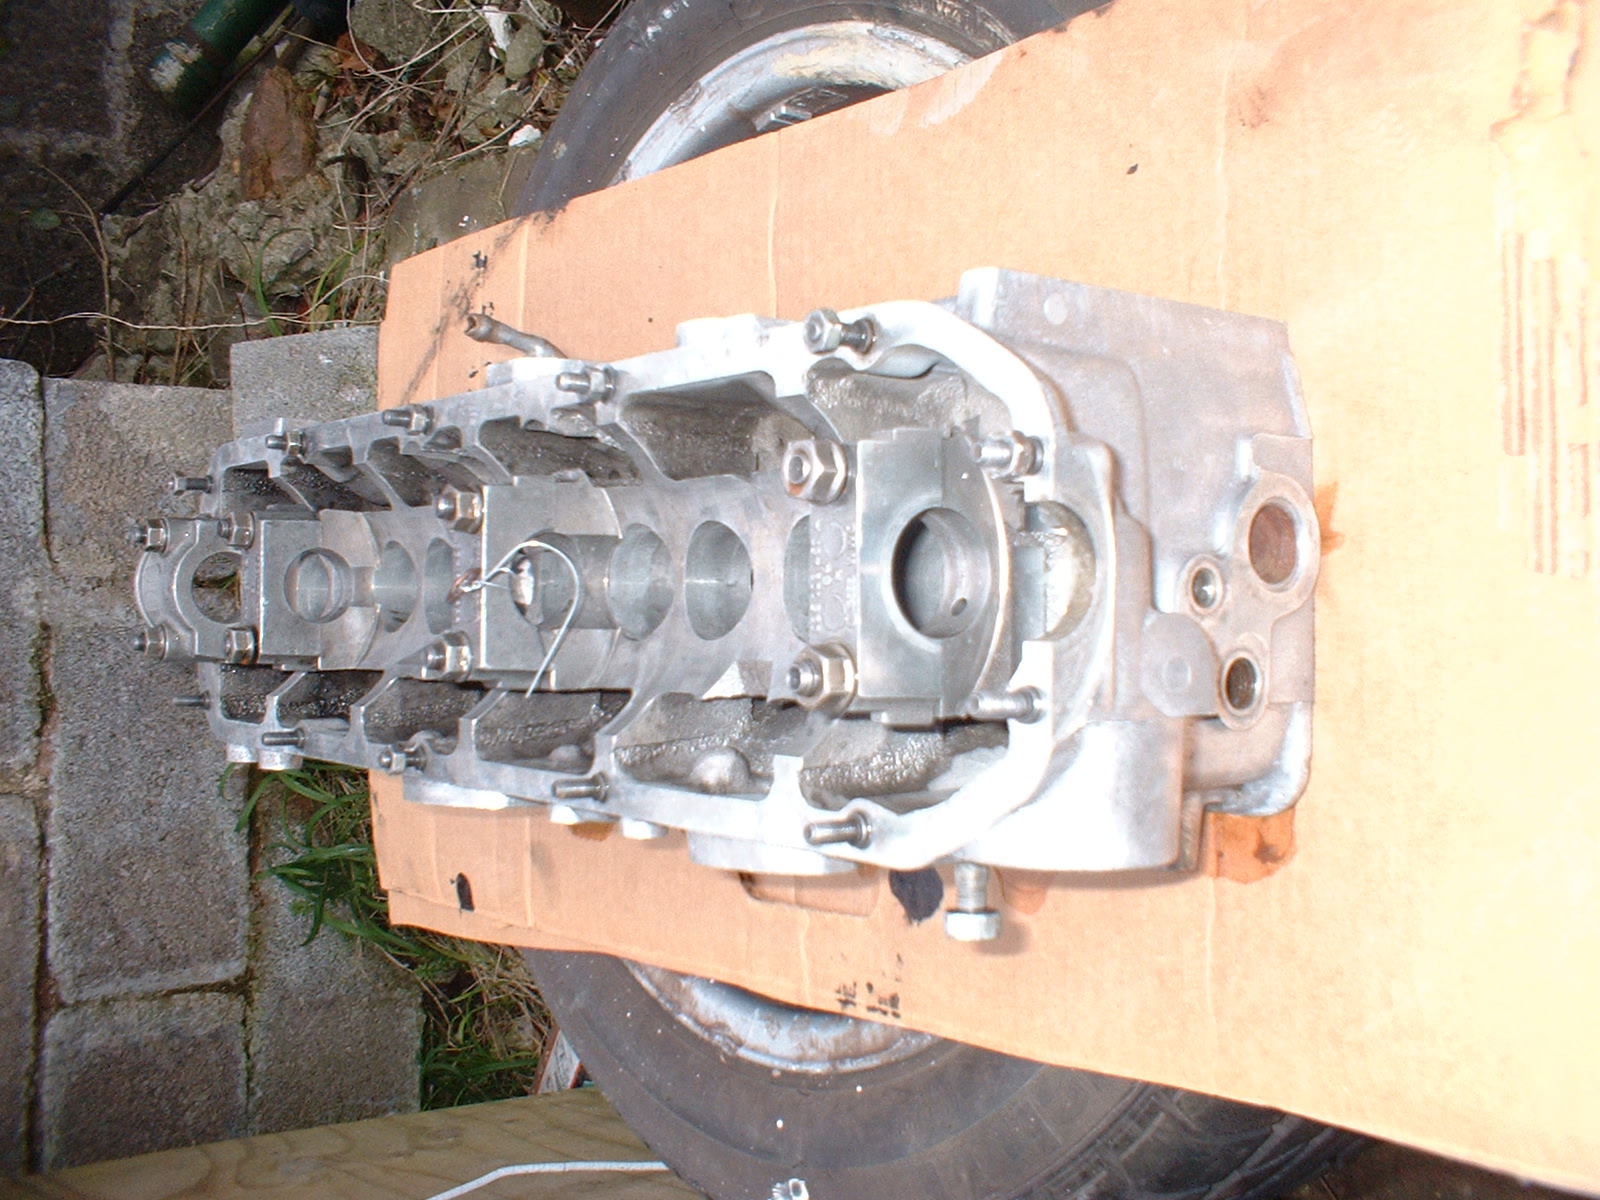
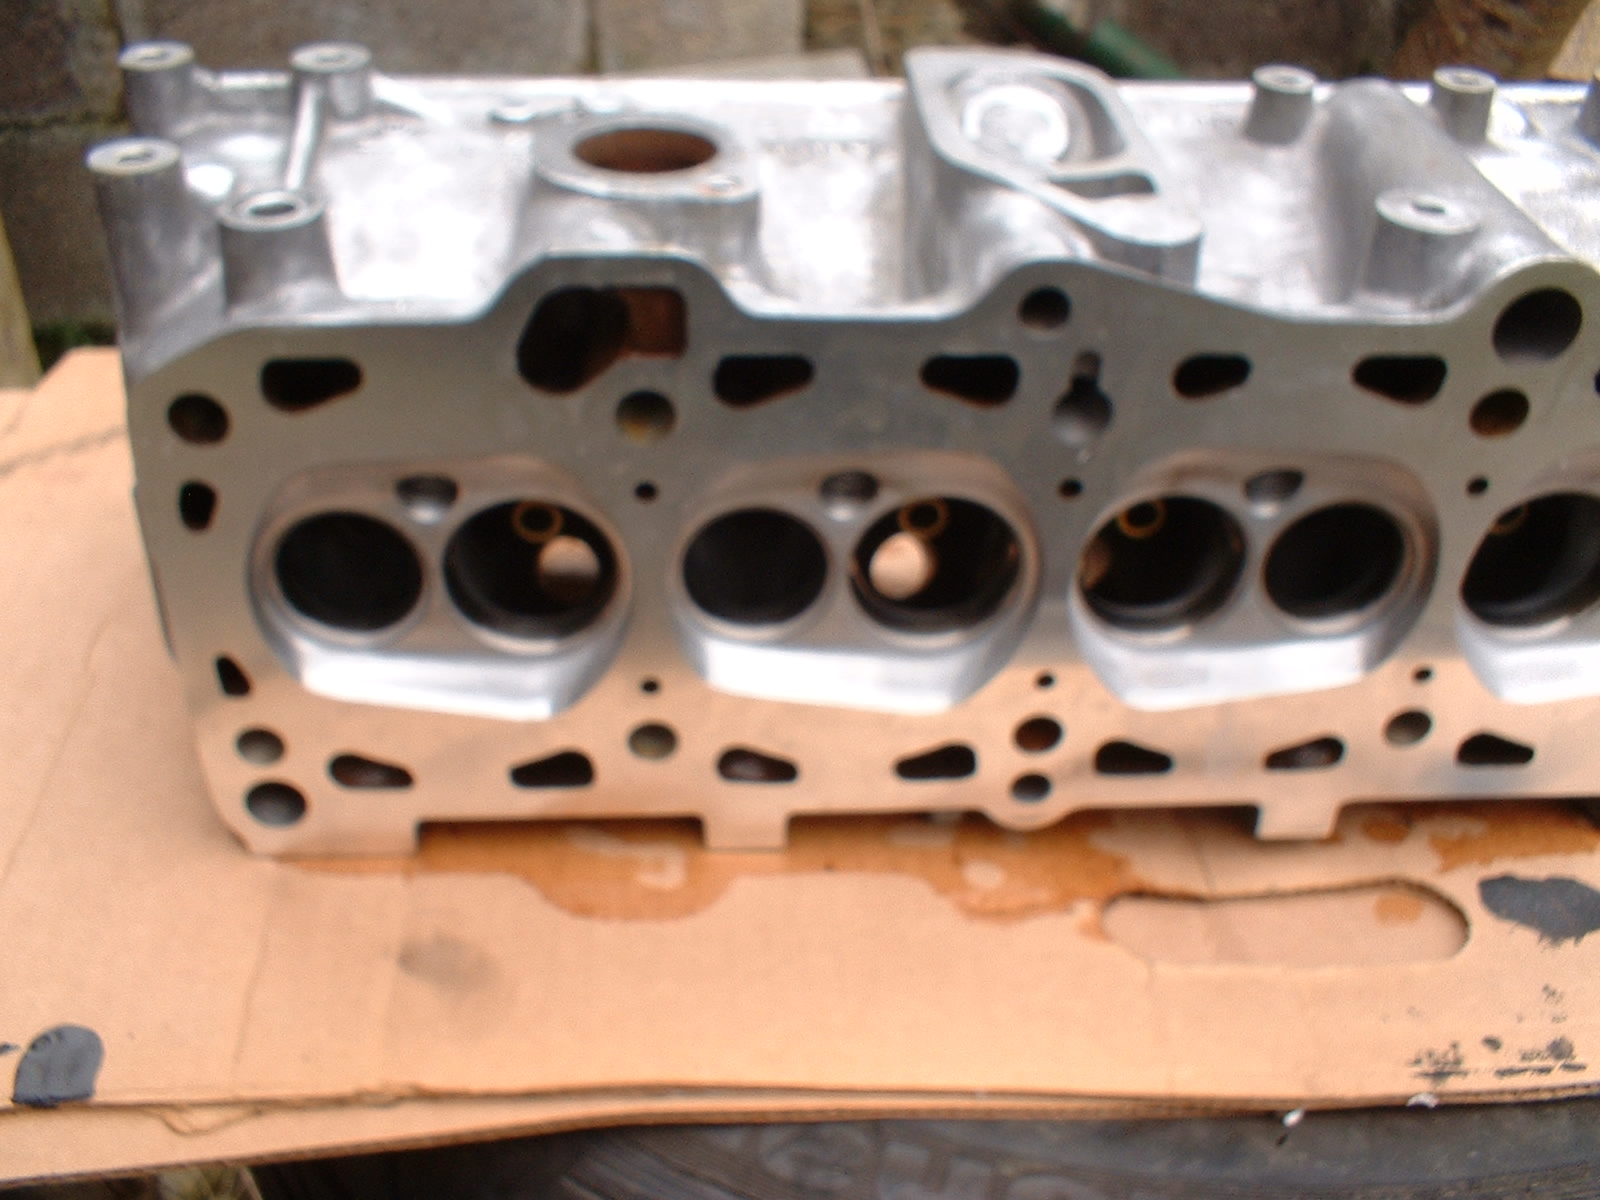
The cleaned up valve seats

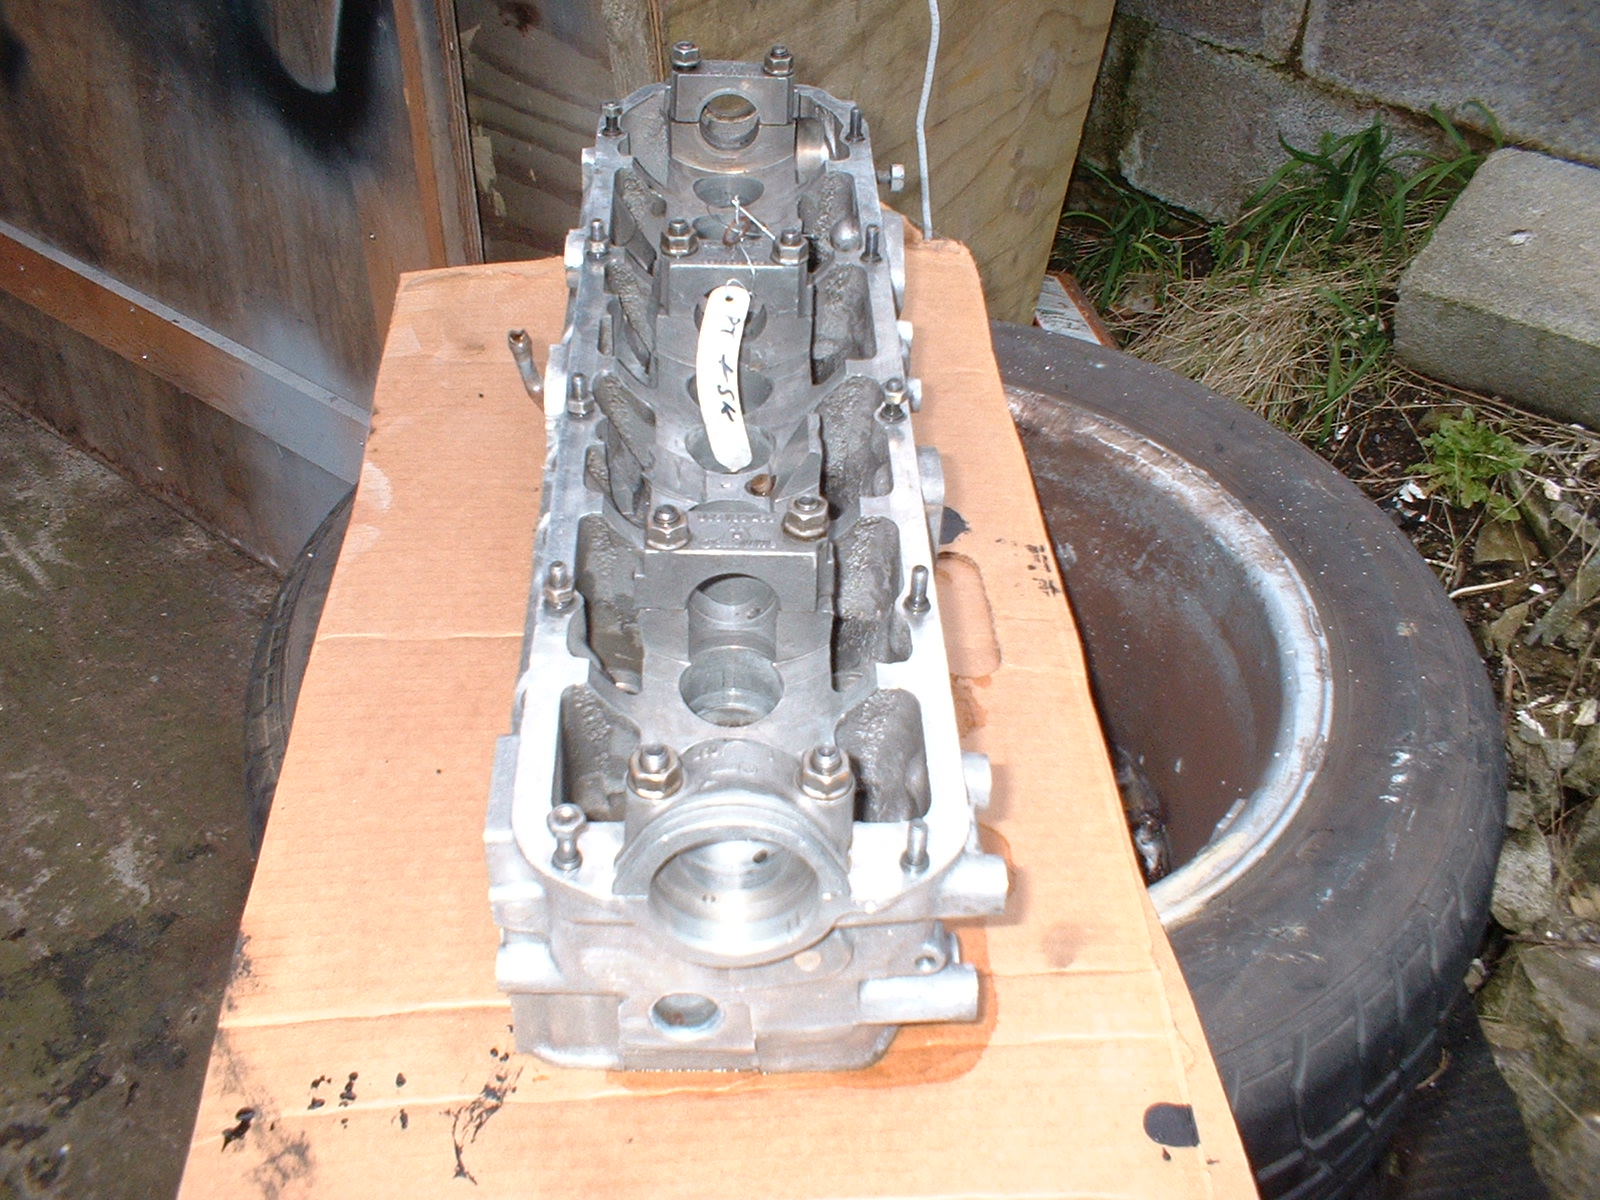
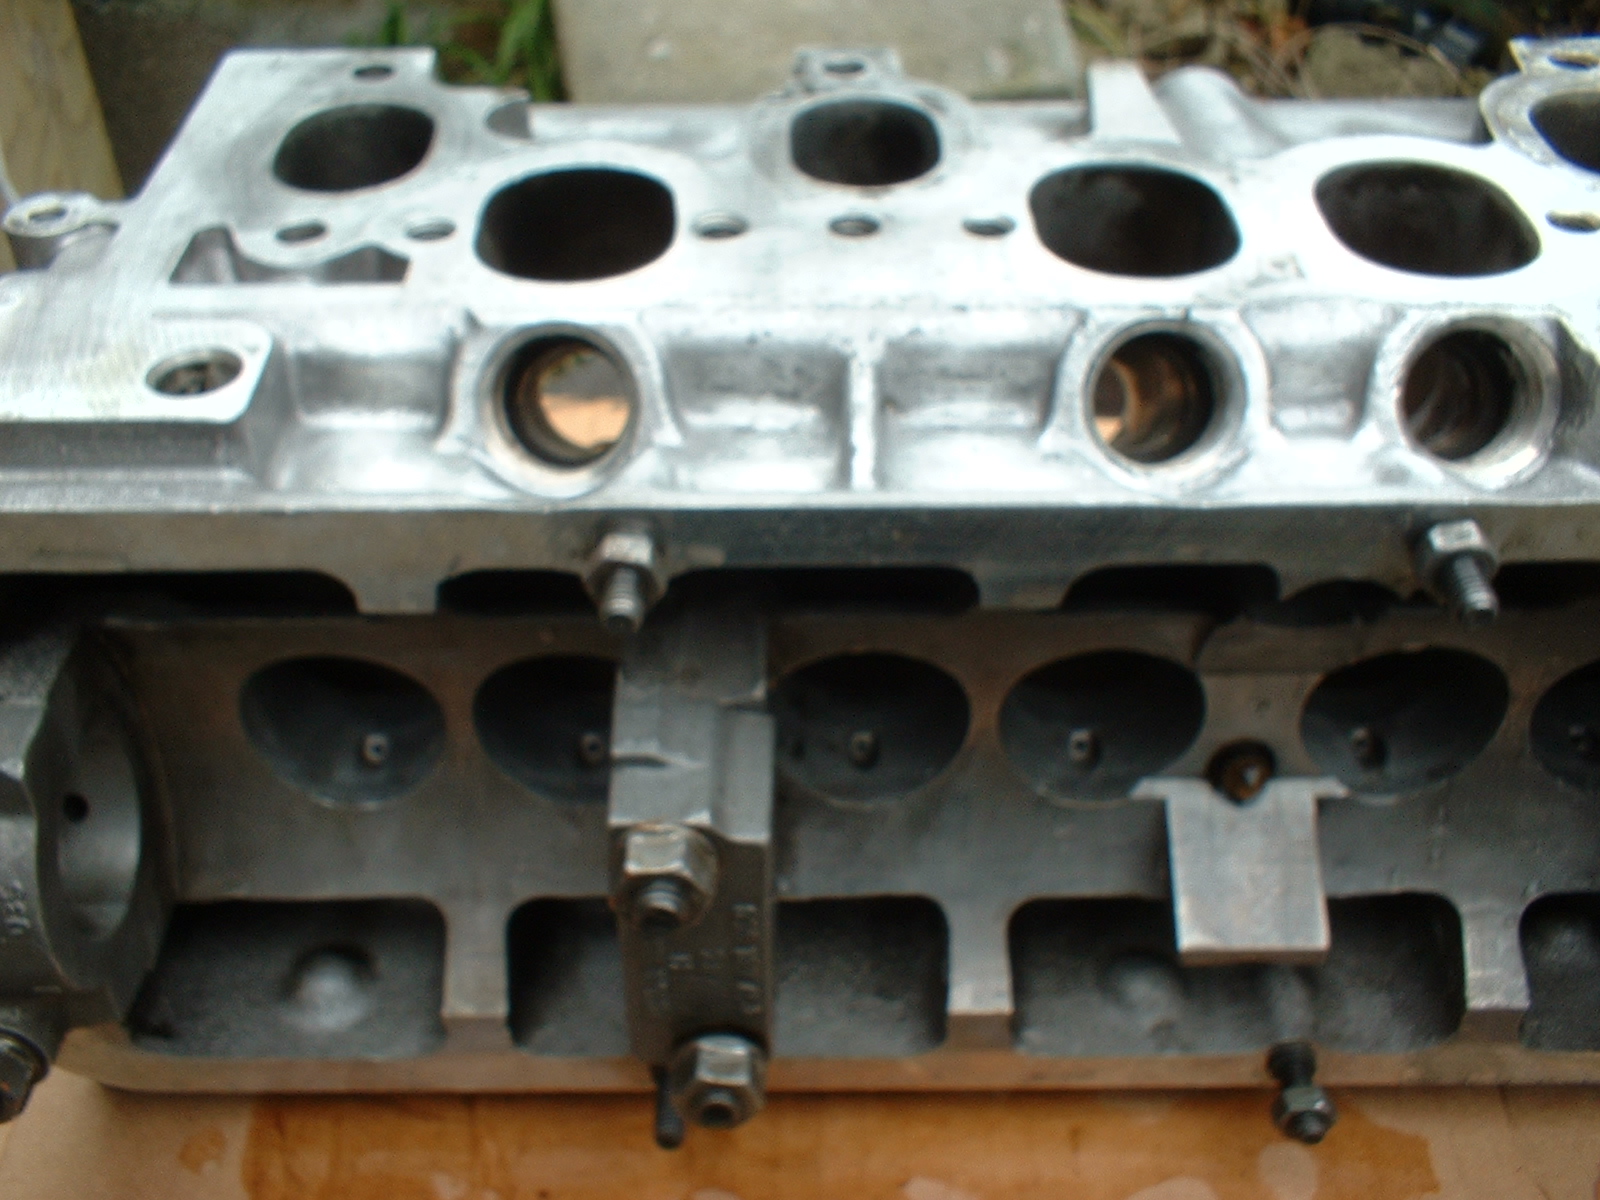
The other end of the head
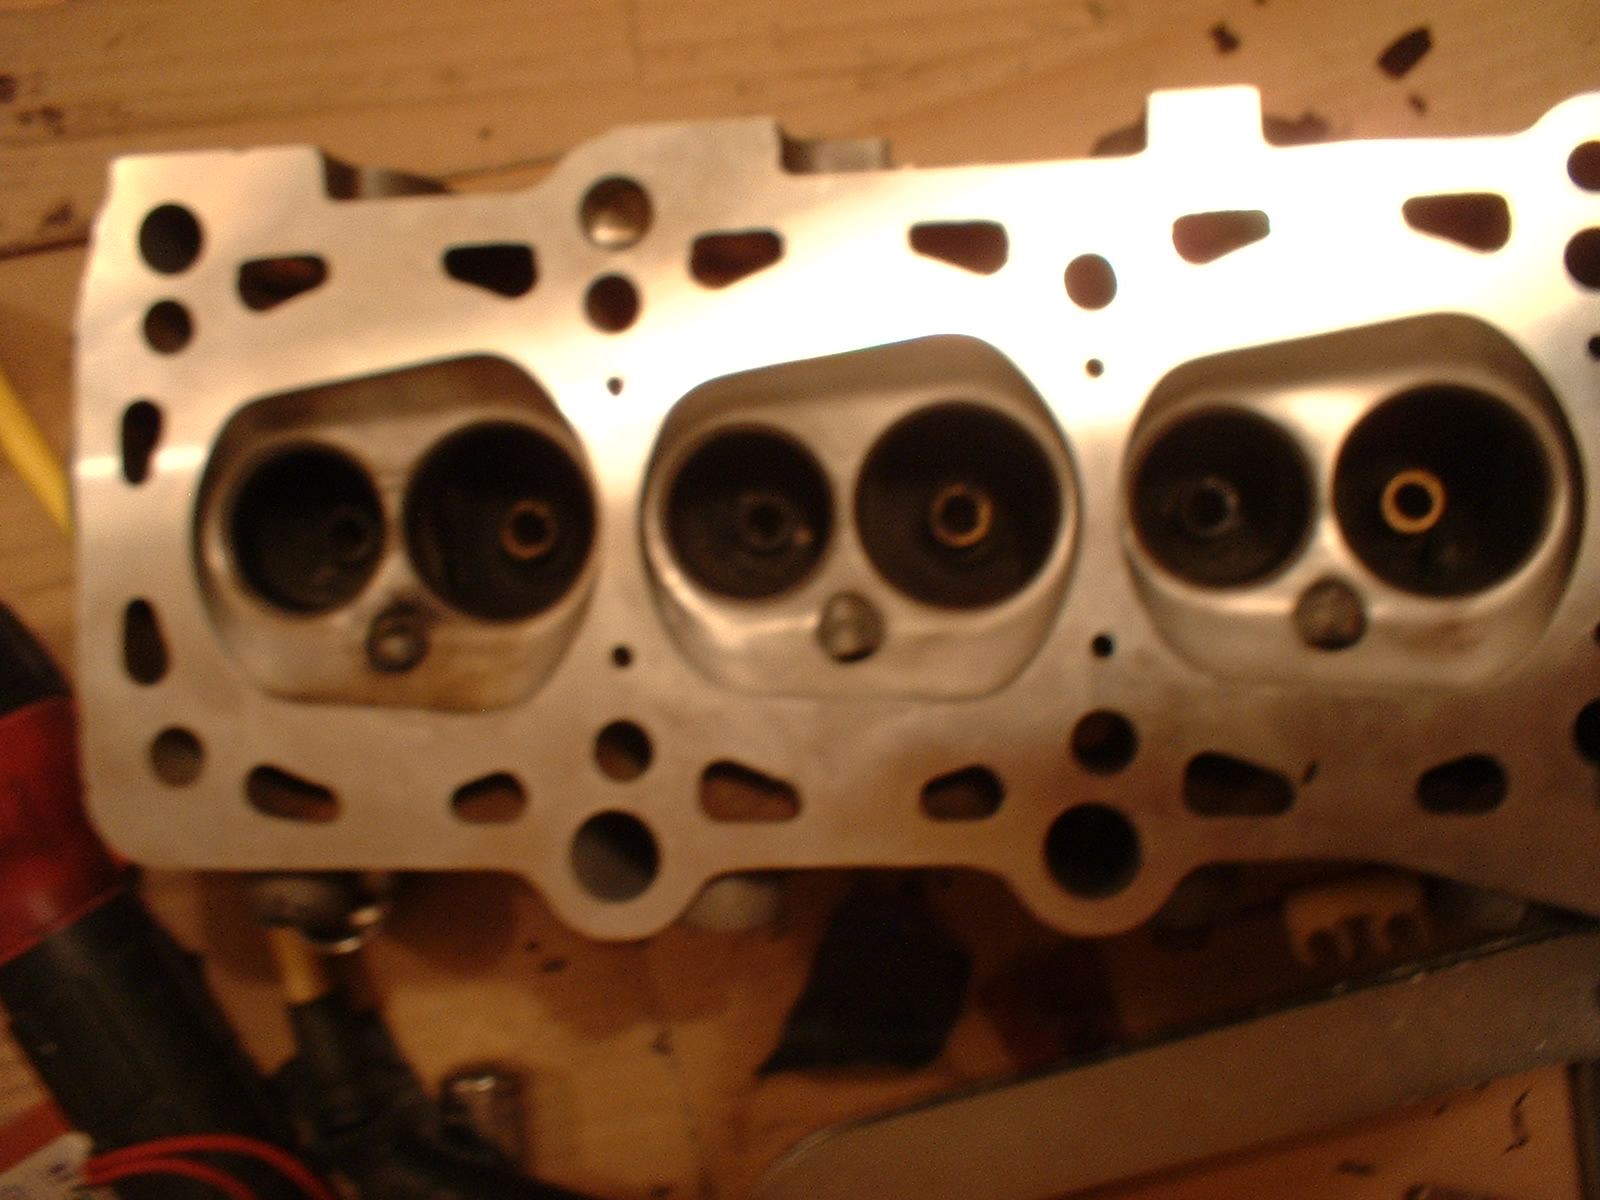
Nice and shiny
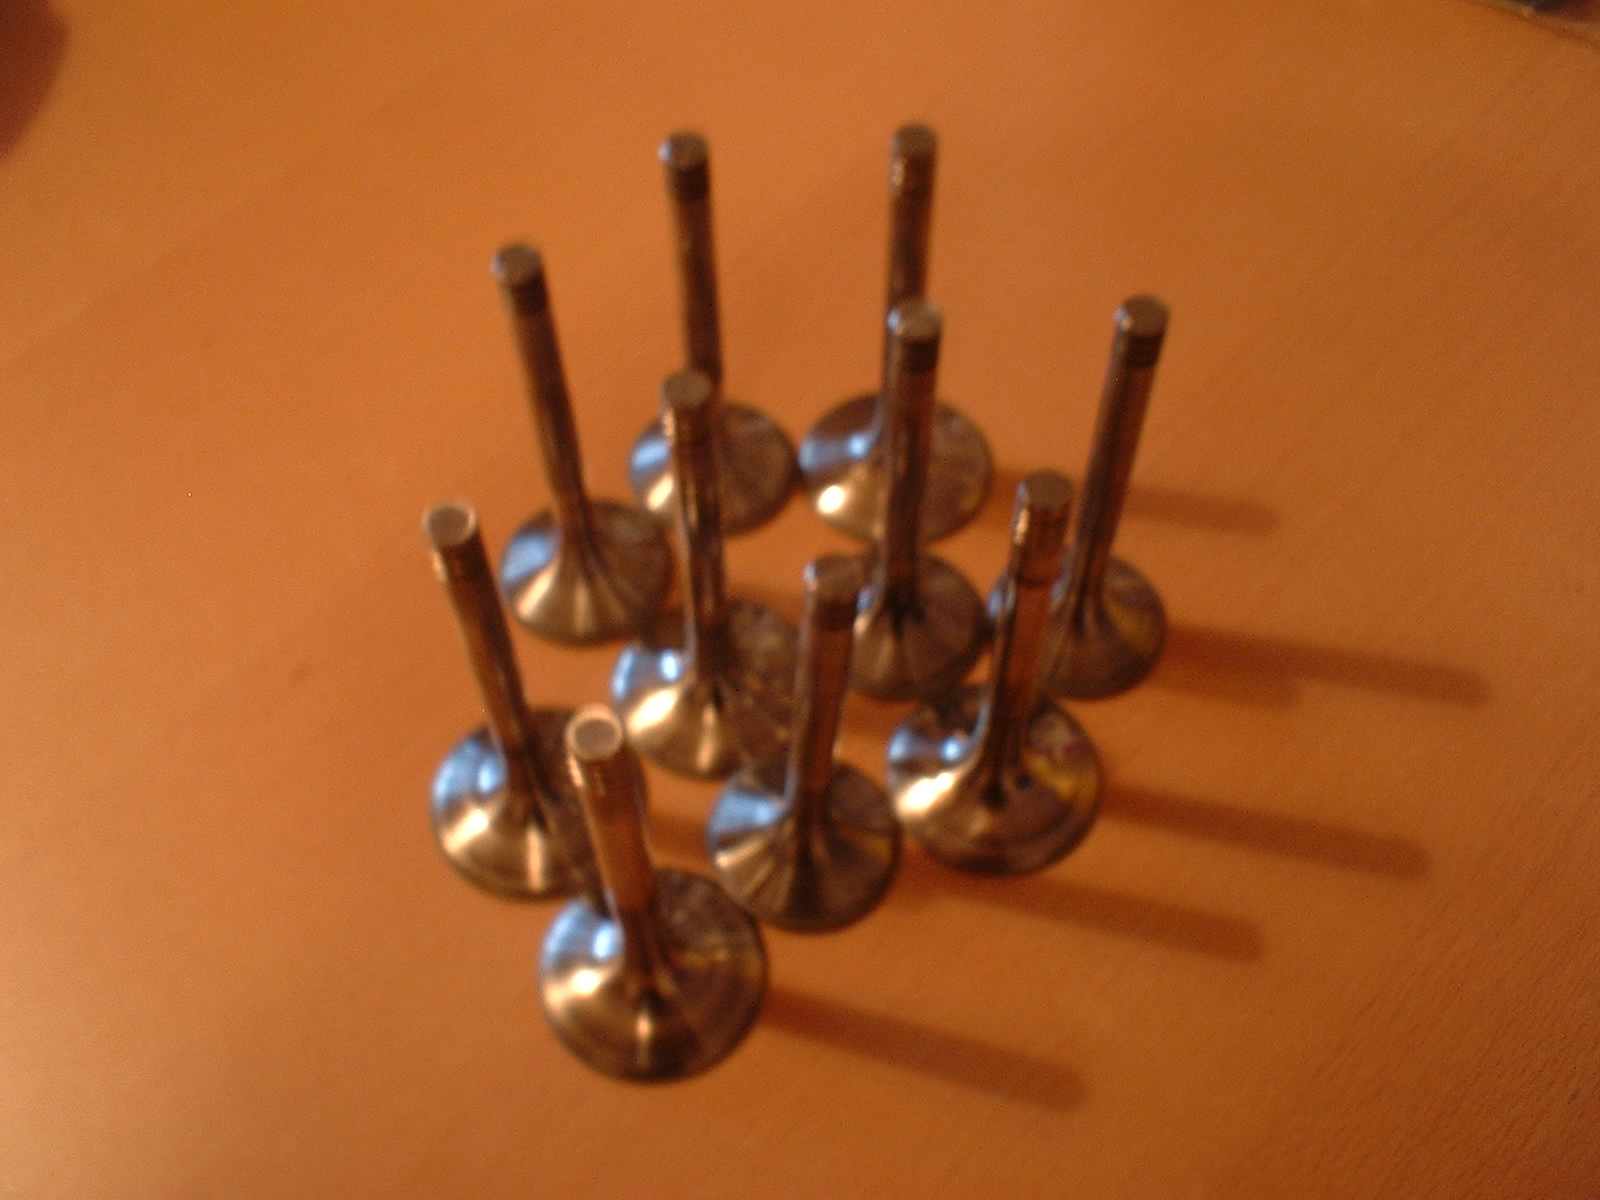
Valves waiting to go back. The spring compressor that I bought did not have enough depth and has gone back for a refund. Until it's replacmemnt arrives I can't fit these......

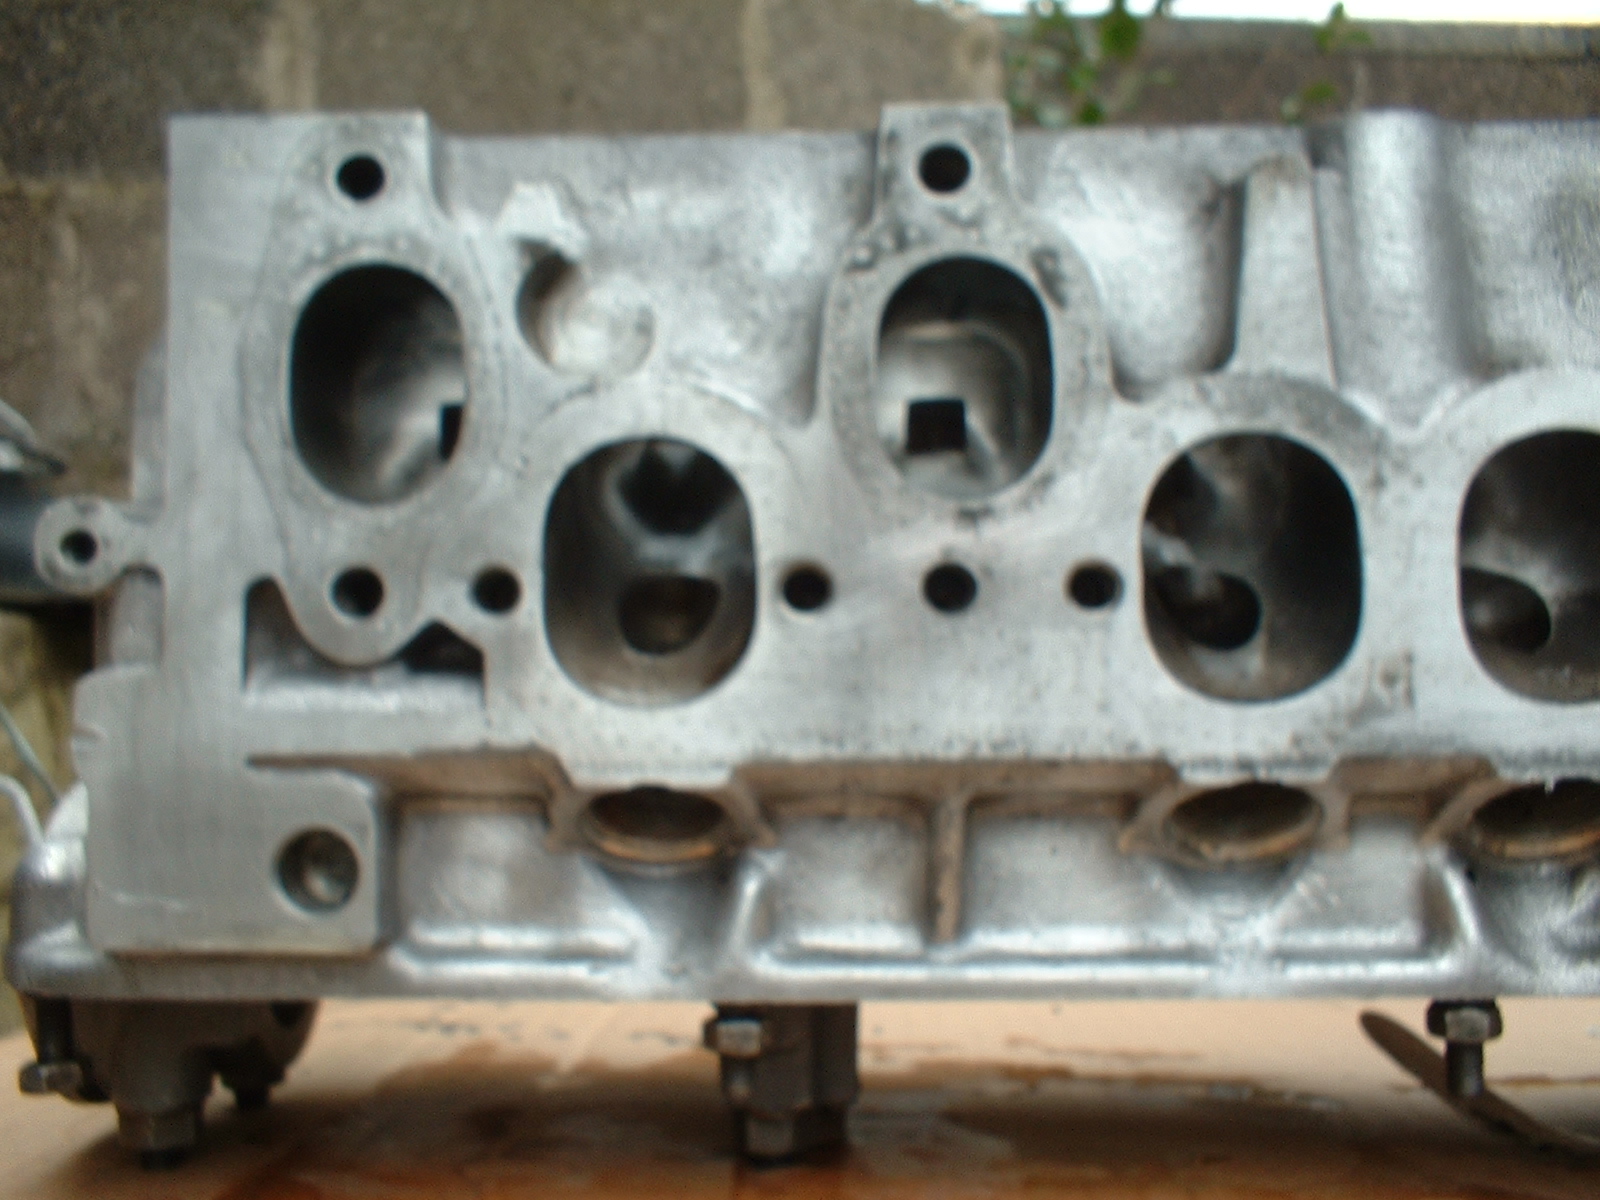
These are the inserts and air shrouds that the injectors plug into

Pretty cacked up. I'm glad that I removed them to clean them

12mm hex bit used to uncrew the top brass bit. You can then remove the bottom plastic bit by GENTLY tapping on then using the 1/2" drive extension bar and a hammer. You might also want to try a 13mm hex bit, as my 12mm one was very loose...

Those nicely cleaned valves again
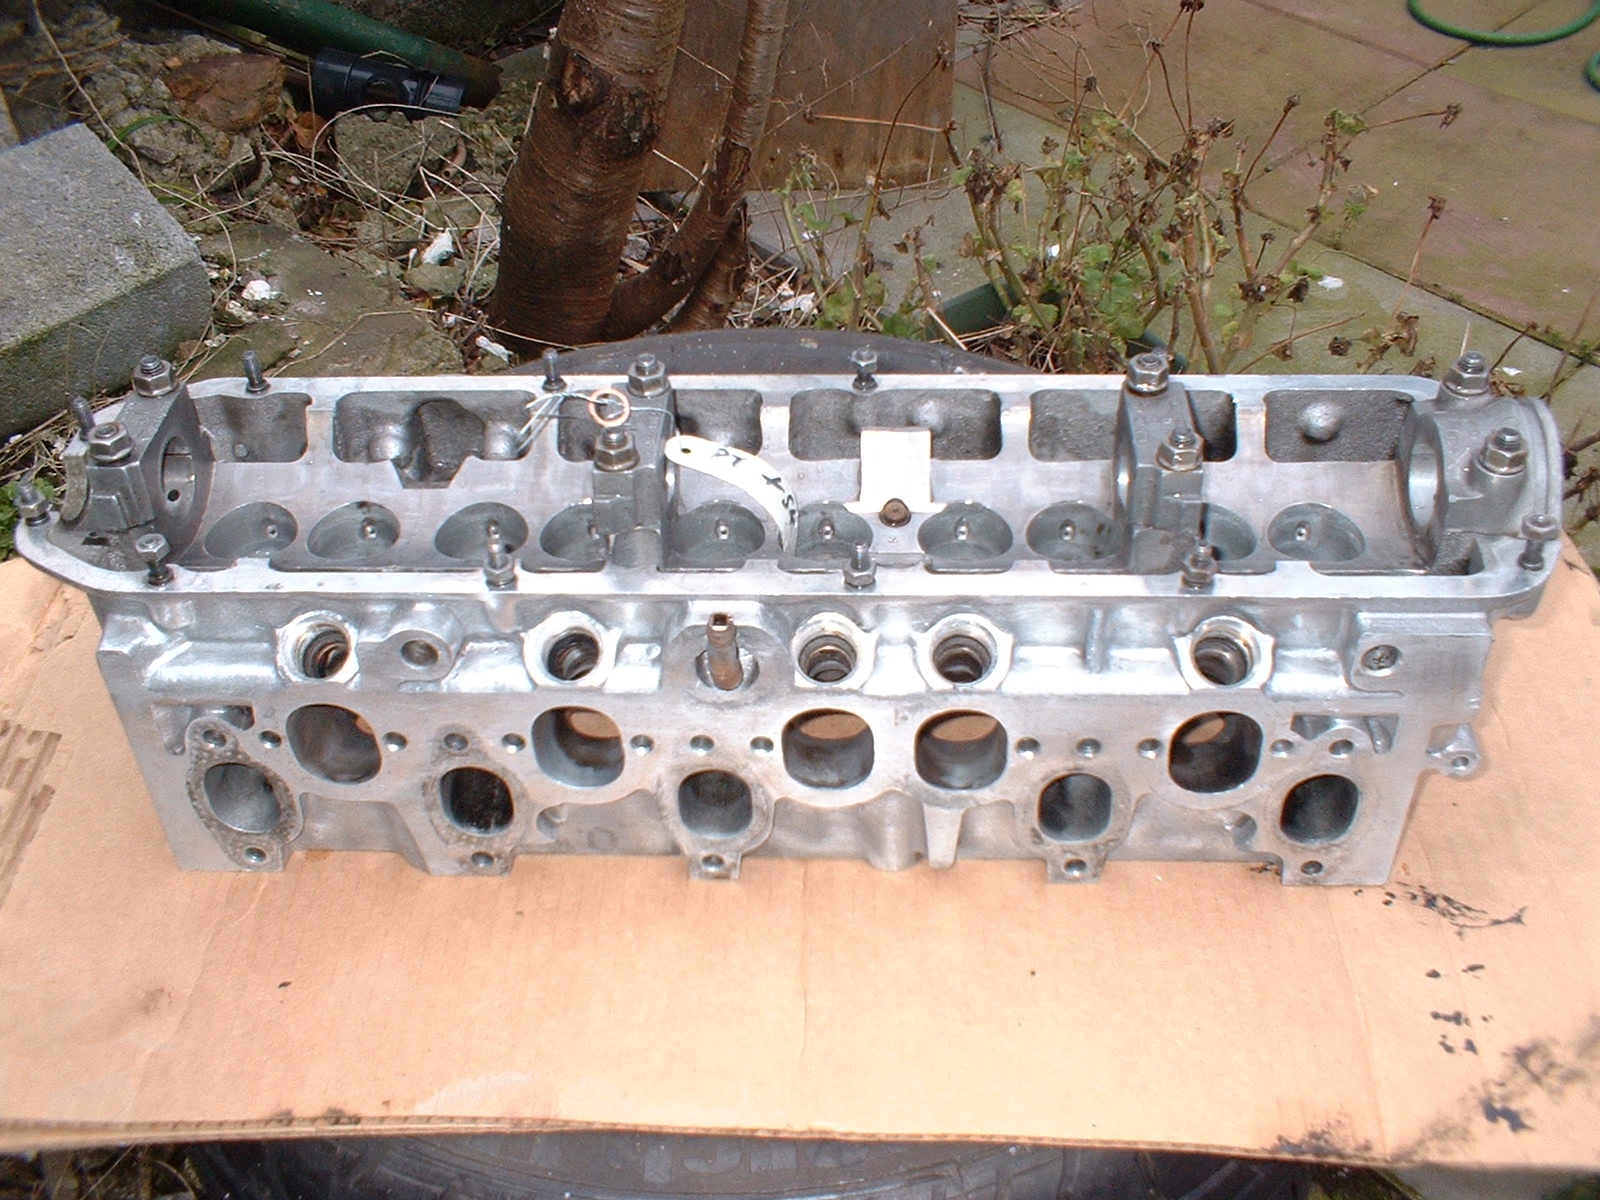
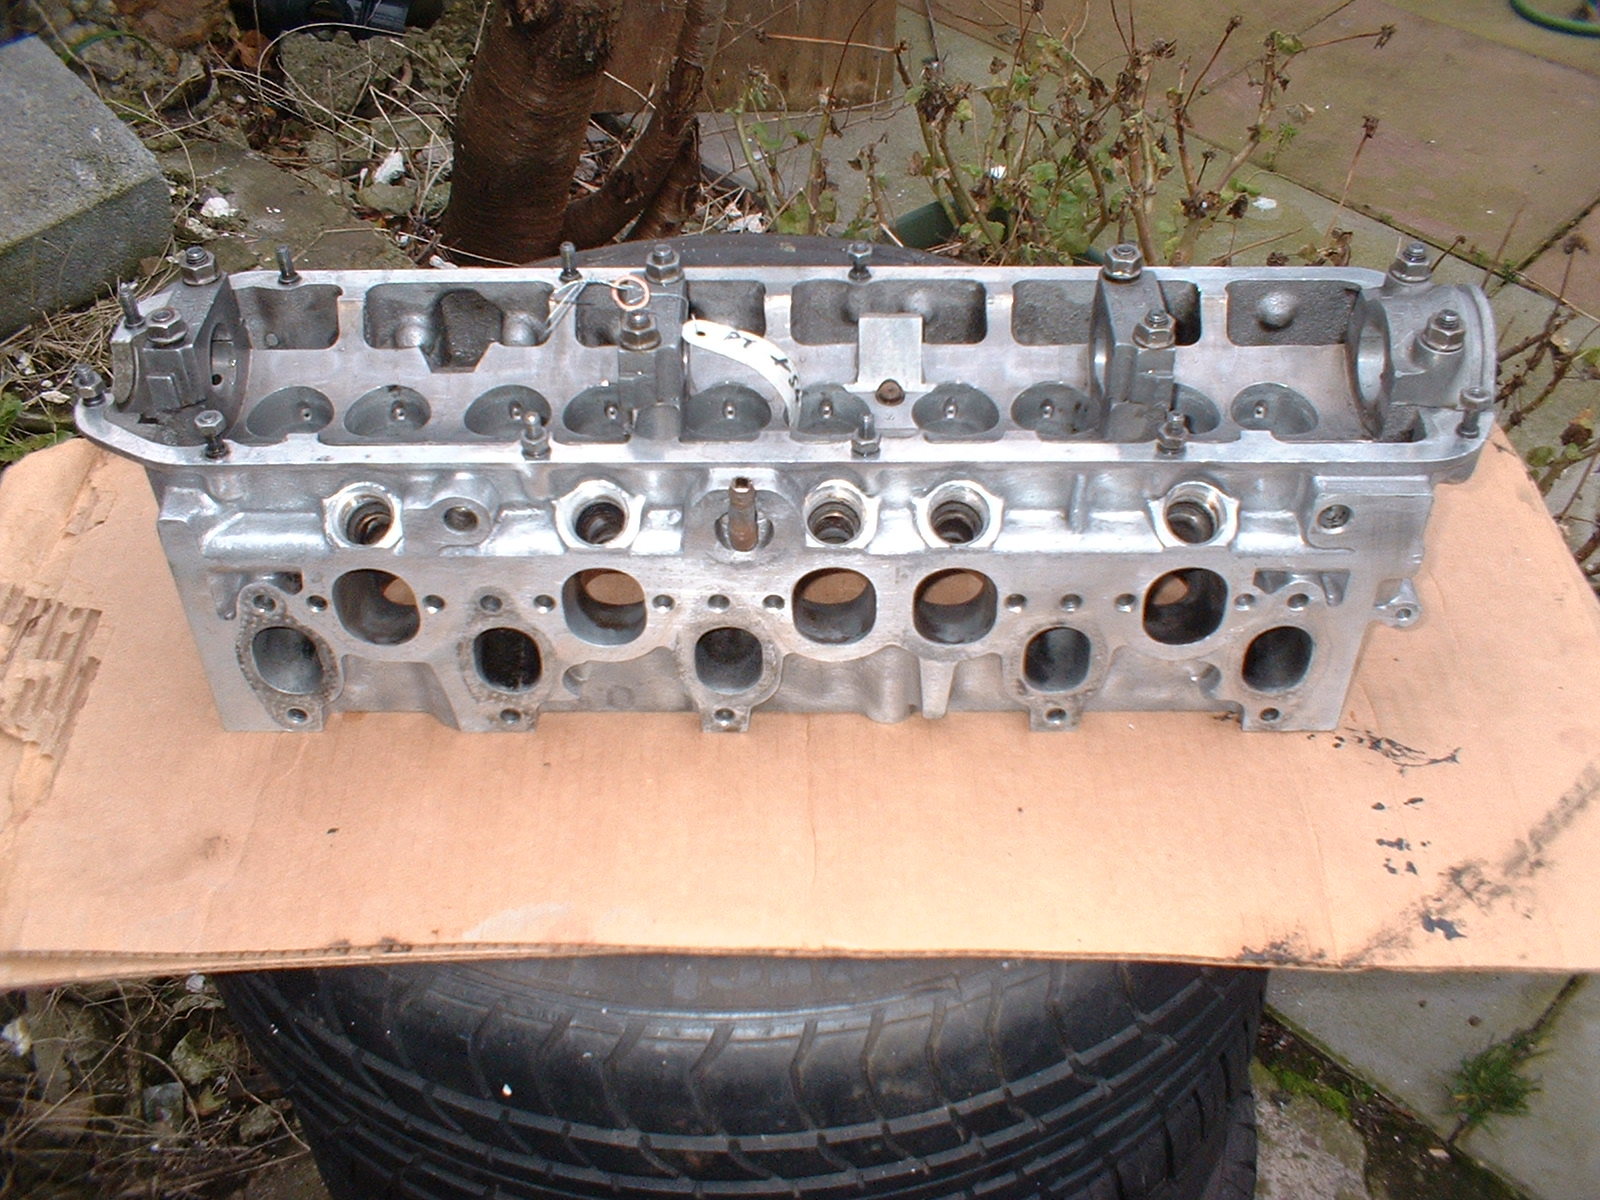
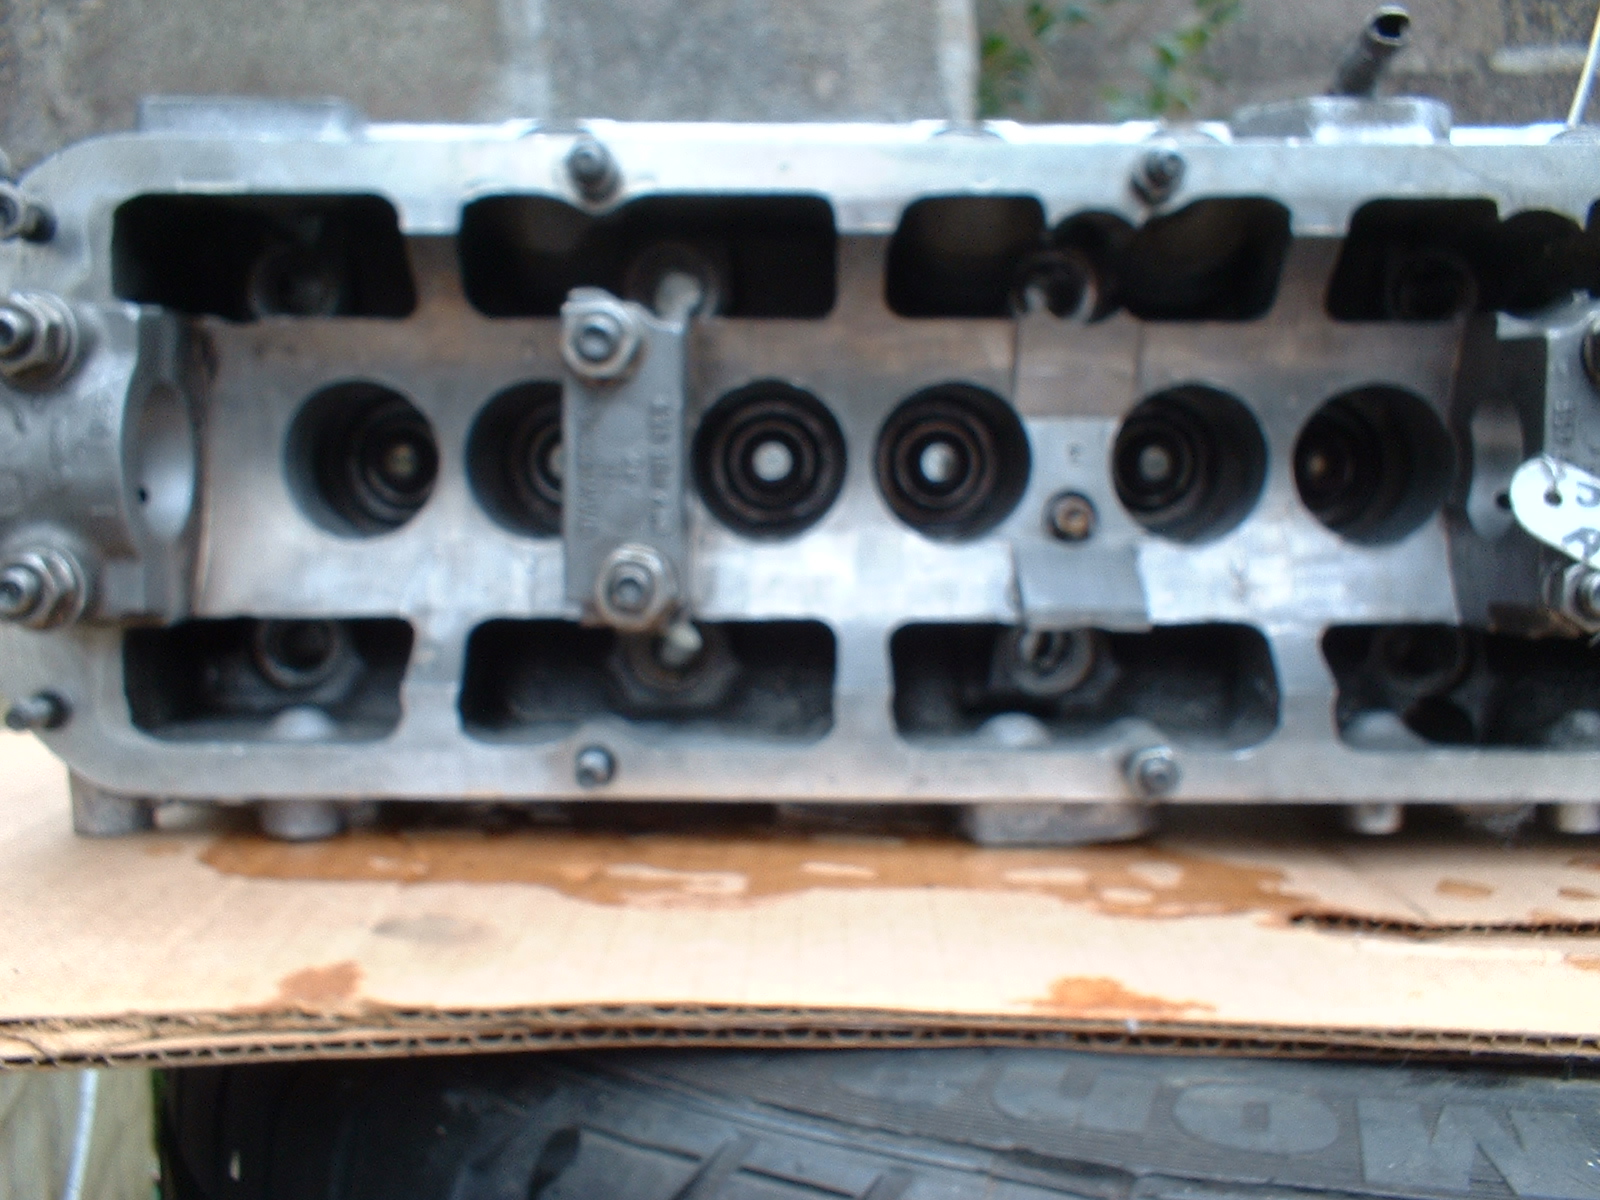
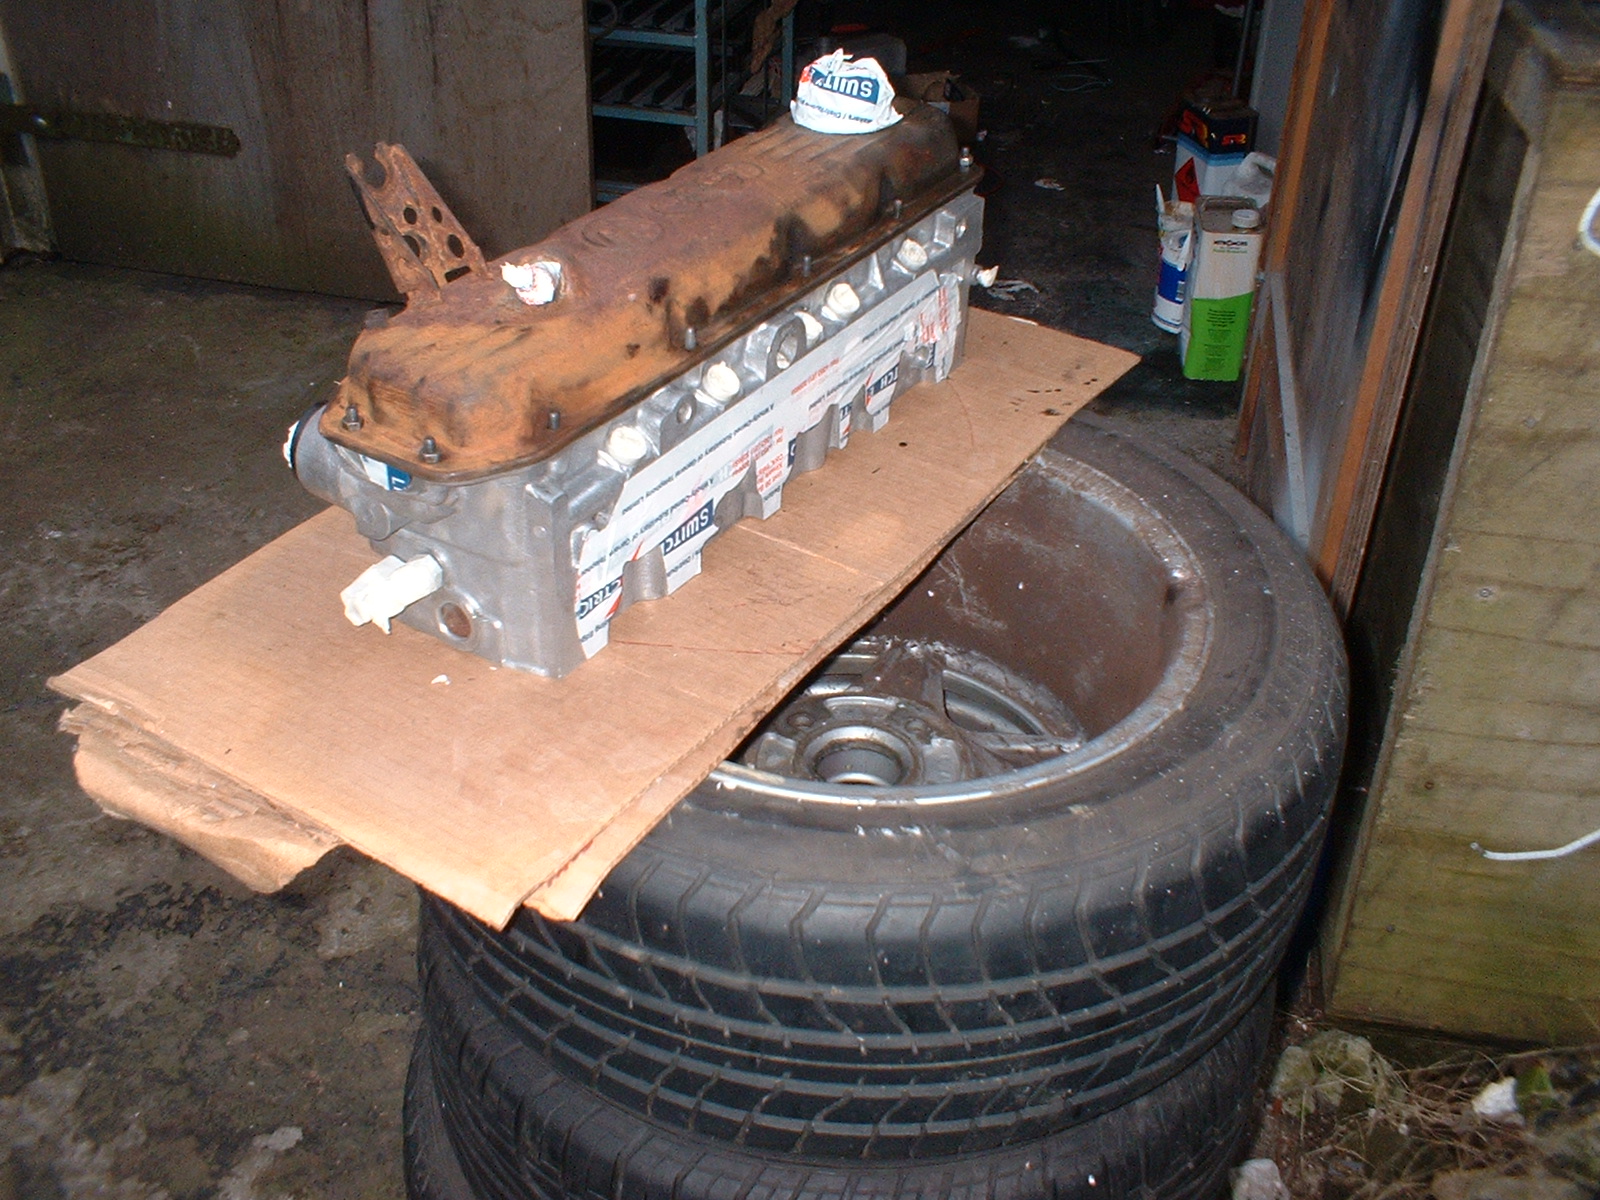
The head now all cleaned up, everything removed (that's going to be.....). Just have to mask it off now to paint it
X
I cleaned it up using Flash (orange) and a rotary wire brush in a cordless drill....
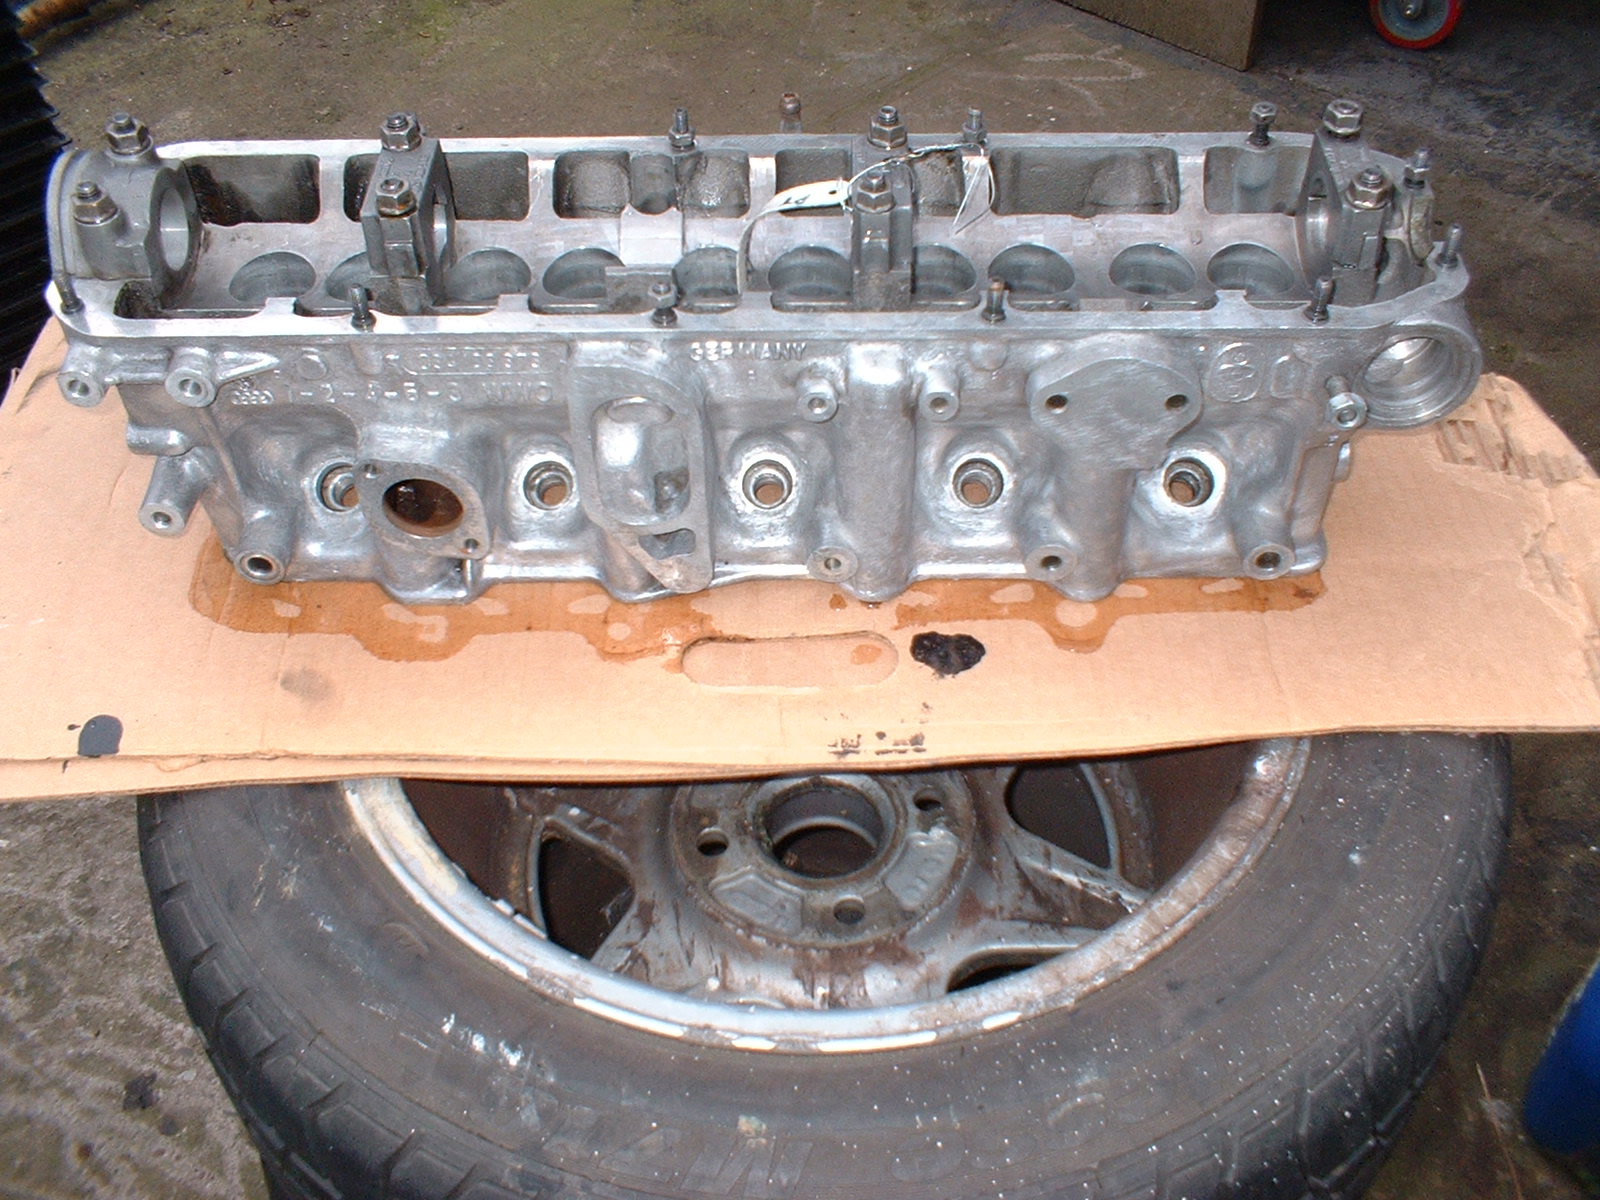
I cleaned it all over
Except the underside, which had been skimmed by the machine shop
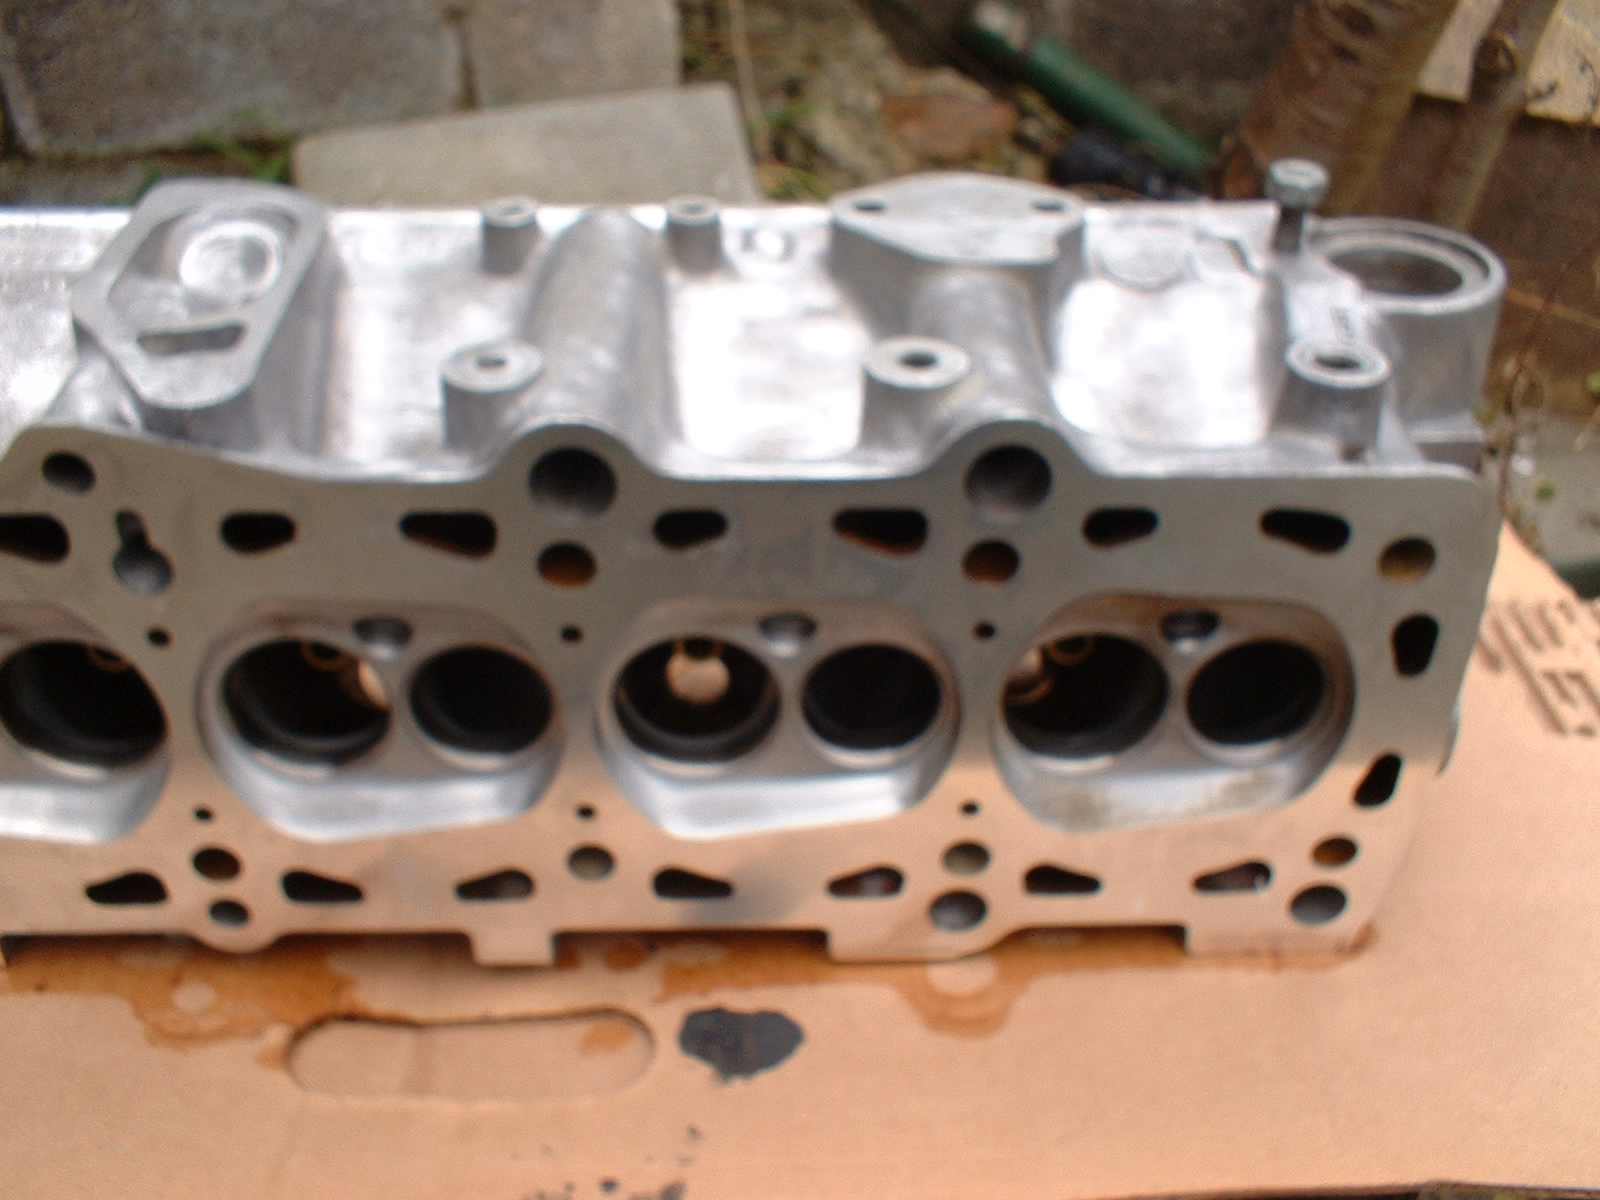
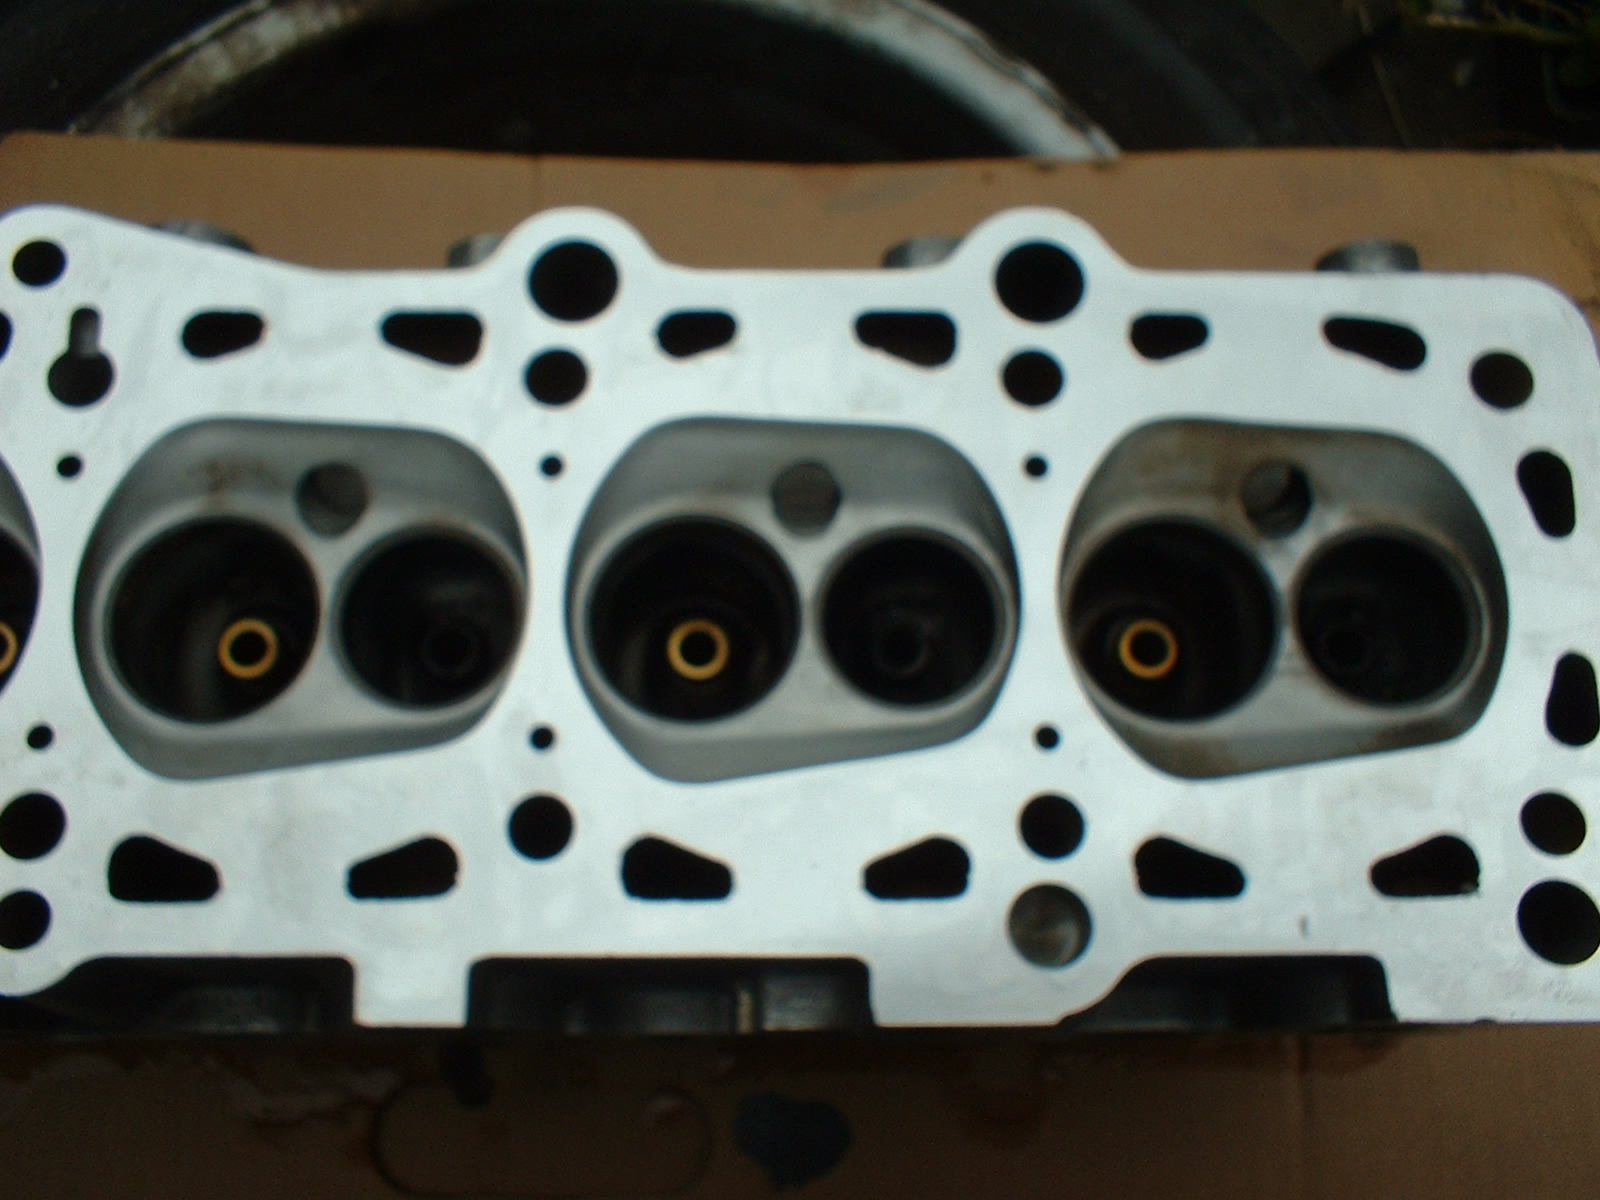
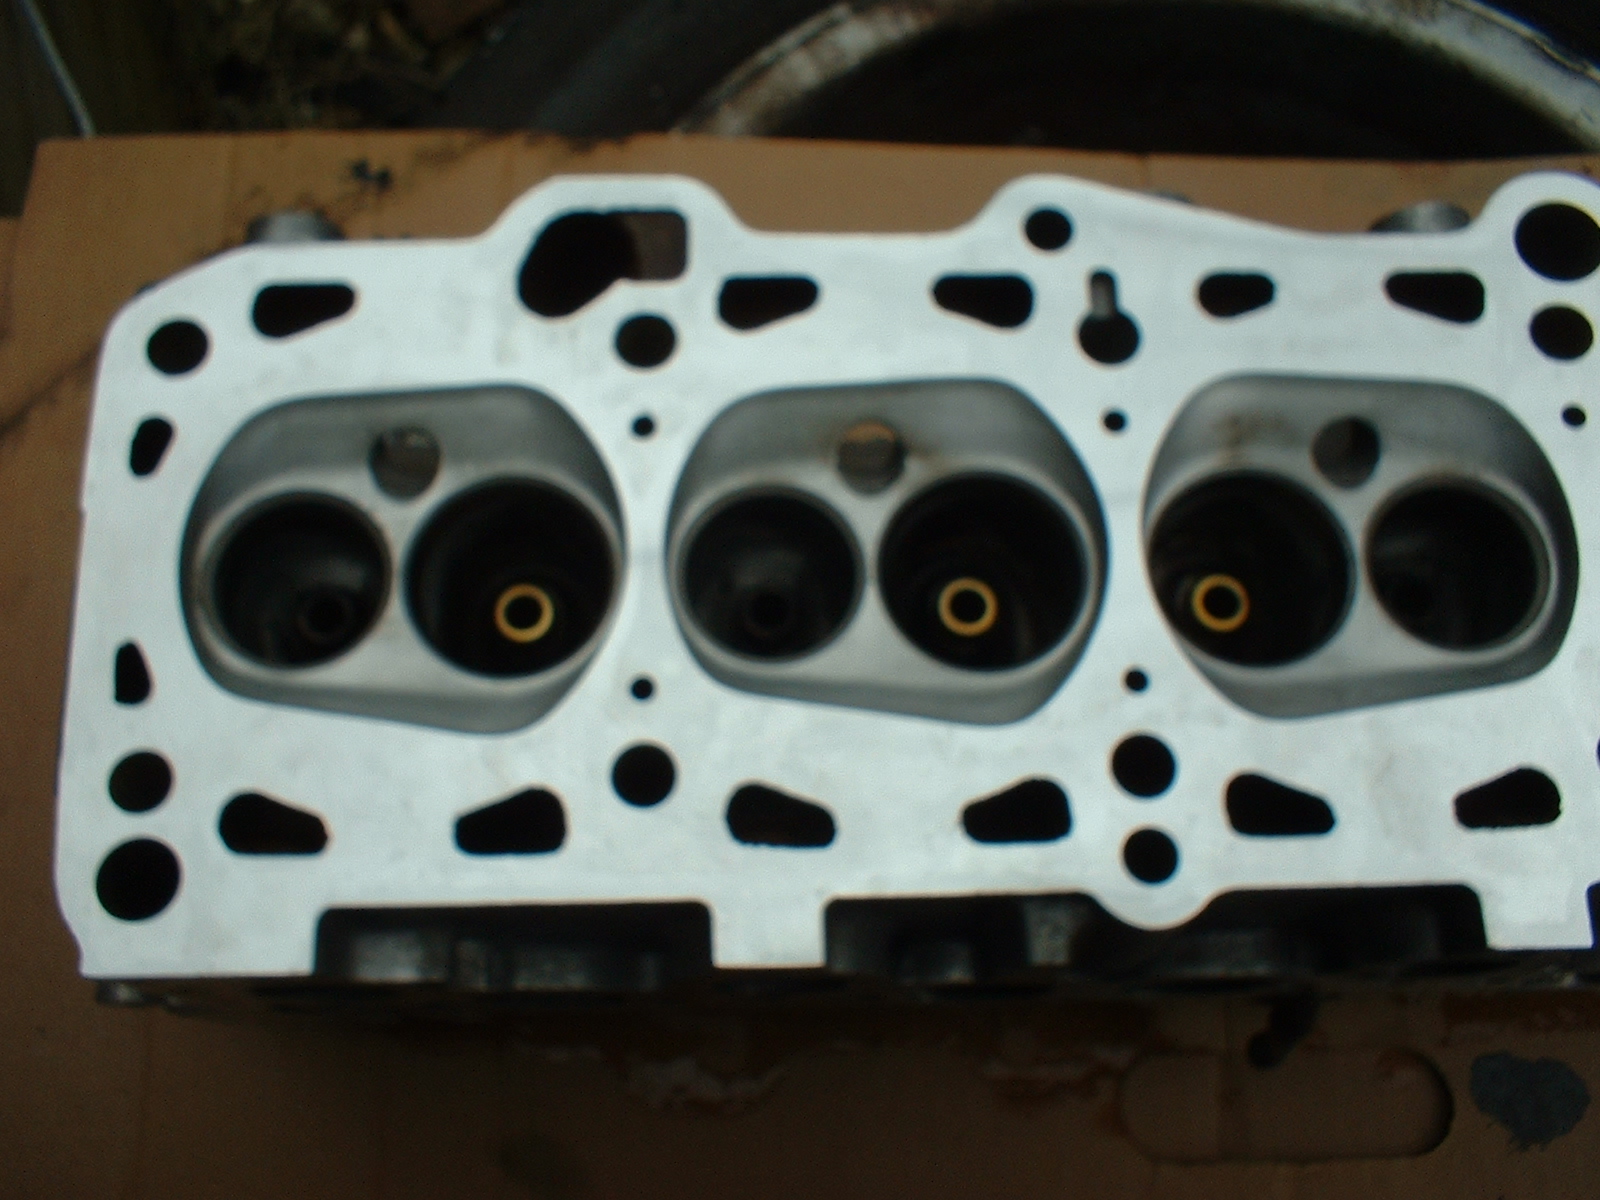
You can see that I got most of the crud from out of the ports
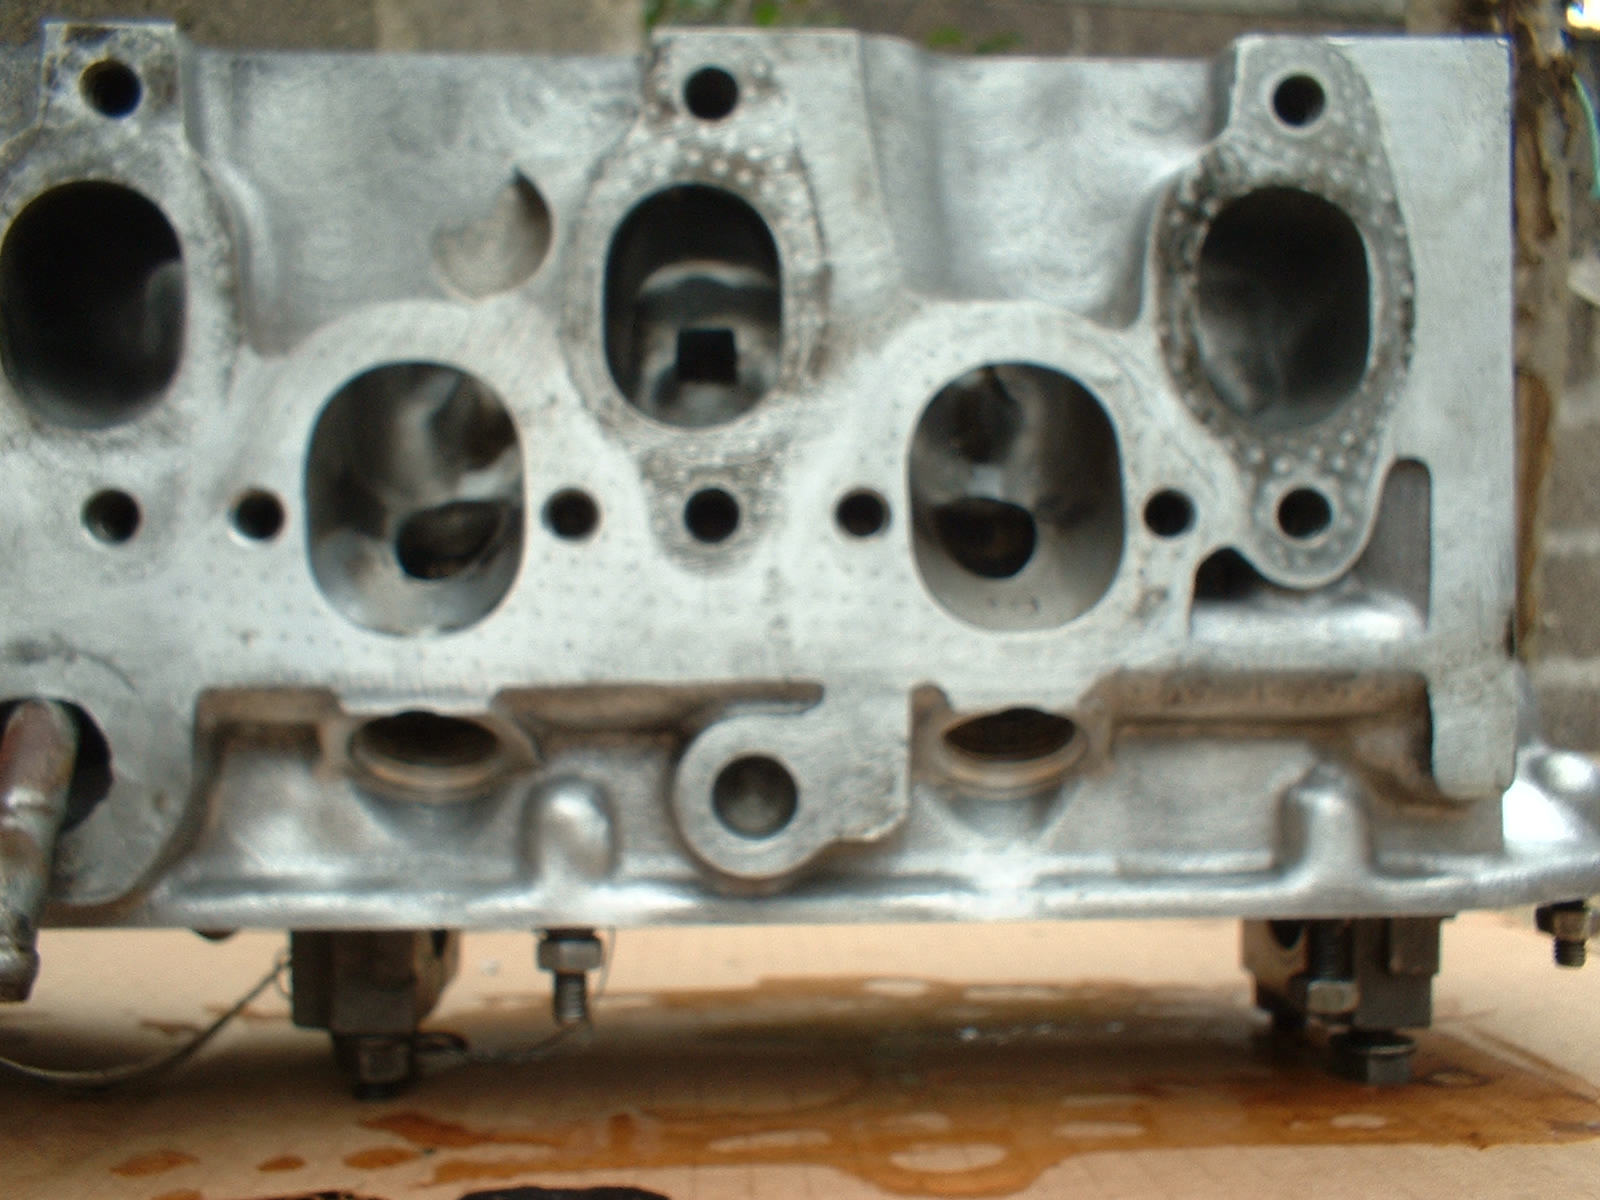
Also out of the bores into which the injector shrouds go.
It's pretty clean
All masked up, and ready for paint. I used an old camcover to stop paint getting into the inside of the head. The old spark plugs were installed to stop the spark plug hole threads from getting paint on them
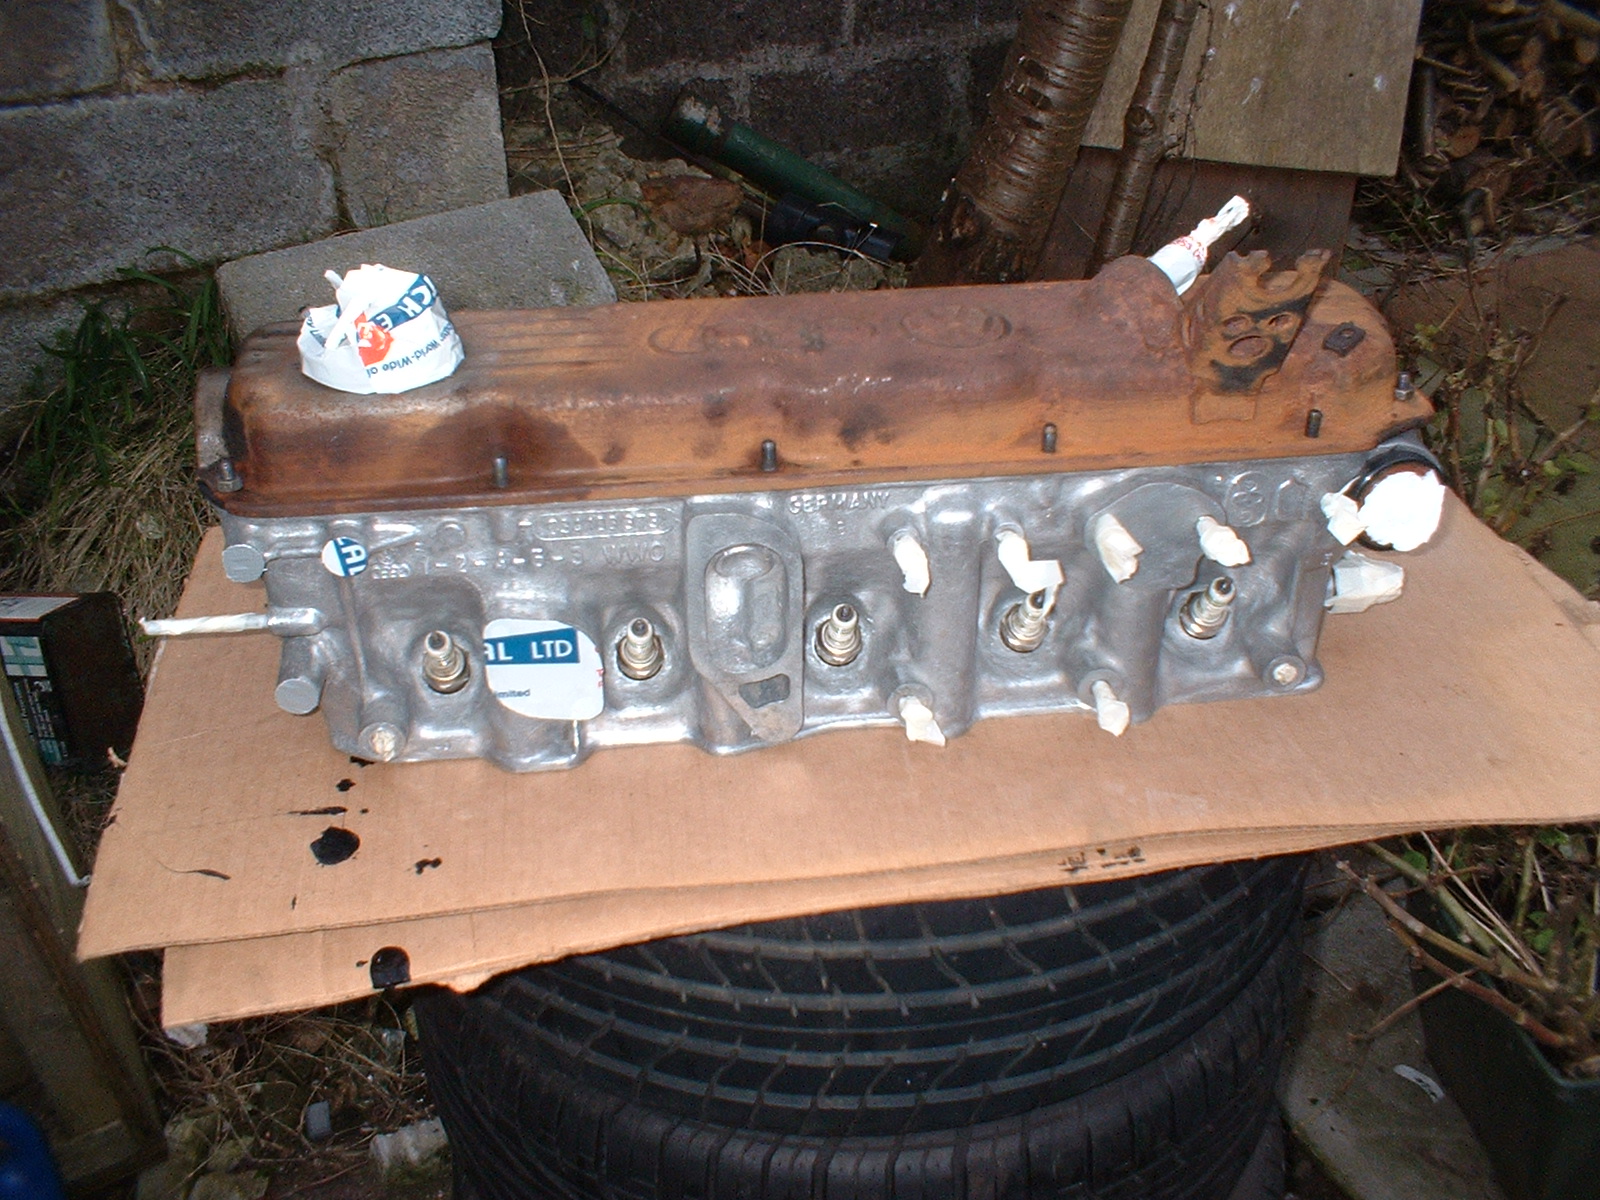
Exhaust ports masked off too...
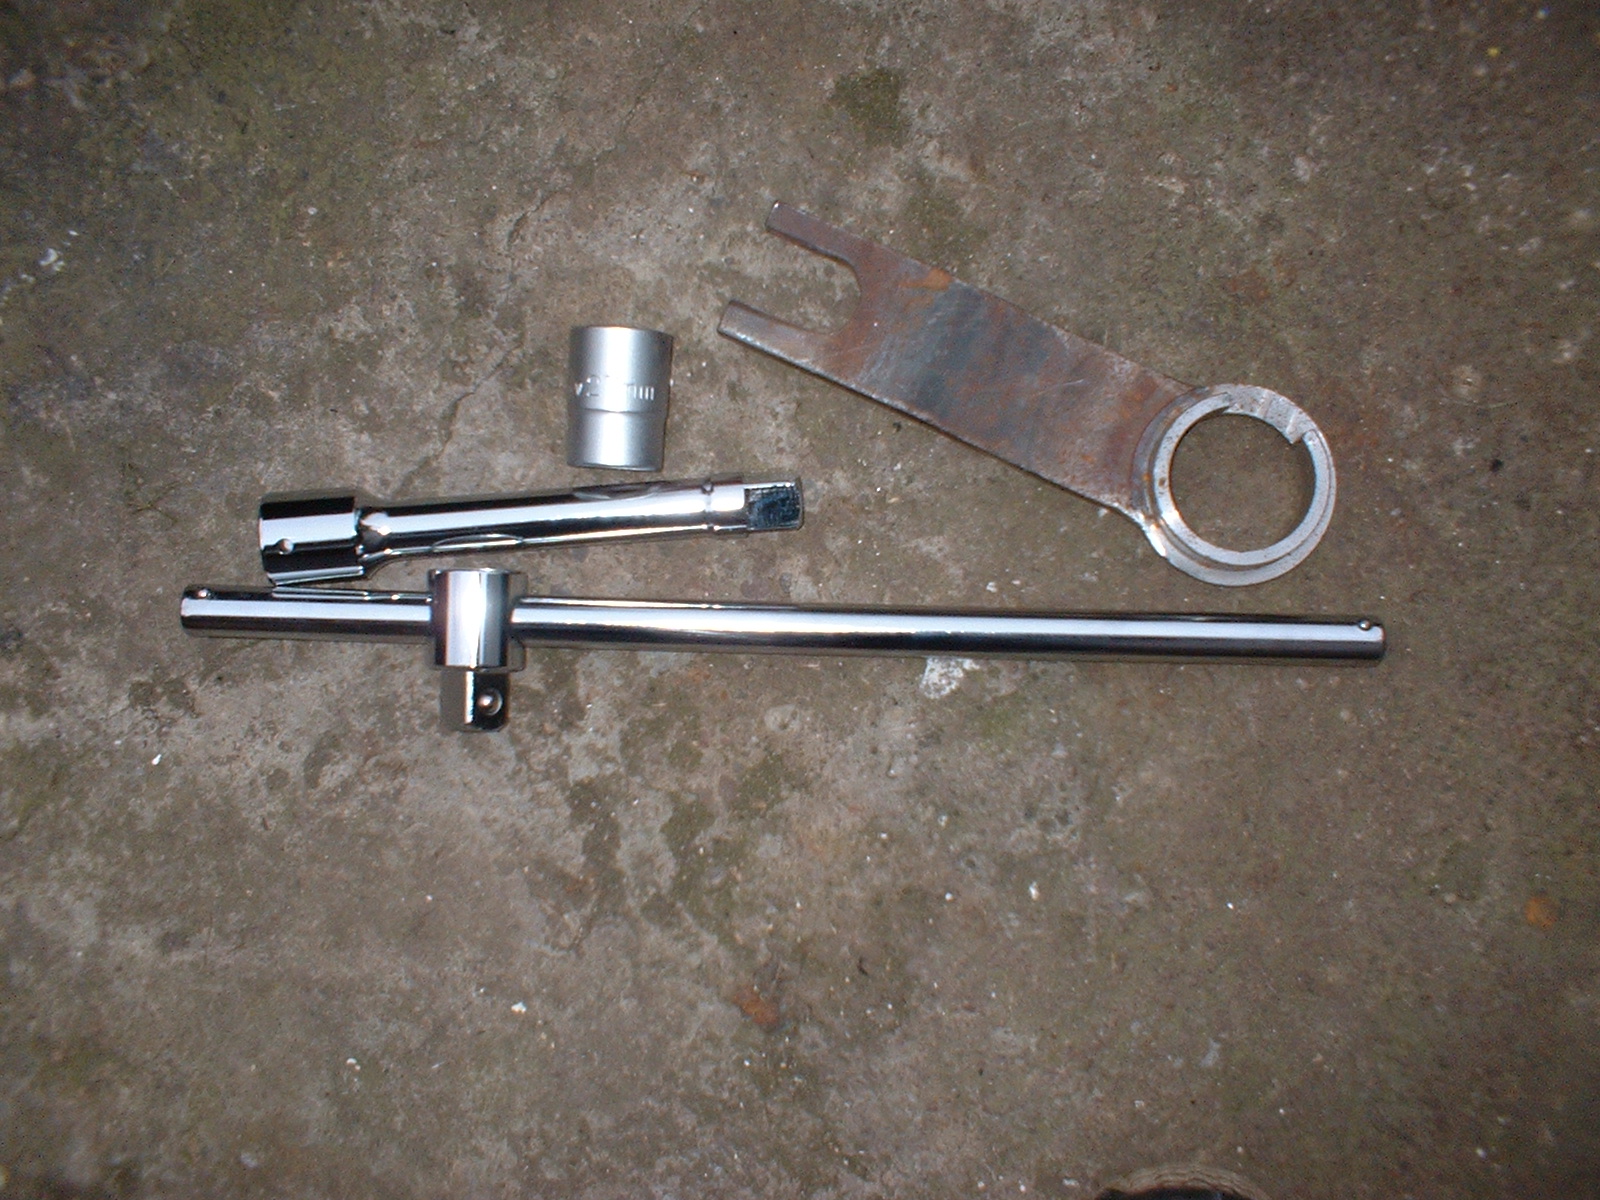
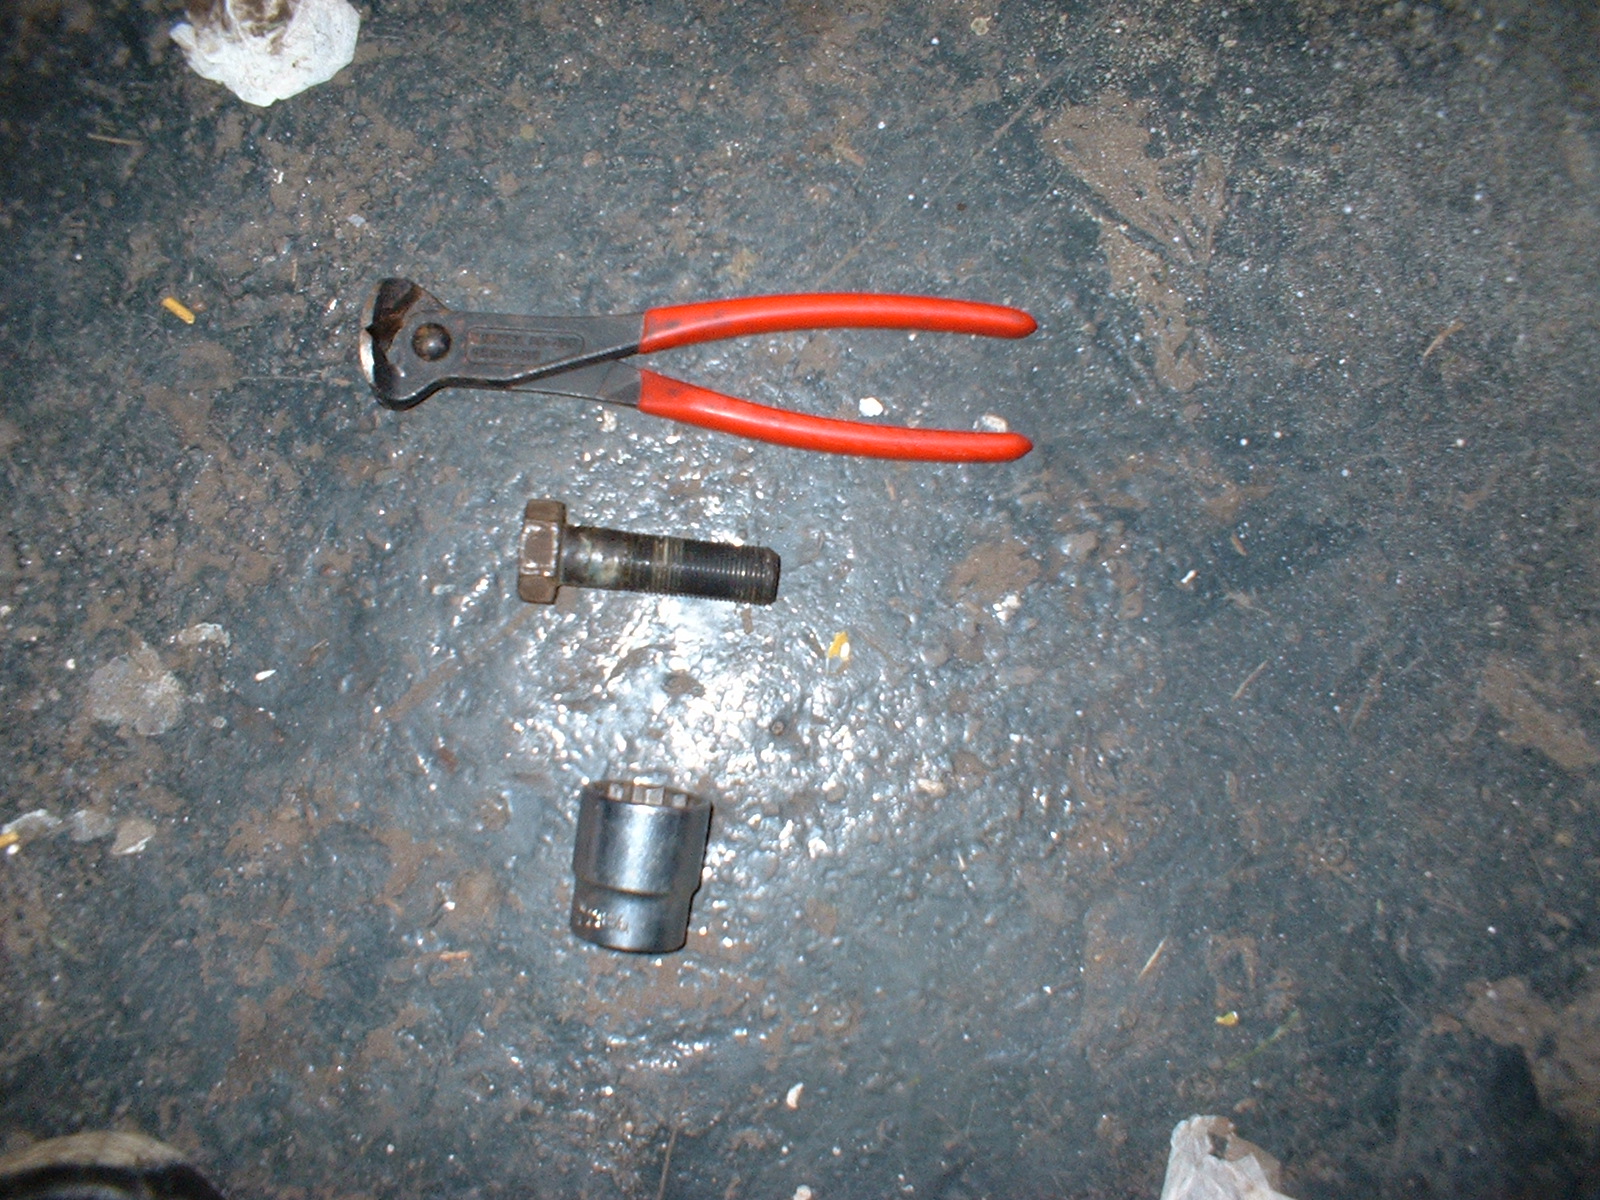
The 2079 crankshaft locking tool, a 27mm socket and a 2 foot long 3/4" drive bar
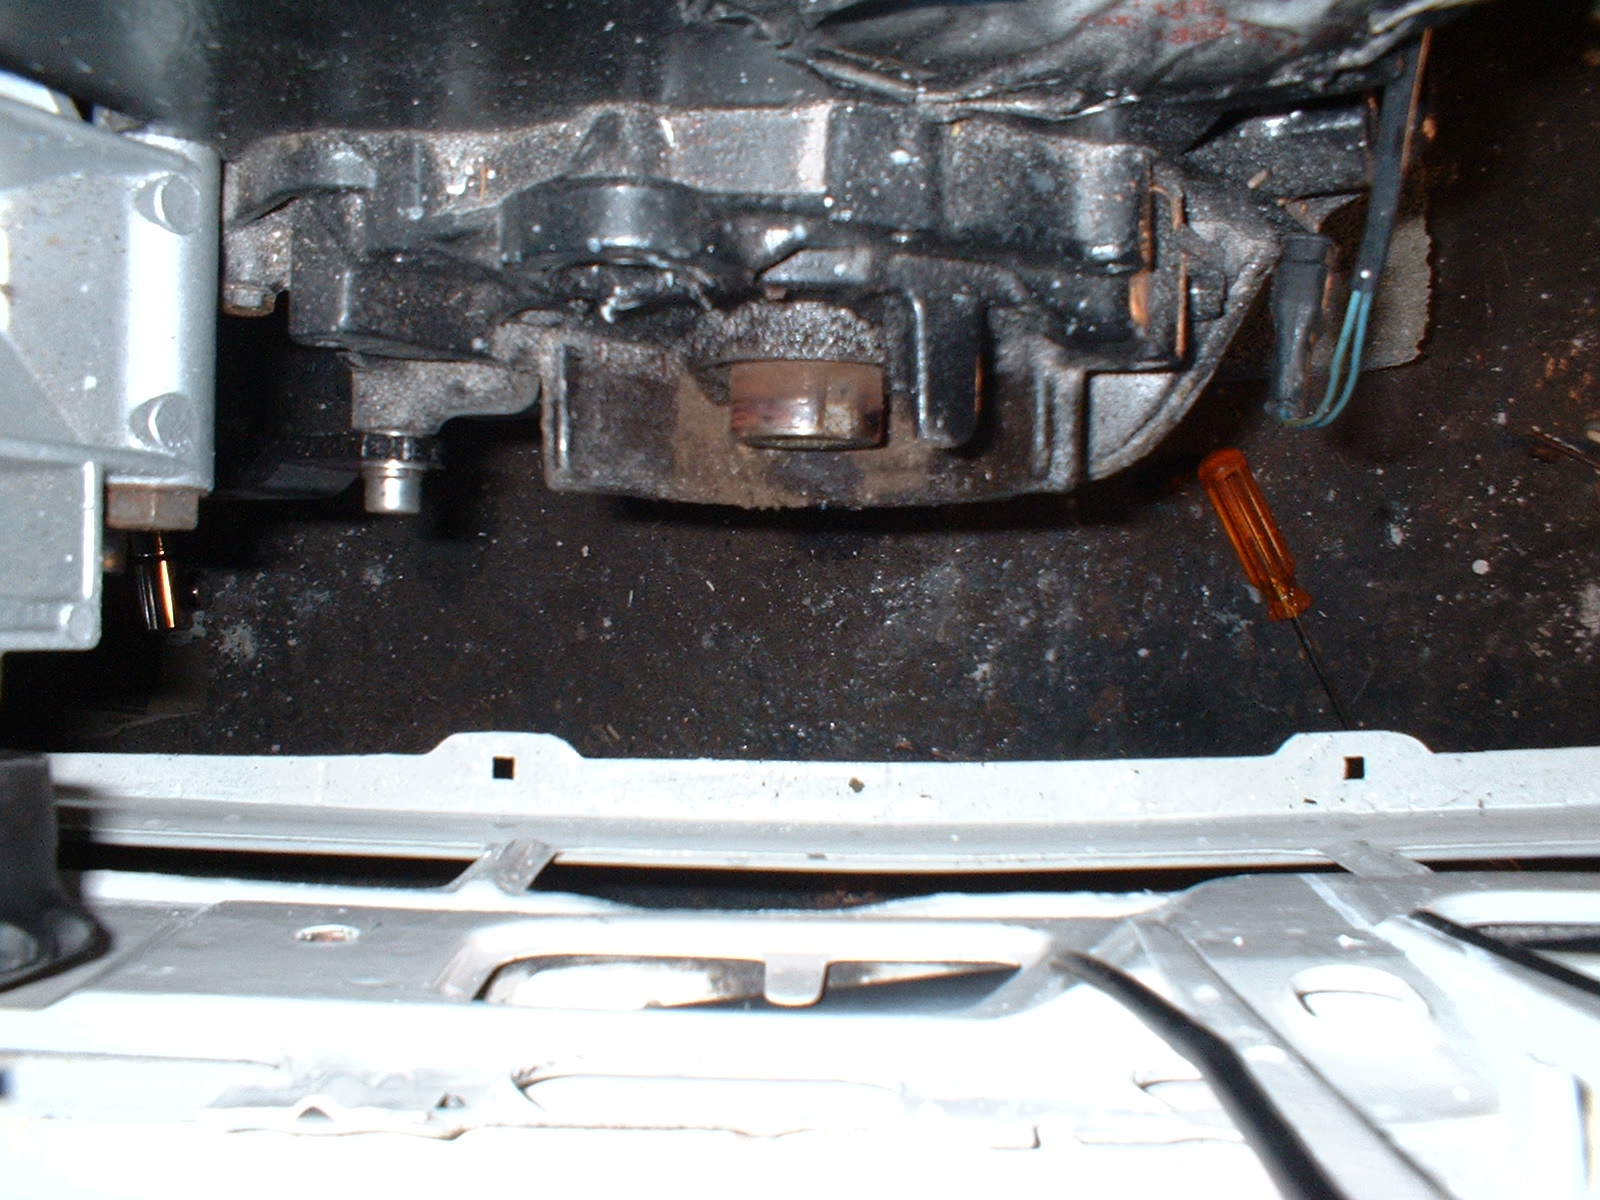
The crankshaft locking tool goes on here like this (you have to turn the crank to get them aligned)
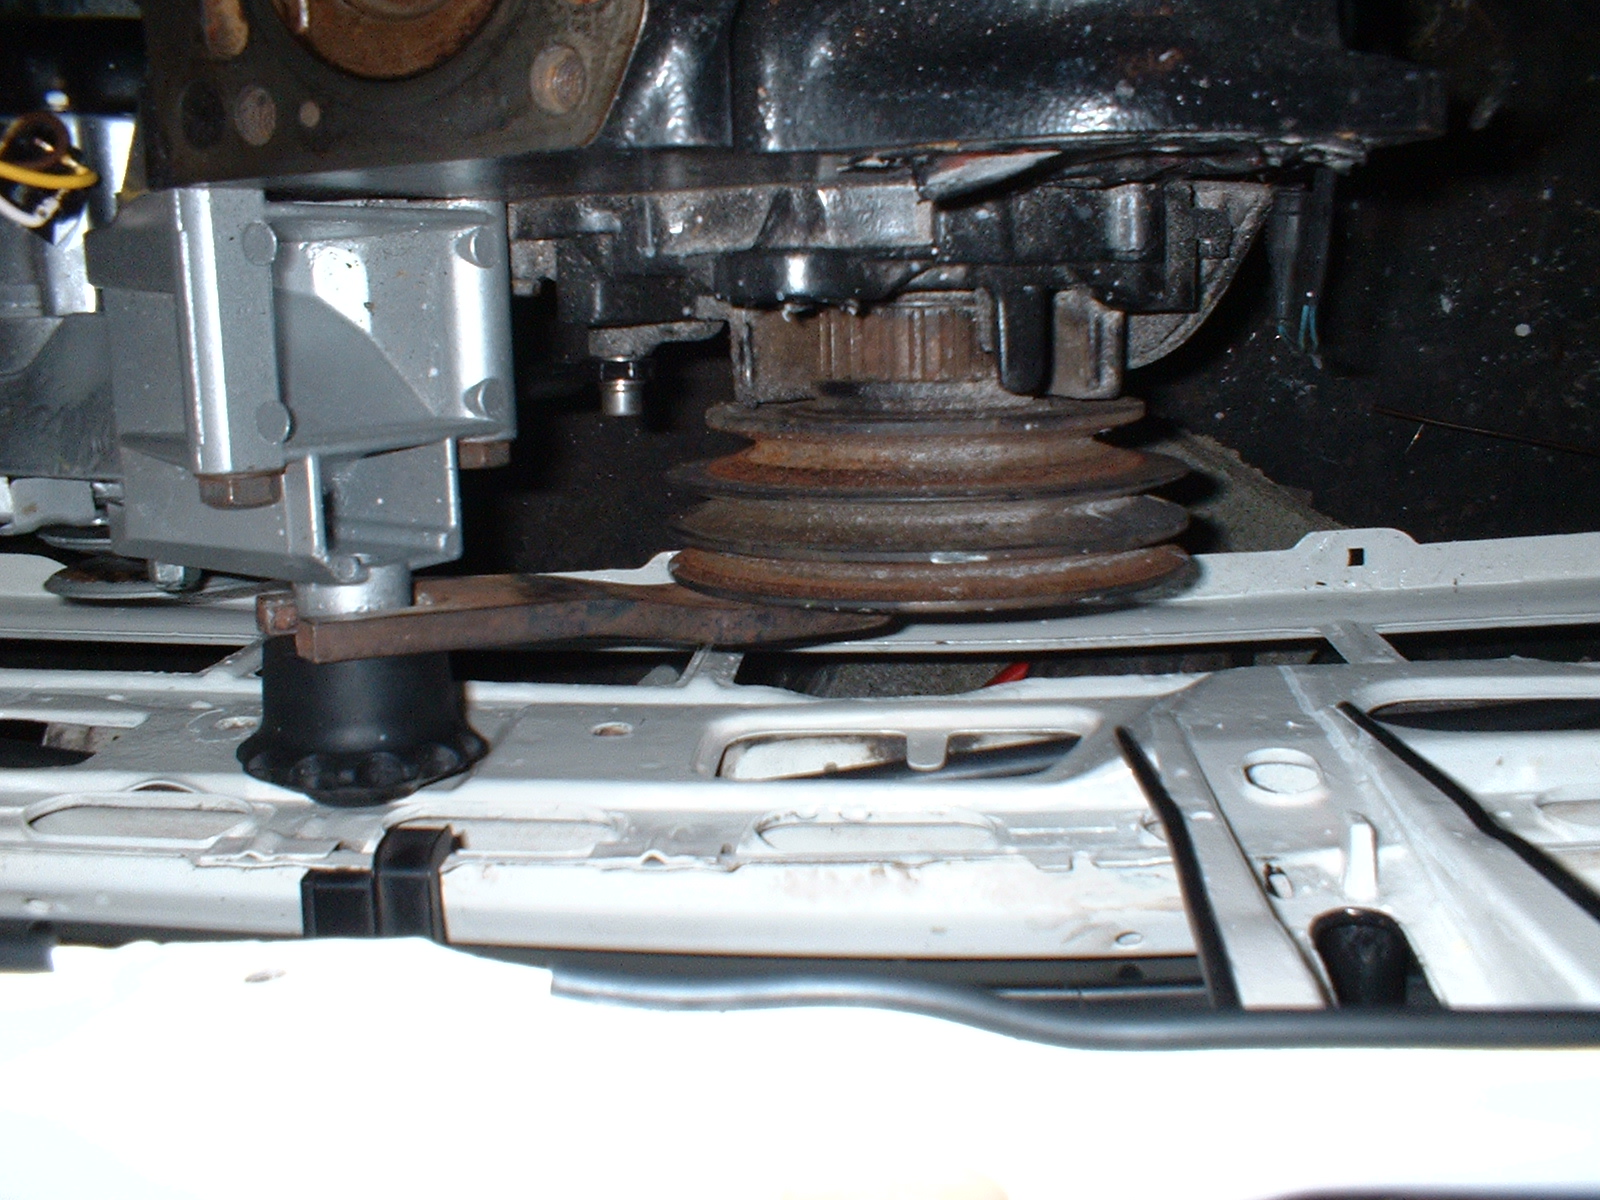
I used an axle stand to support the T bar whilst trying to remove the crank locking bolt.
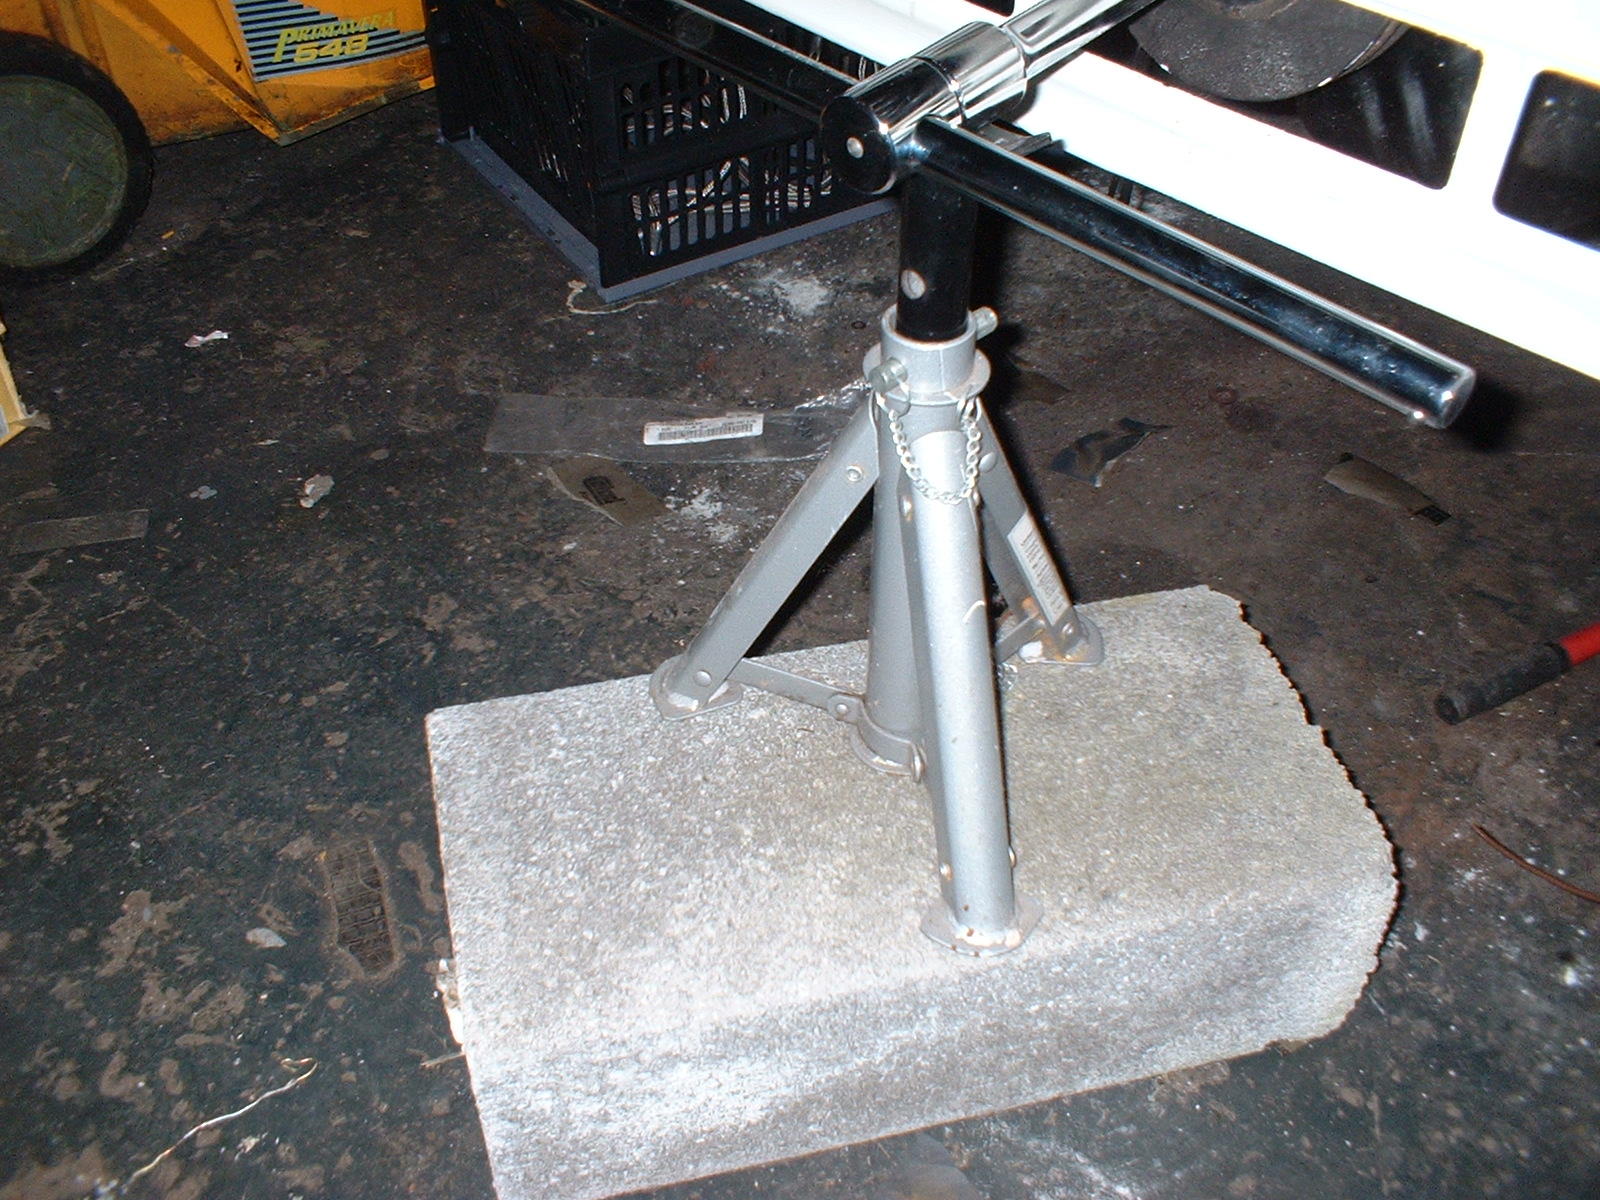
Like this........
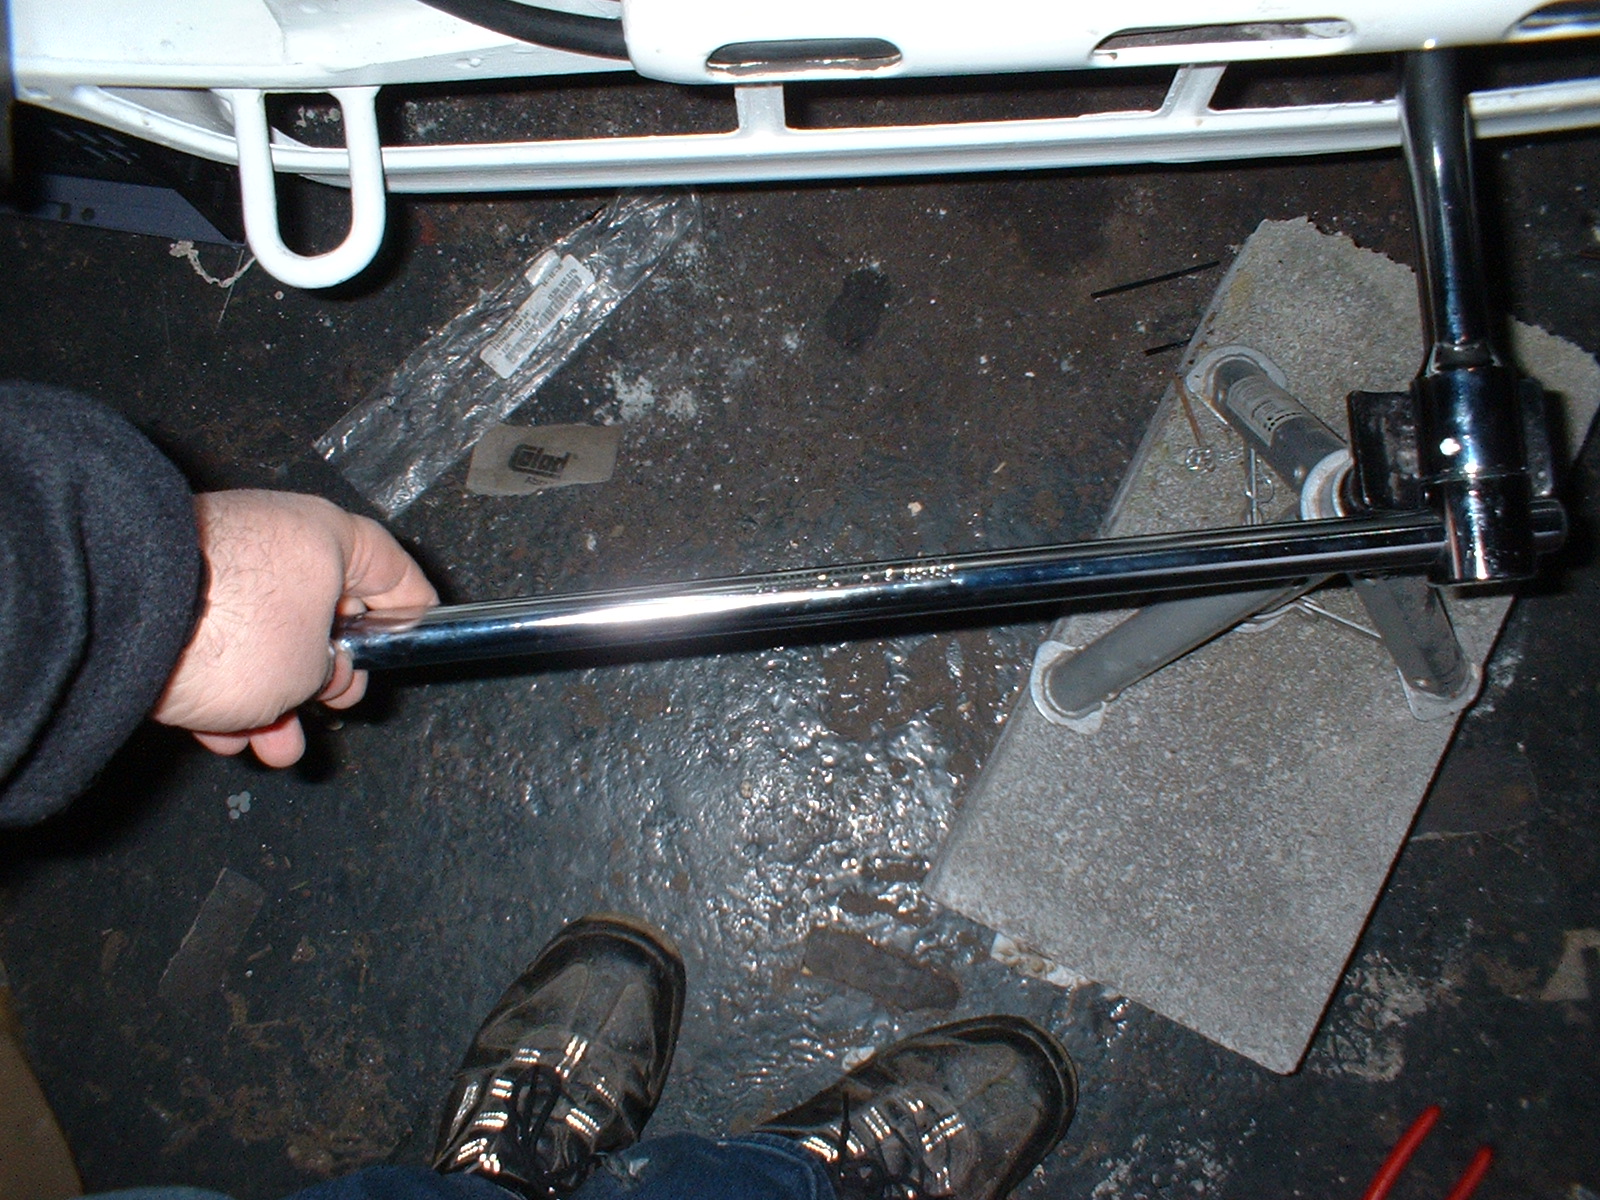
One Mother of a bolt. They are supposed to be tightened to 450Nm (340Ftlb or thereabouts), mine was only about 30Nm... If that...
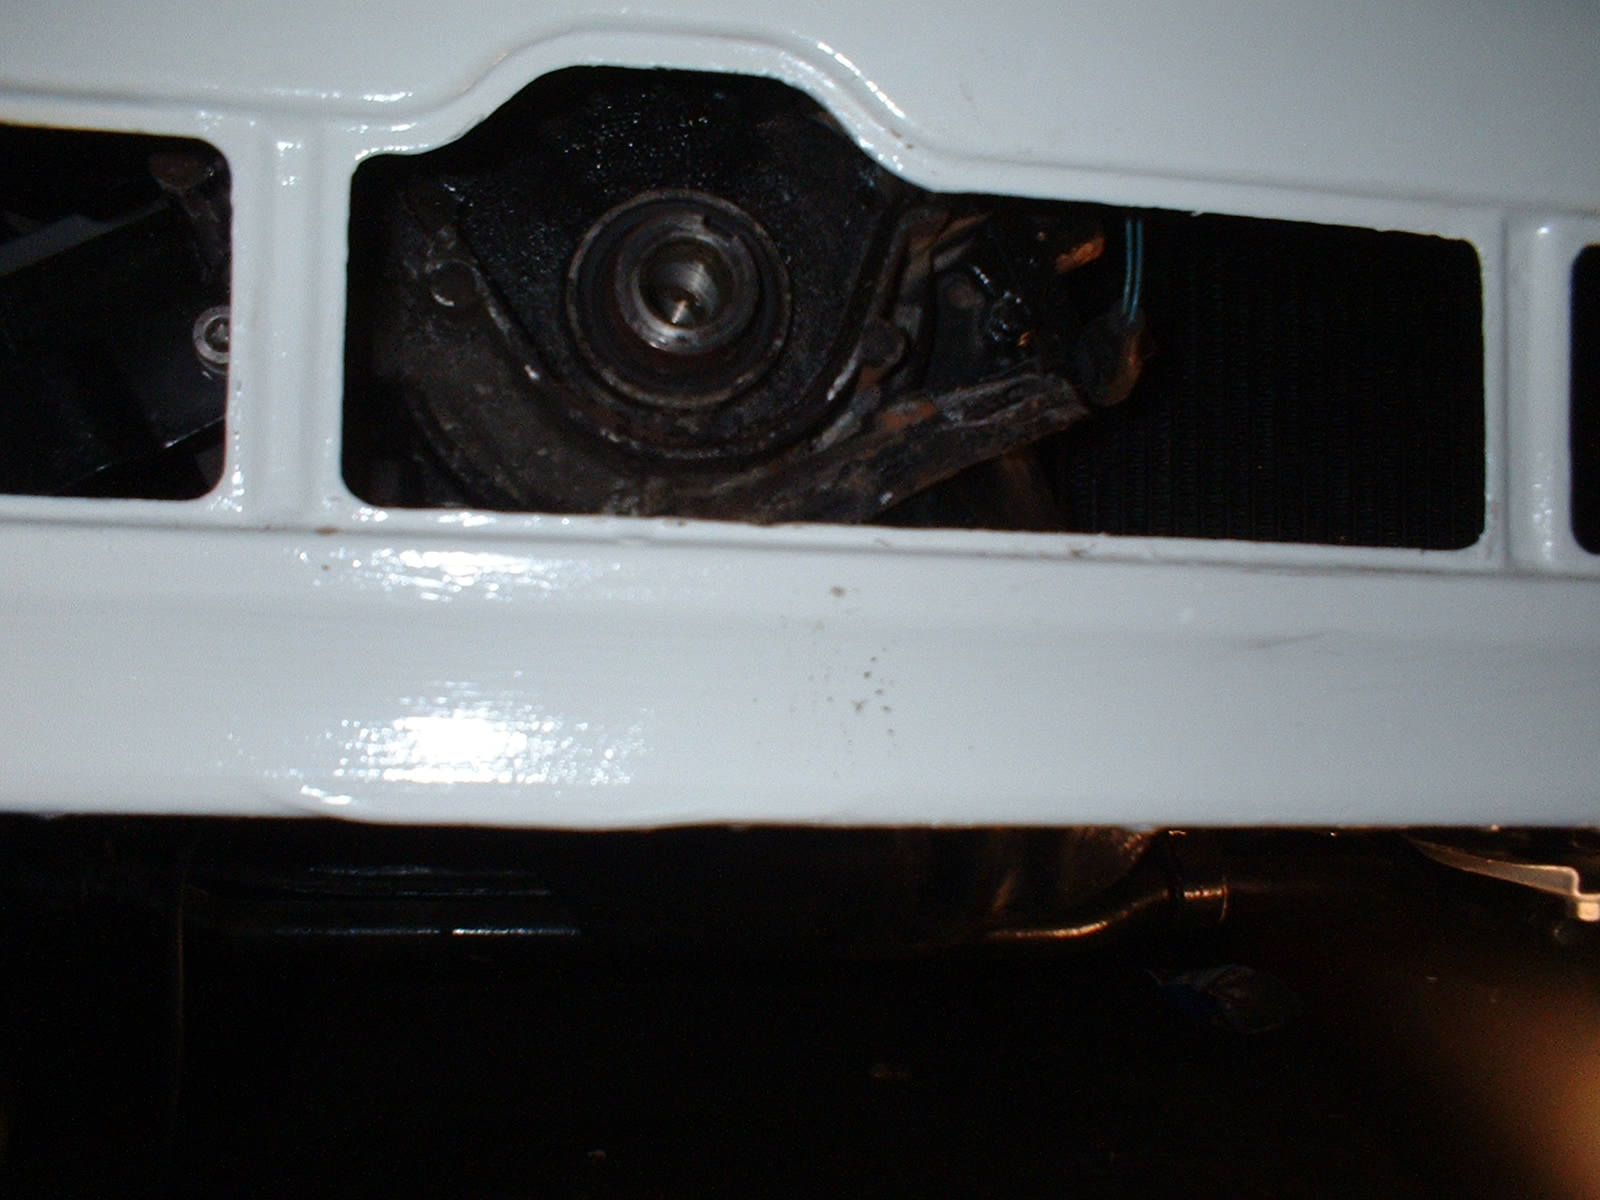
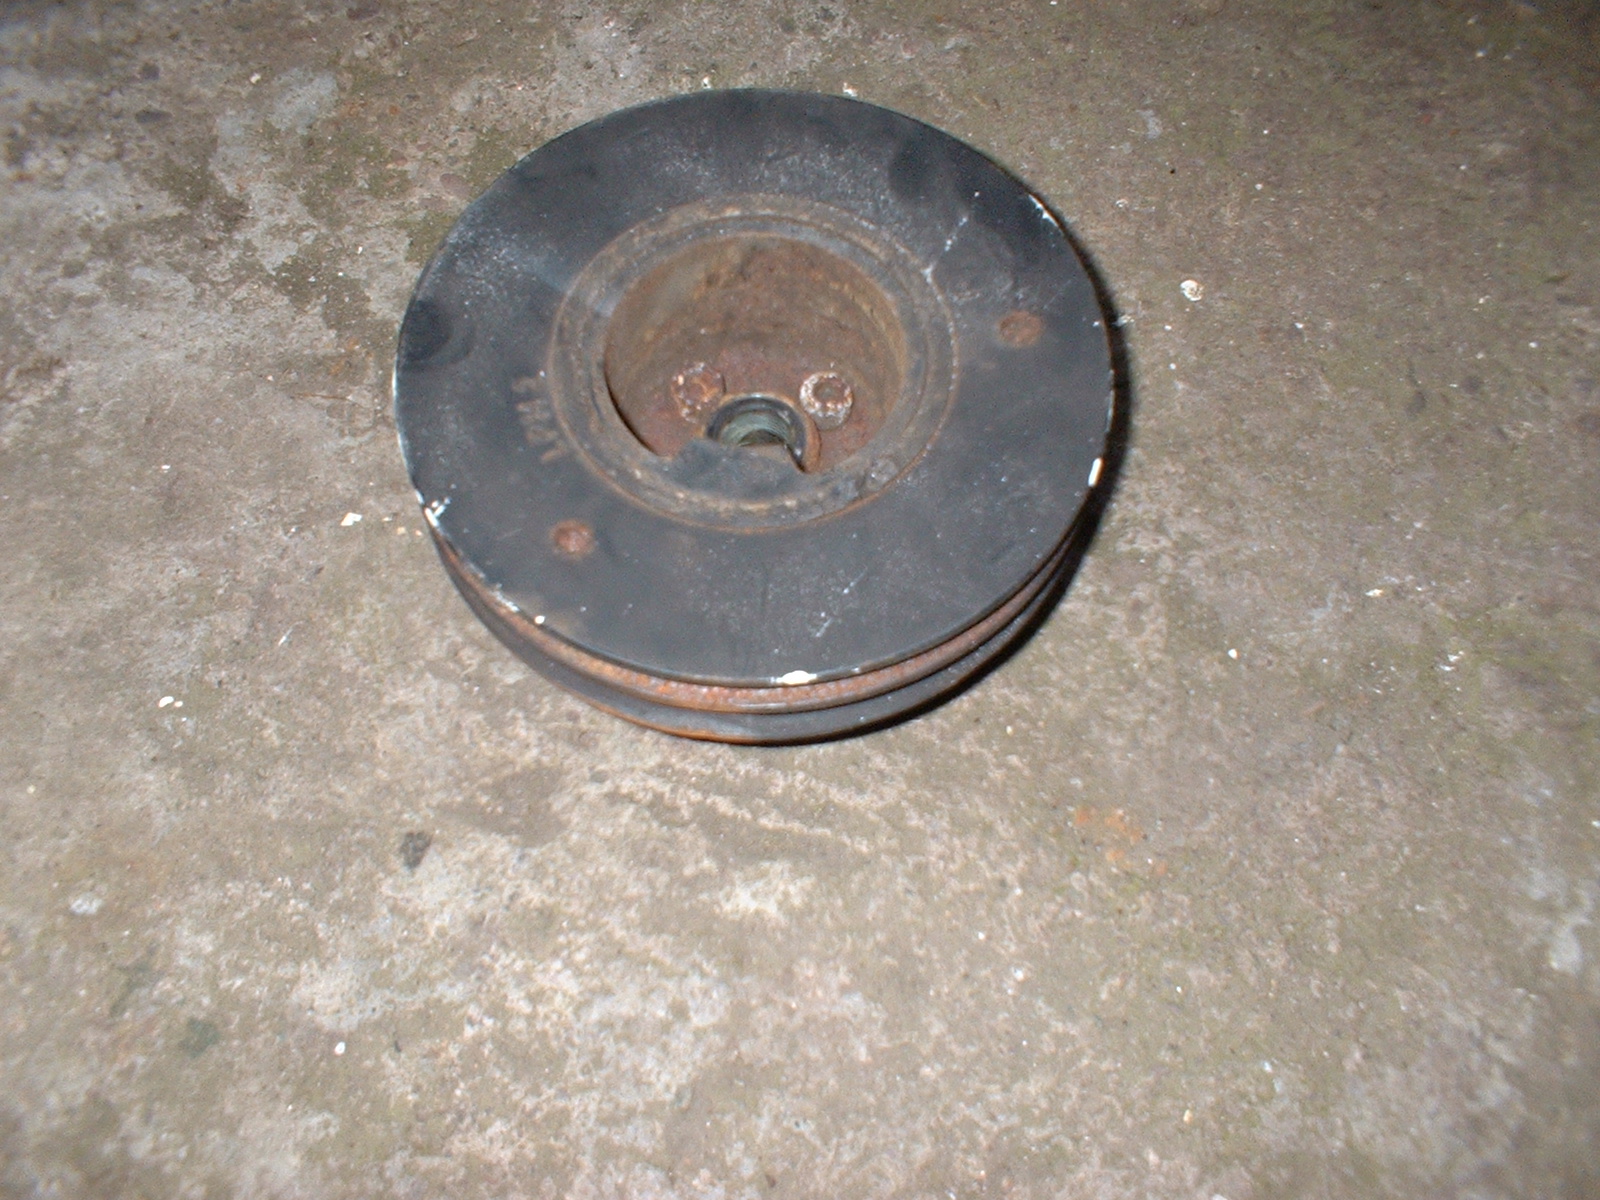
Once you have the end pulley waggled off, you can see how short the end of the crank is. It only sticks out of the block approx 20mm......
The end of the crank. I'll be replacing the oil seal before the pulley goes on.
The crankshaft pulley and damper assembly
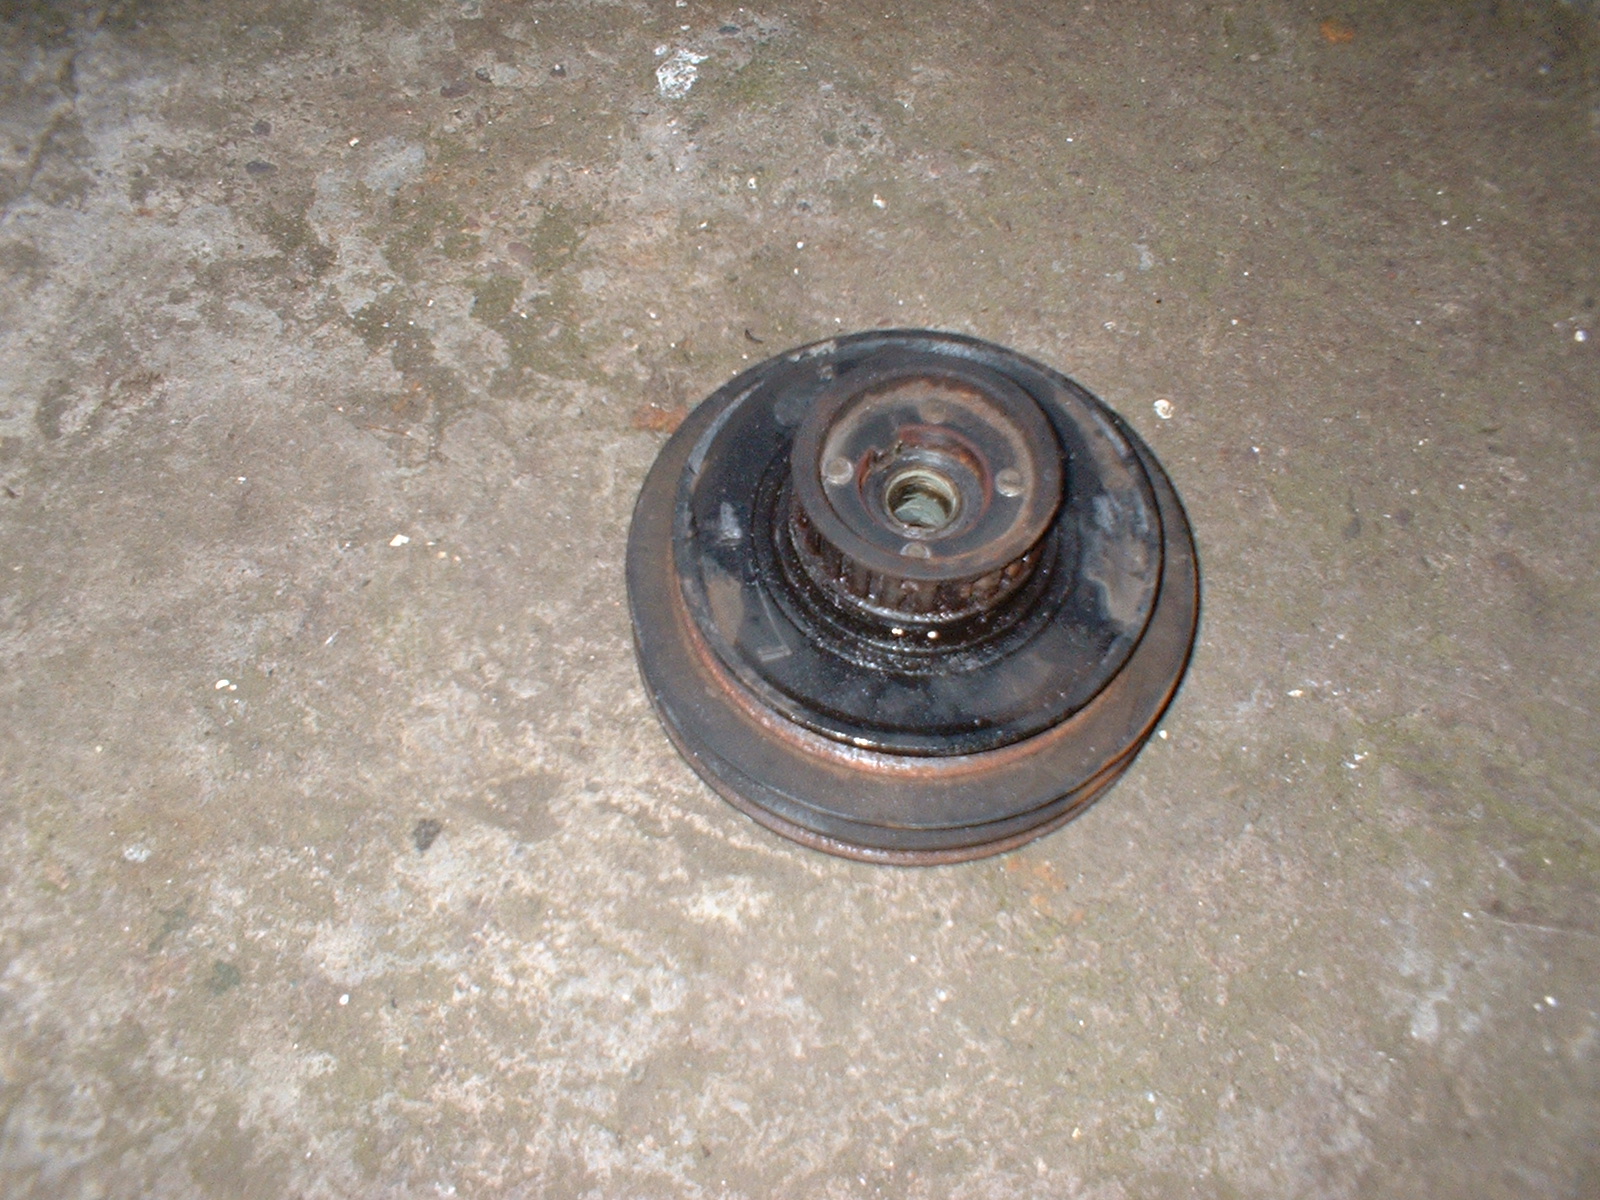
Which is fairly cacked up. I'll de-rust this and paint it tommorow.
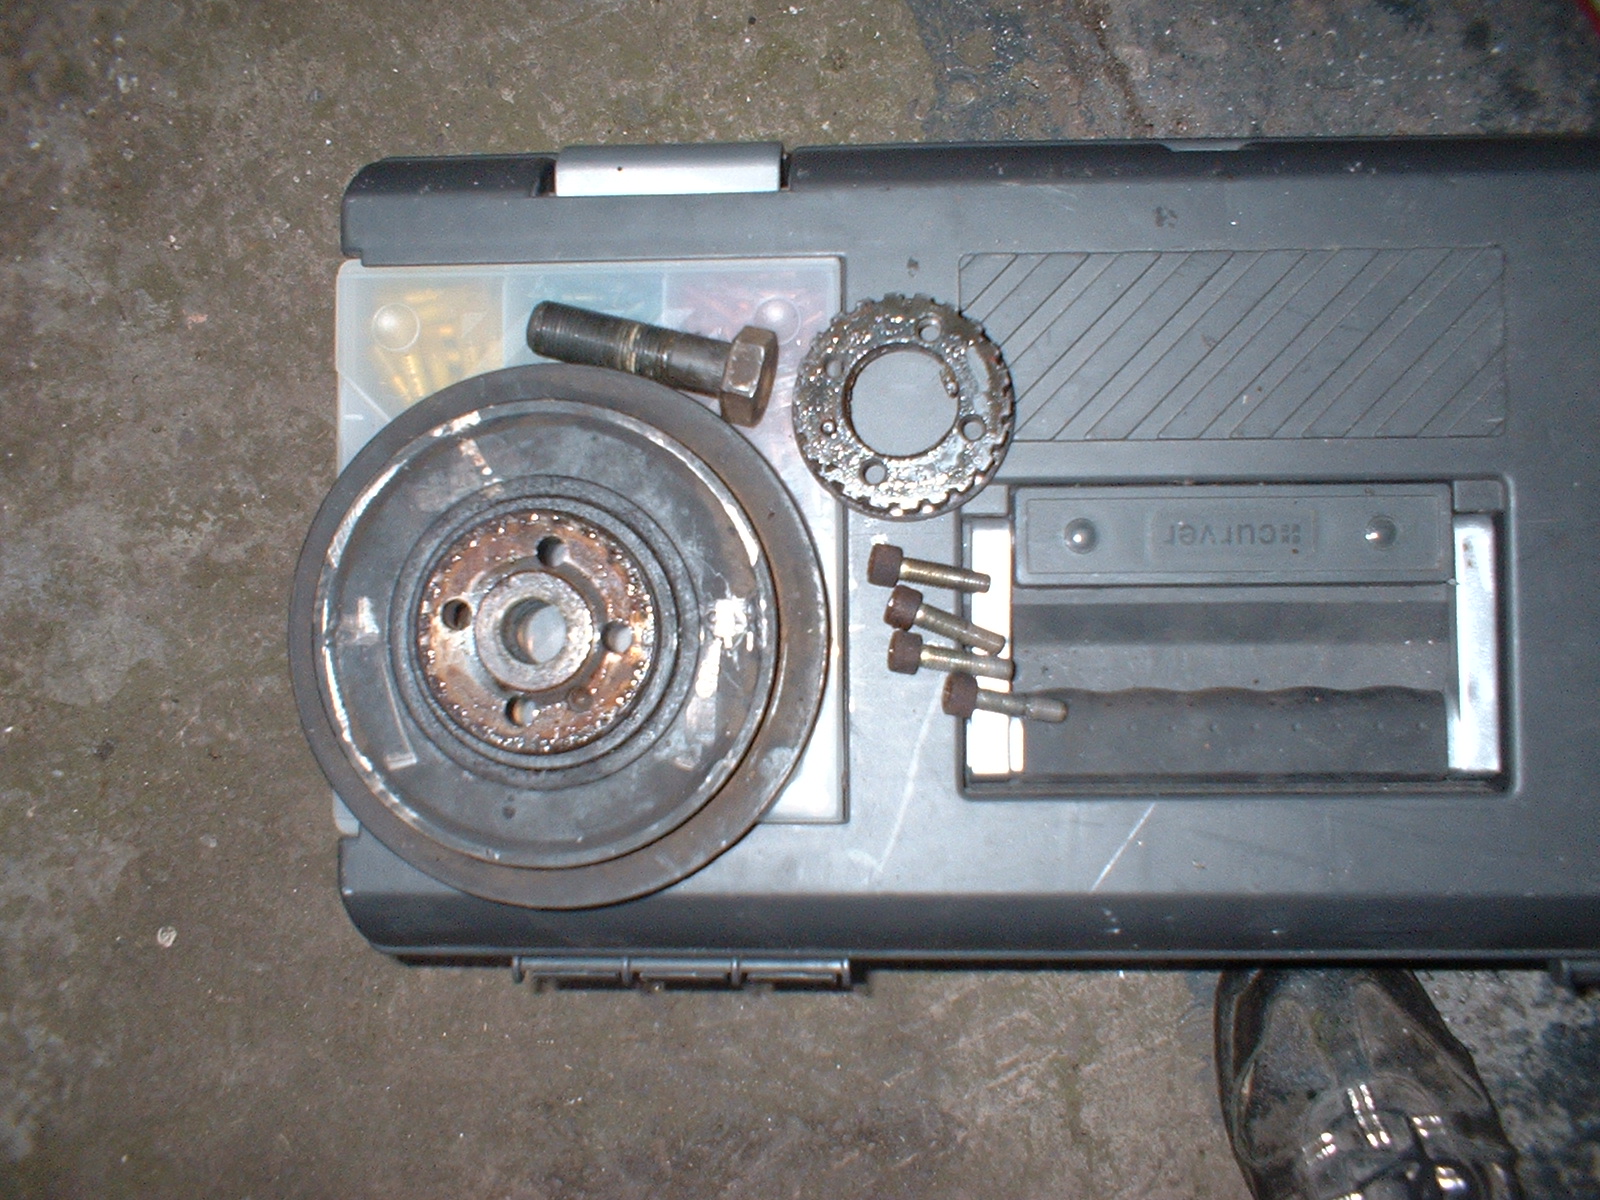
4 Allen screws secure the timing belt pulley to the main pulley, these too will be replaced. The timing belt pulley appears to be in good nick.
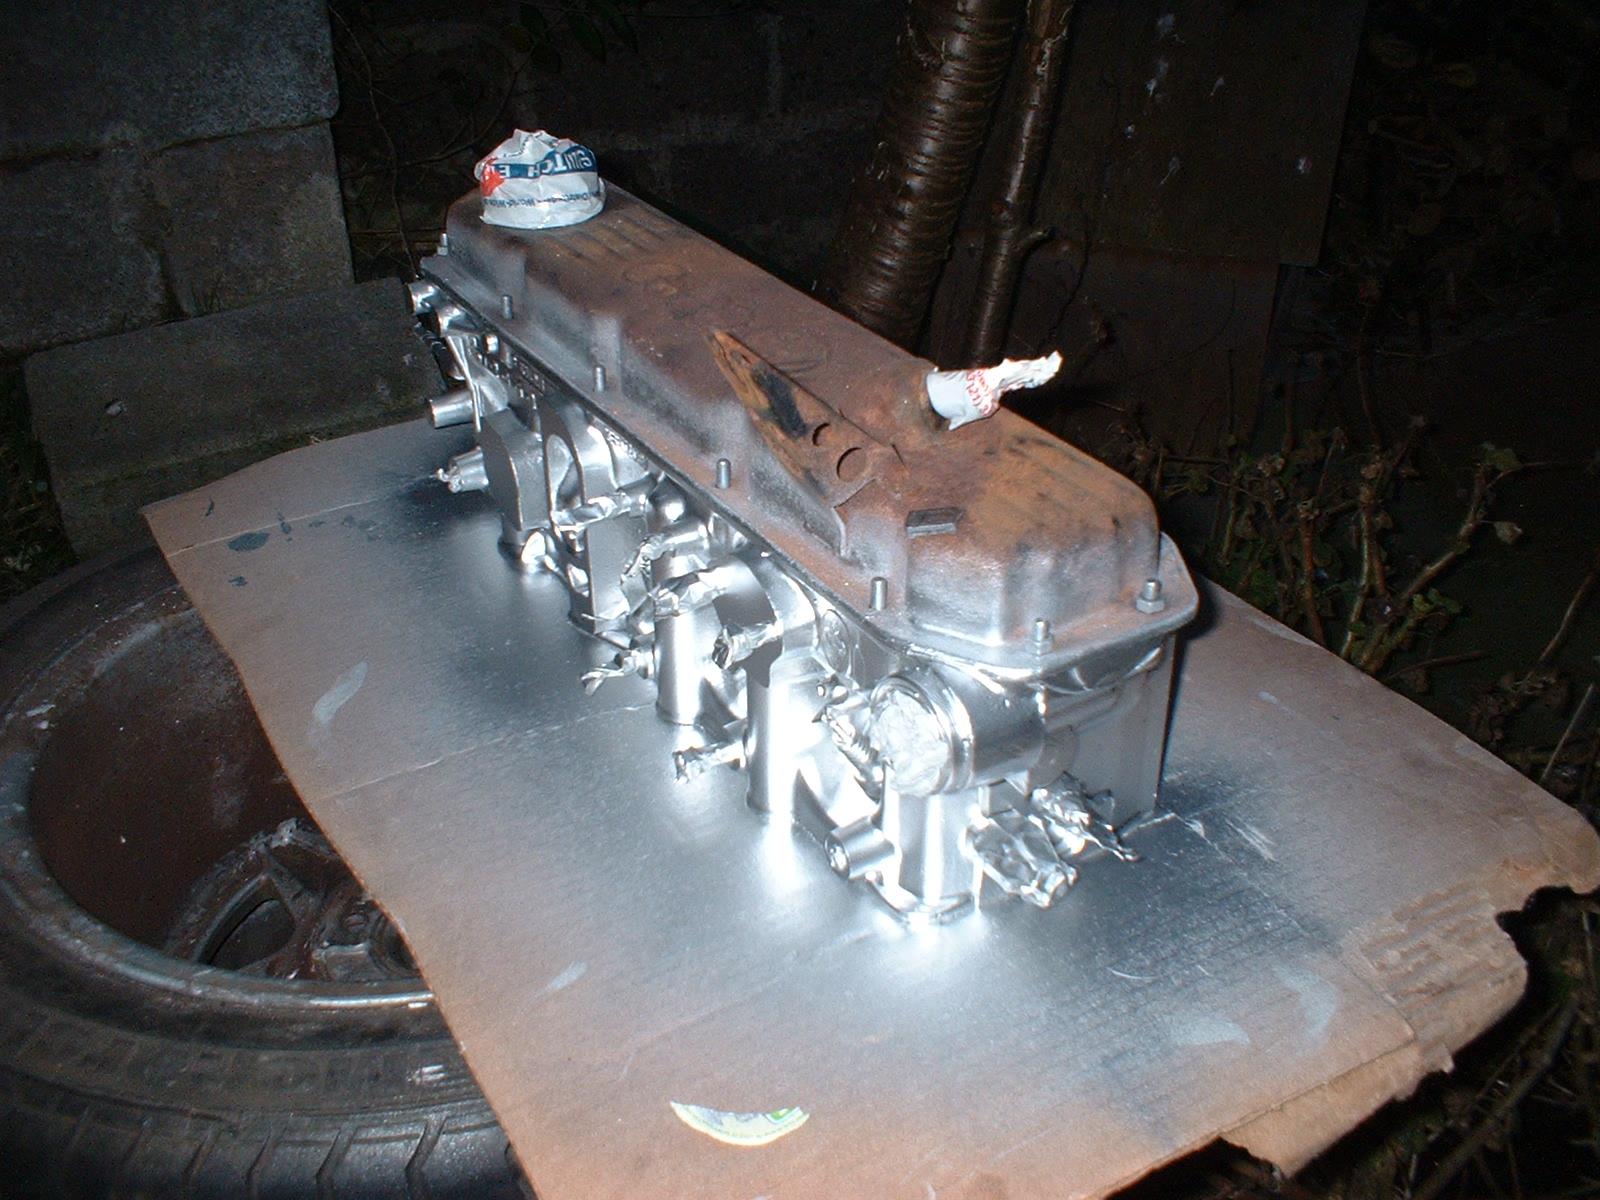
Back to the head. A quick coat of etch primer
On bothe sides
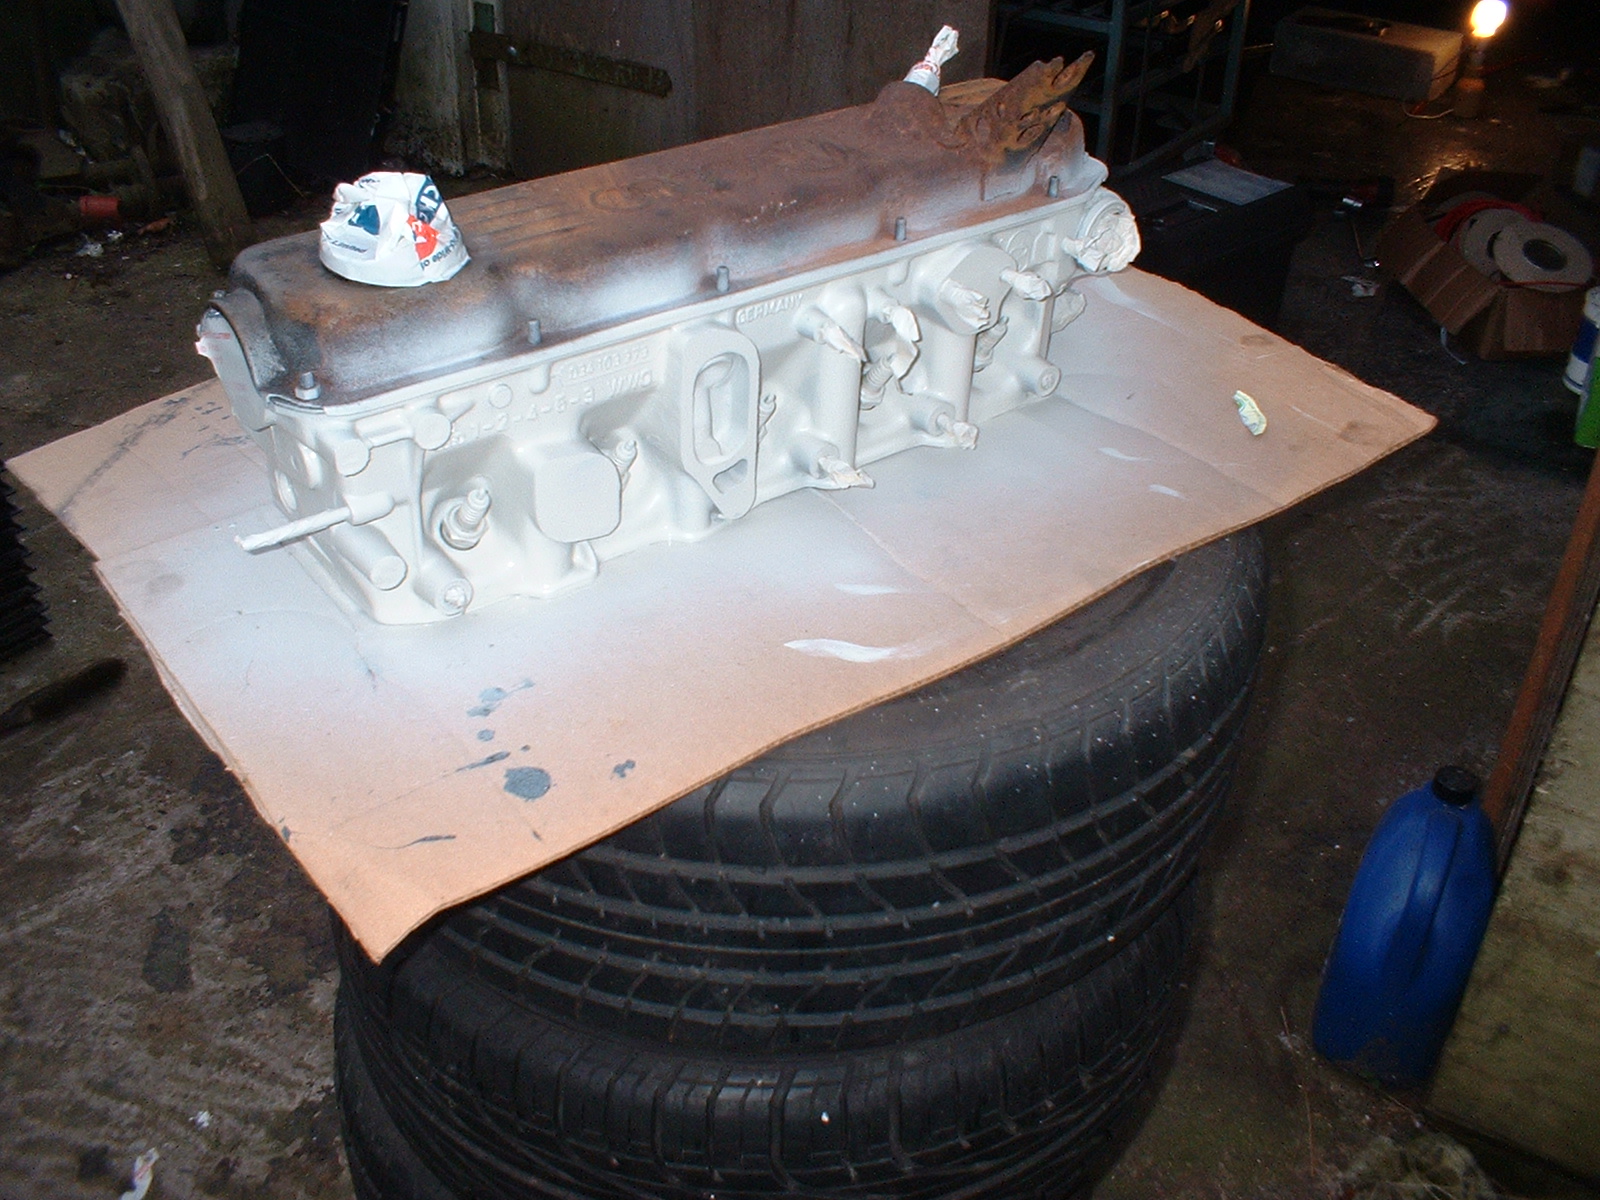
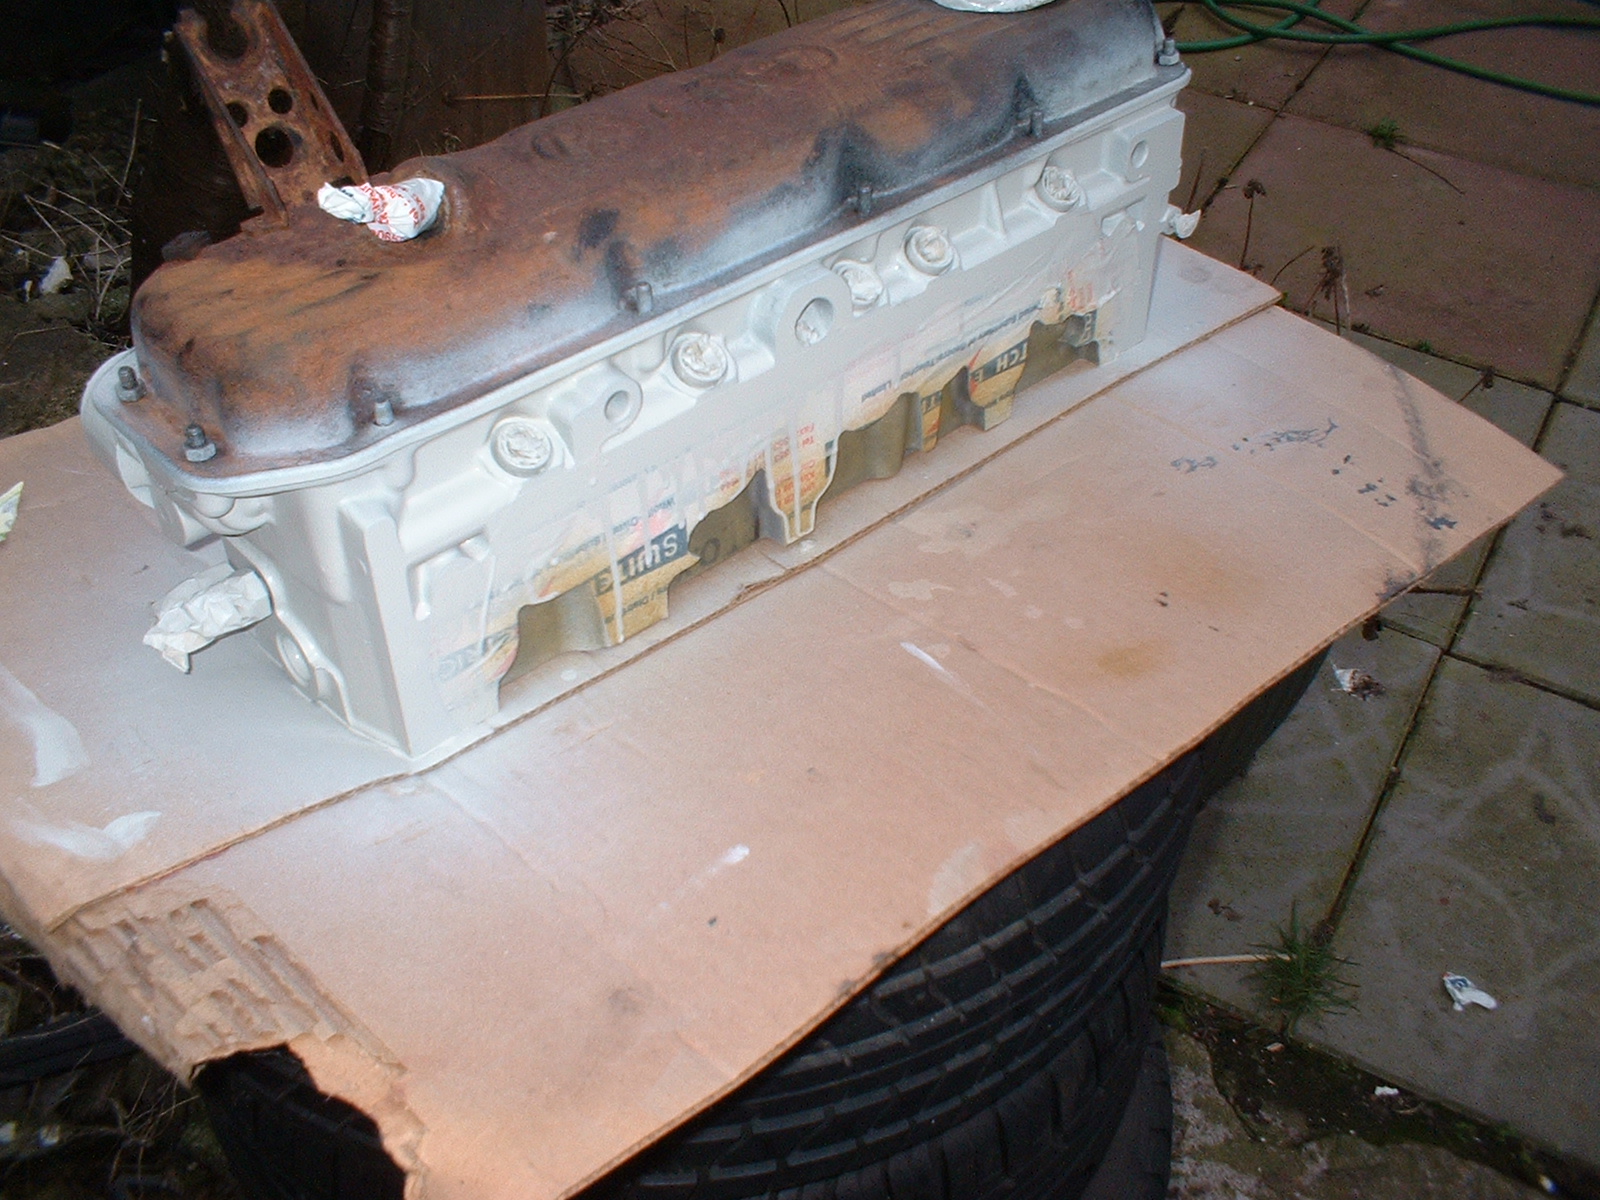
I used silver hi-temp paint below the exhaust manifold

And then painted the whole head with a metallic silver paint.
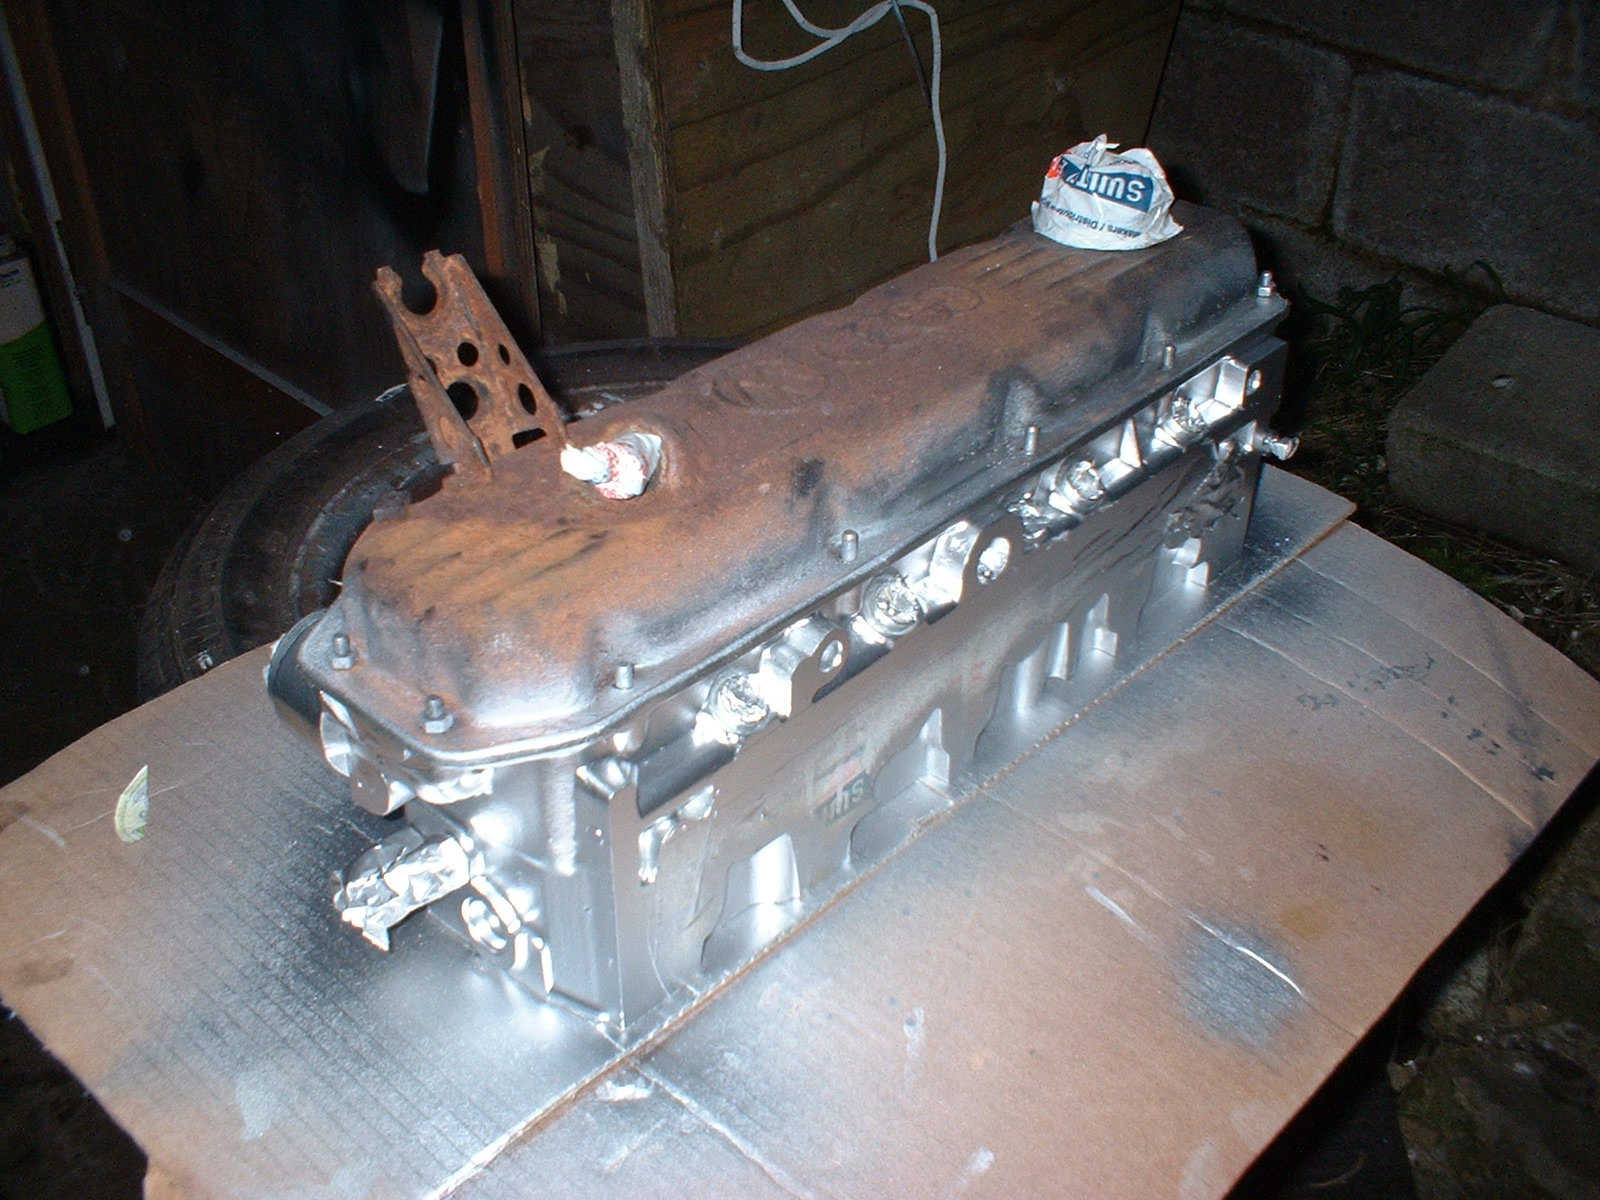
It's a fairly close match for the original aluminium. But not exactly.....
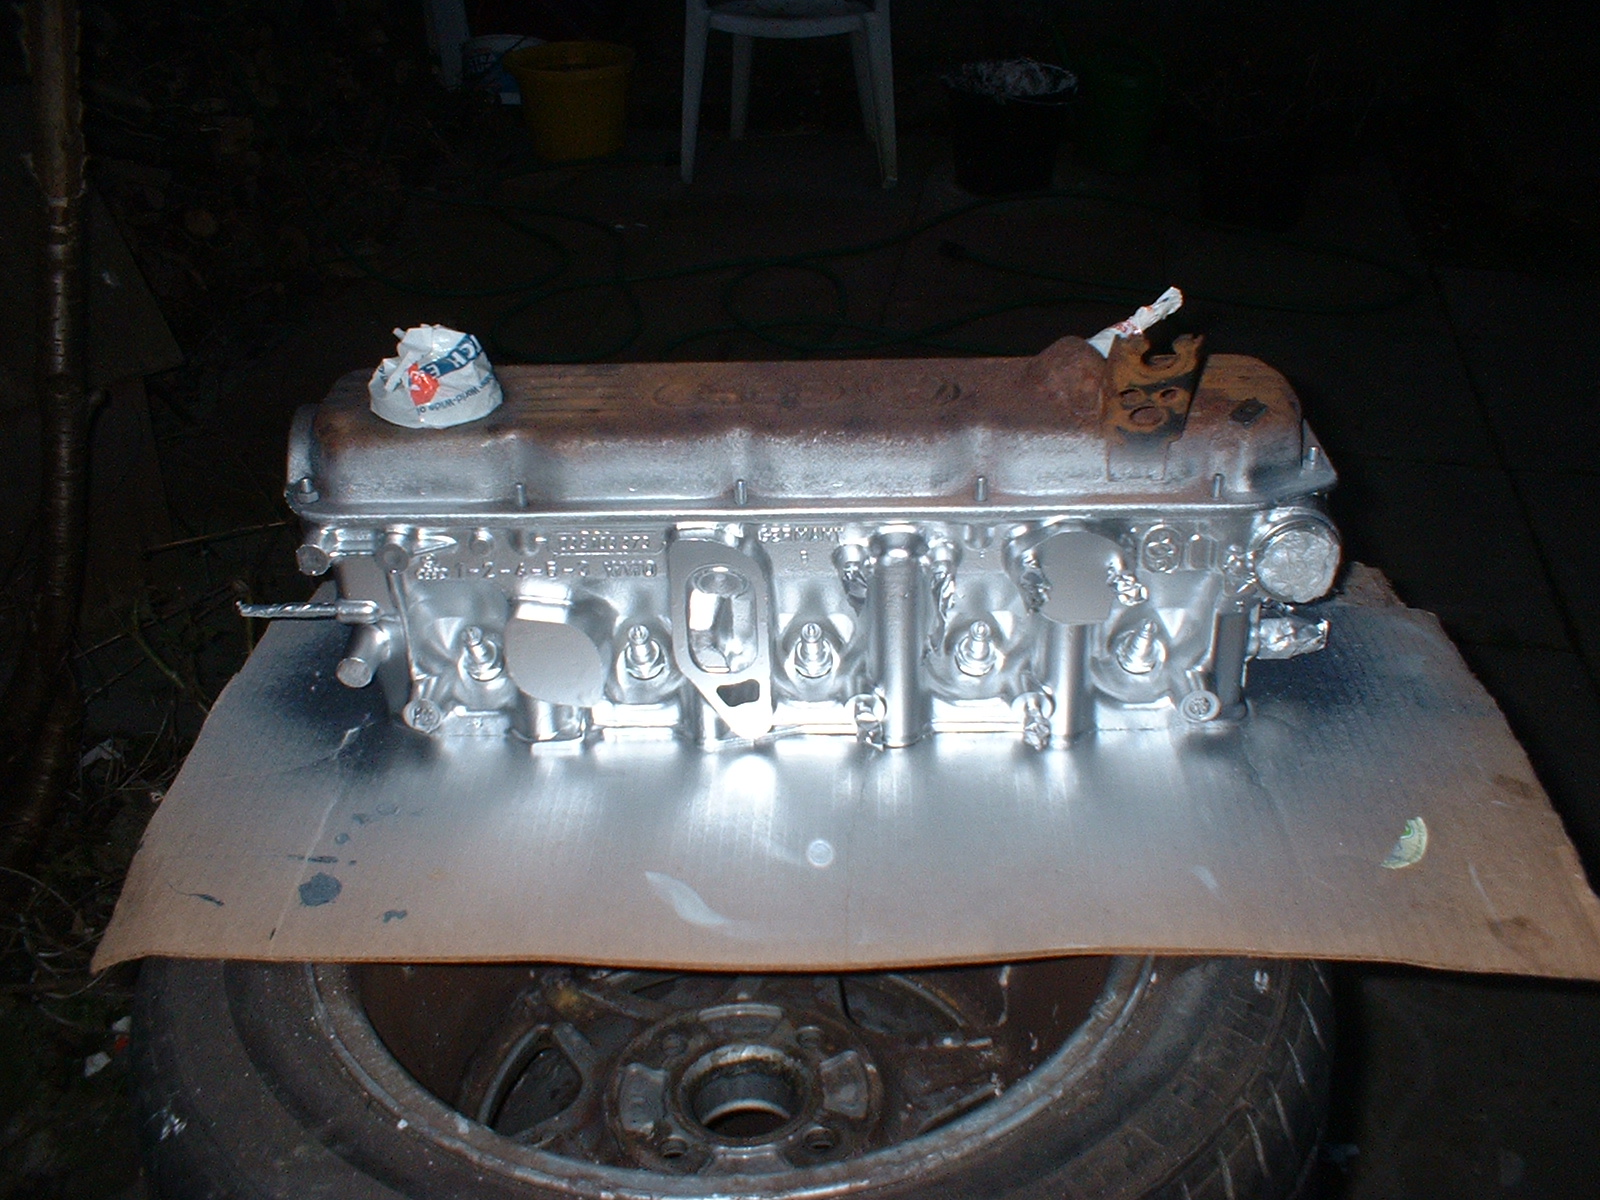
Looks good though.....