The Coupe Quattro
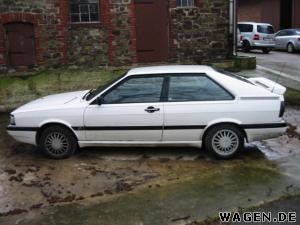
My CQ
Ongoing Restoration
Gallery
Info / Data
Suppliers
Links
T85q.com
The engine bay progresses 25 Feb to 05 Mar 2006
Just waiting for it's cam followers.
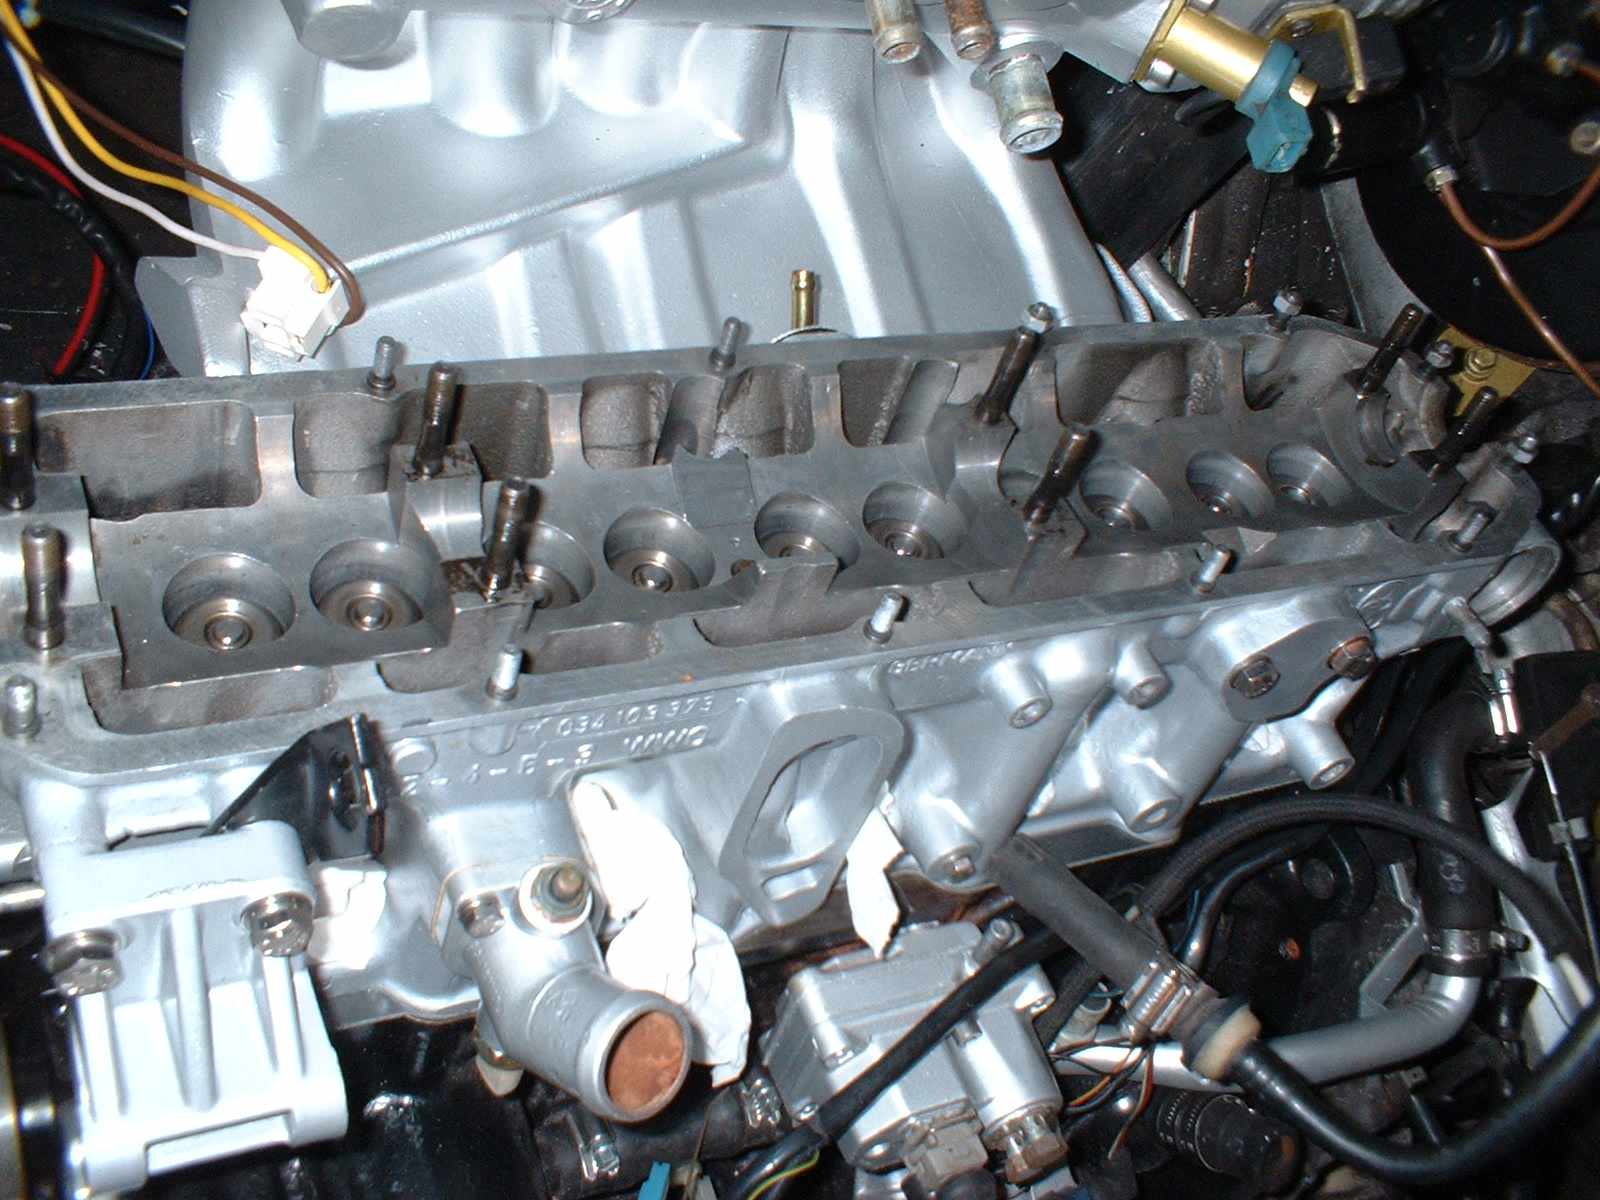
First of all I gave all the valve springs a drizzle of oil
Then the cam followers get cleaned to remove any surface dirt, and dropped down into their bores. Note the method used to locate cam follower to location.....
More Oil
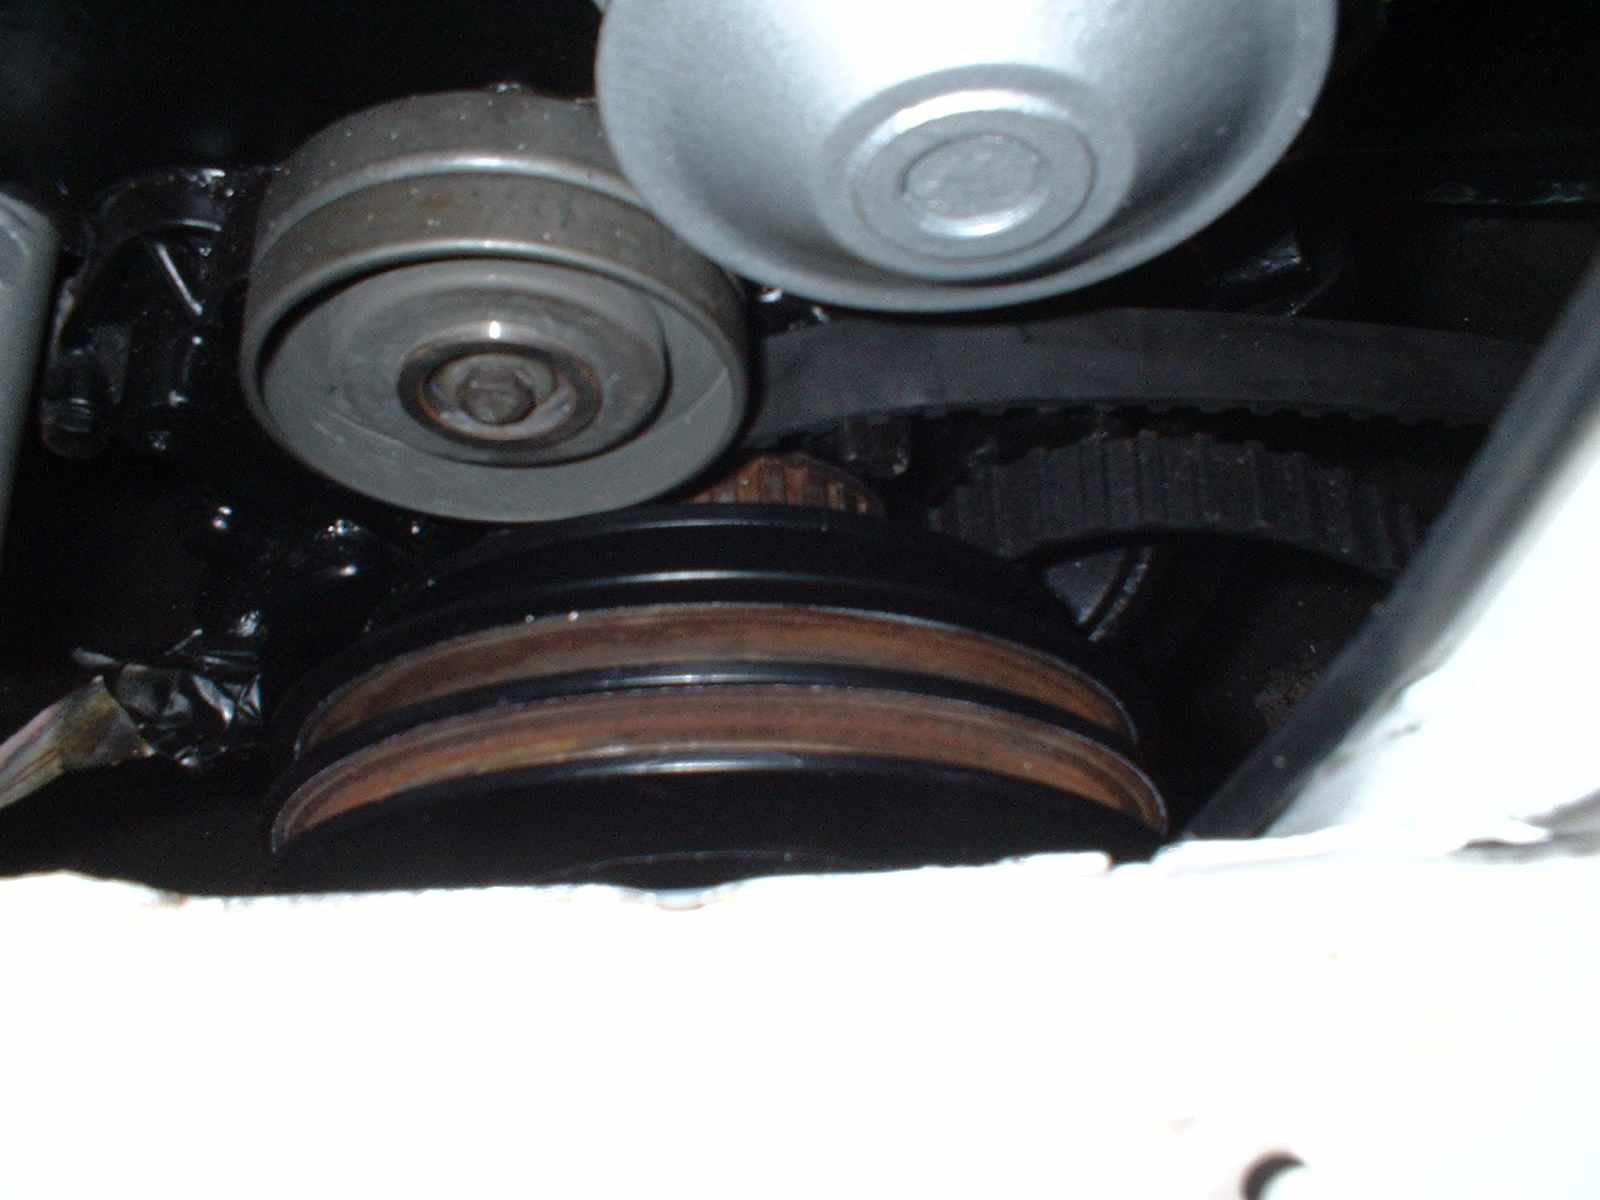
A bit out of sequence, but I needed to push the cam belt out of the way to the right.
Cam now dropped down into it's bearings.
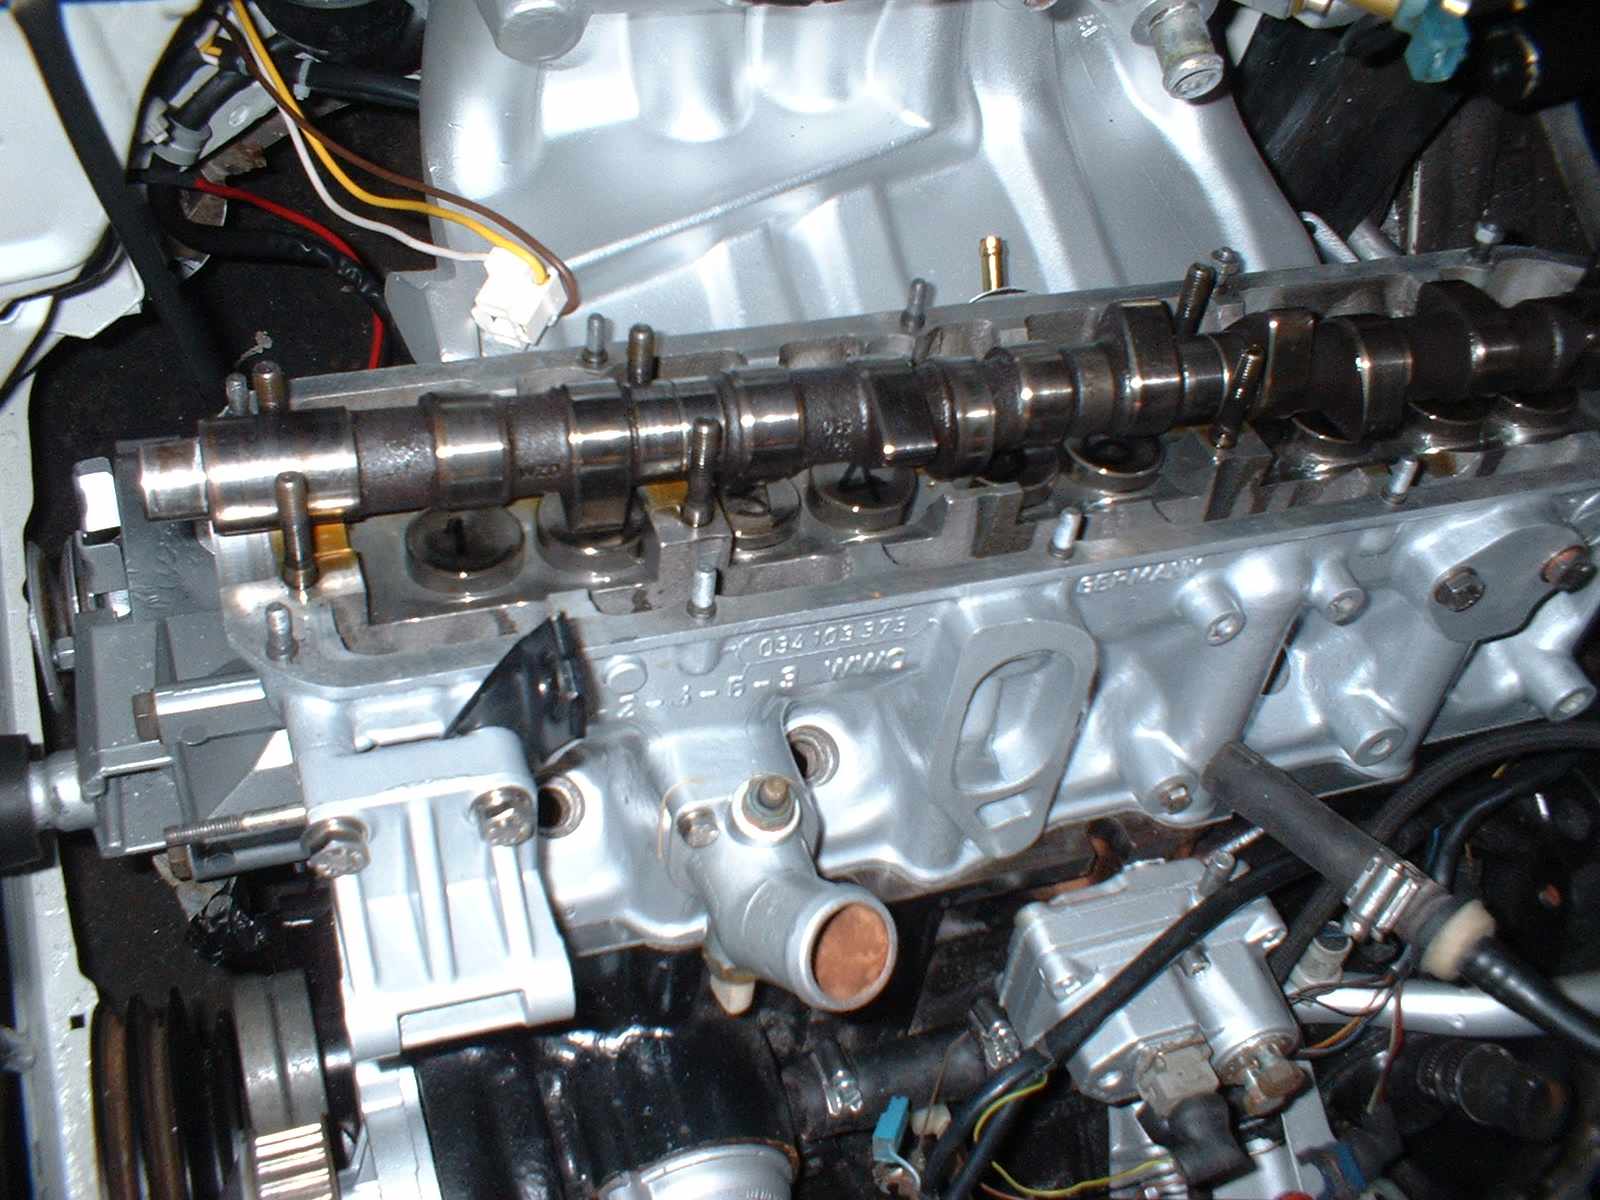
The cam drive sprocket fitted. MAKE SURE the Woodruff key is in location. More oil drizzled on.

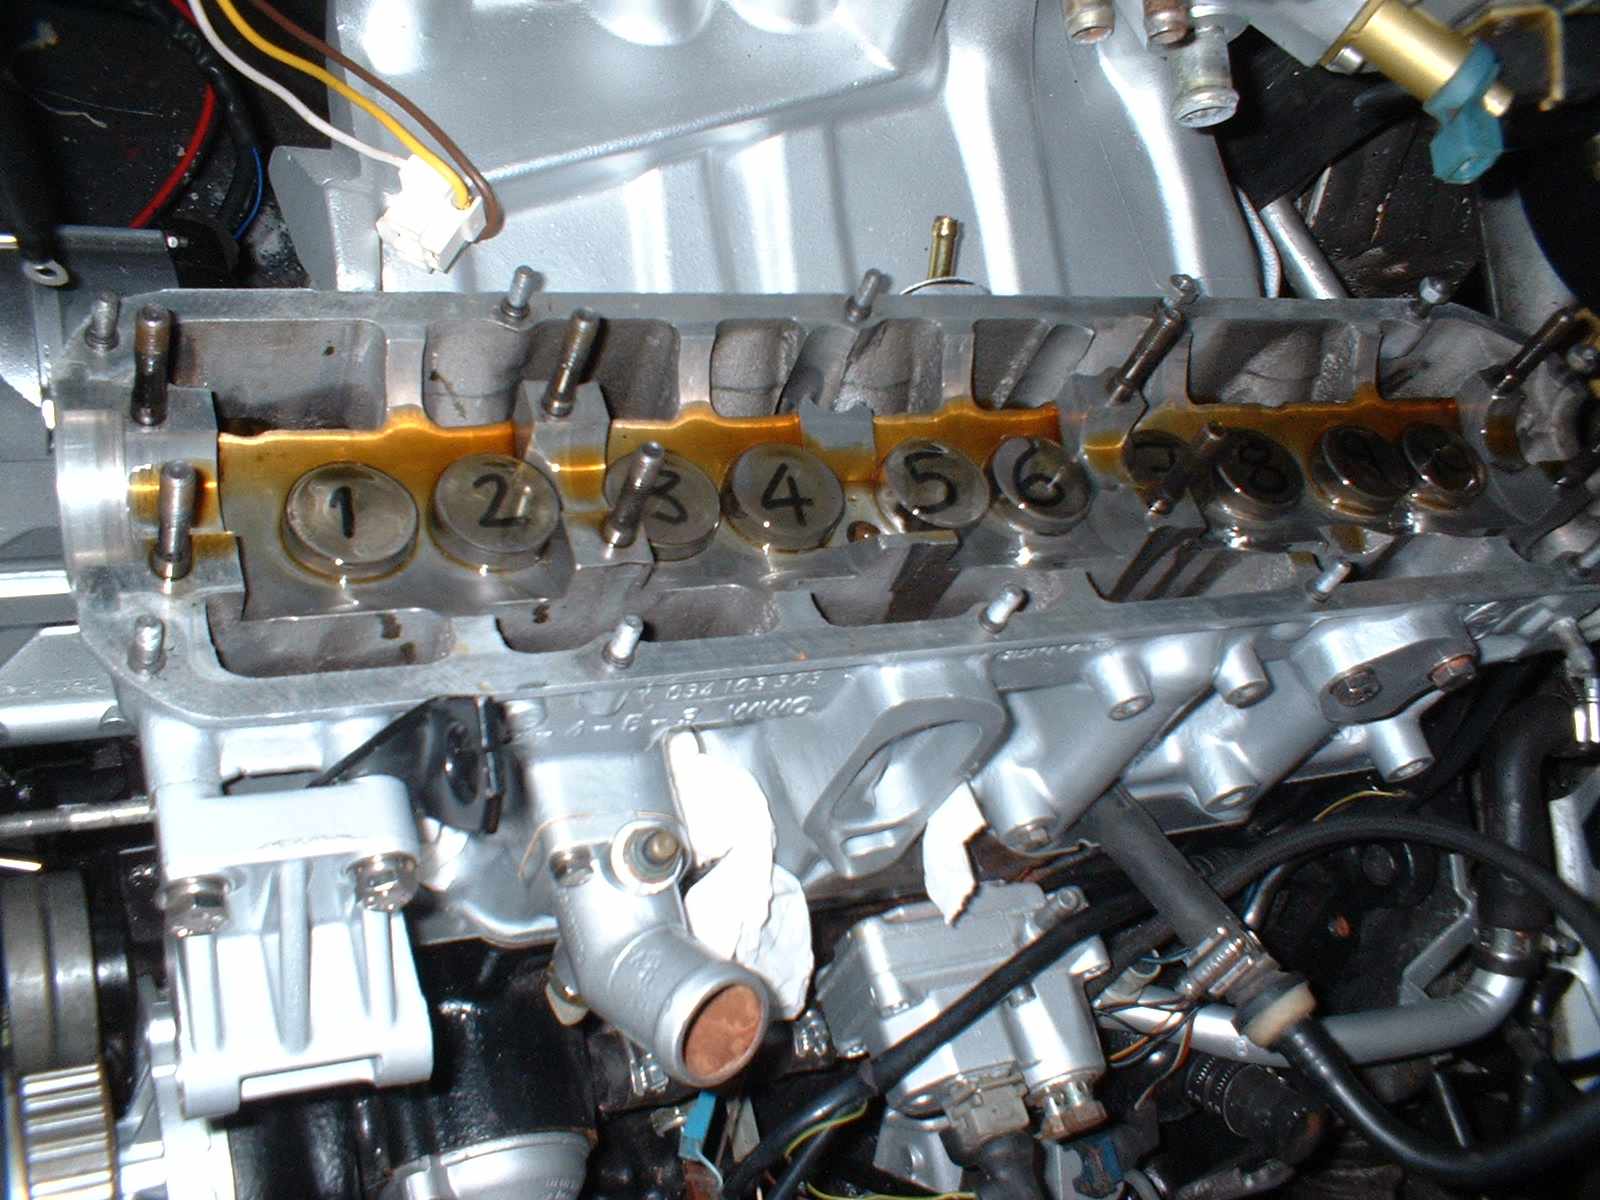
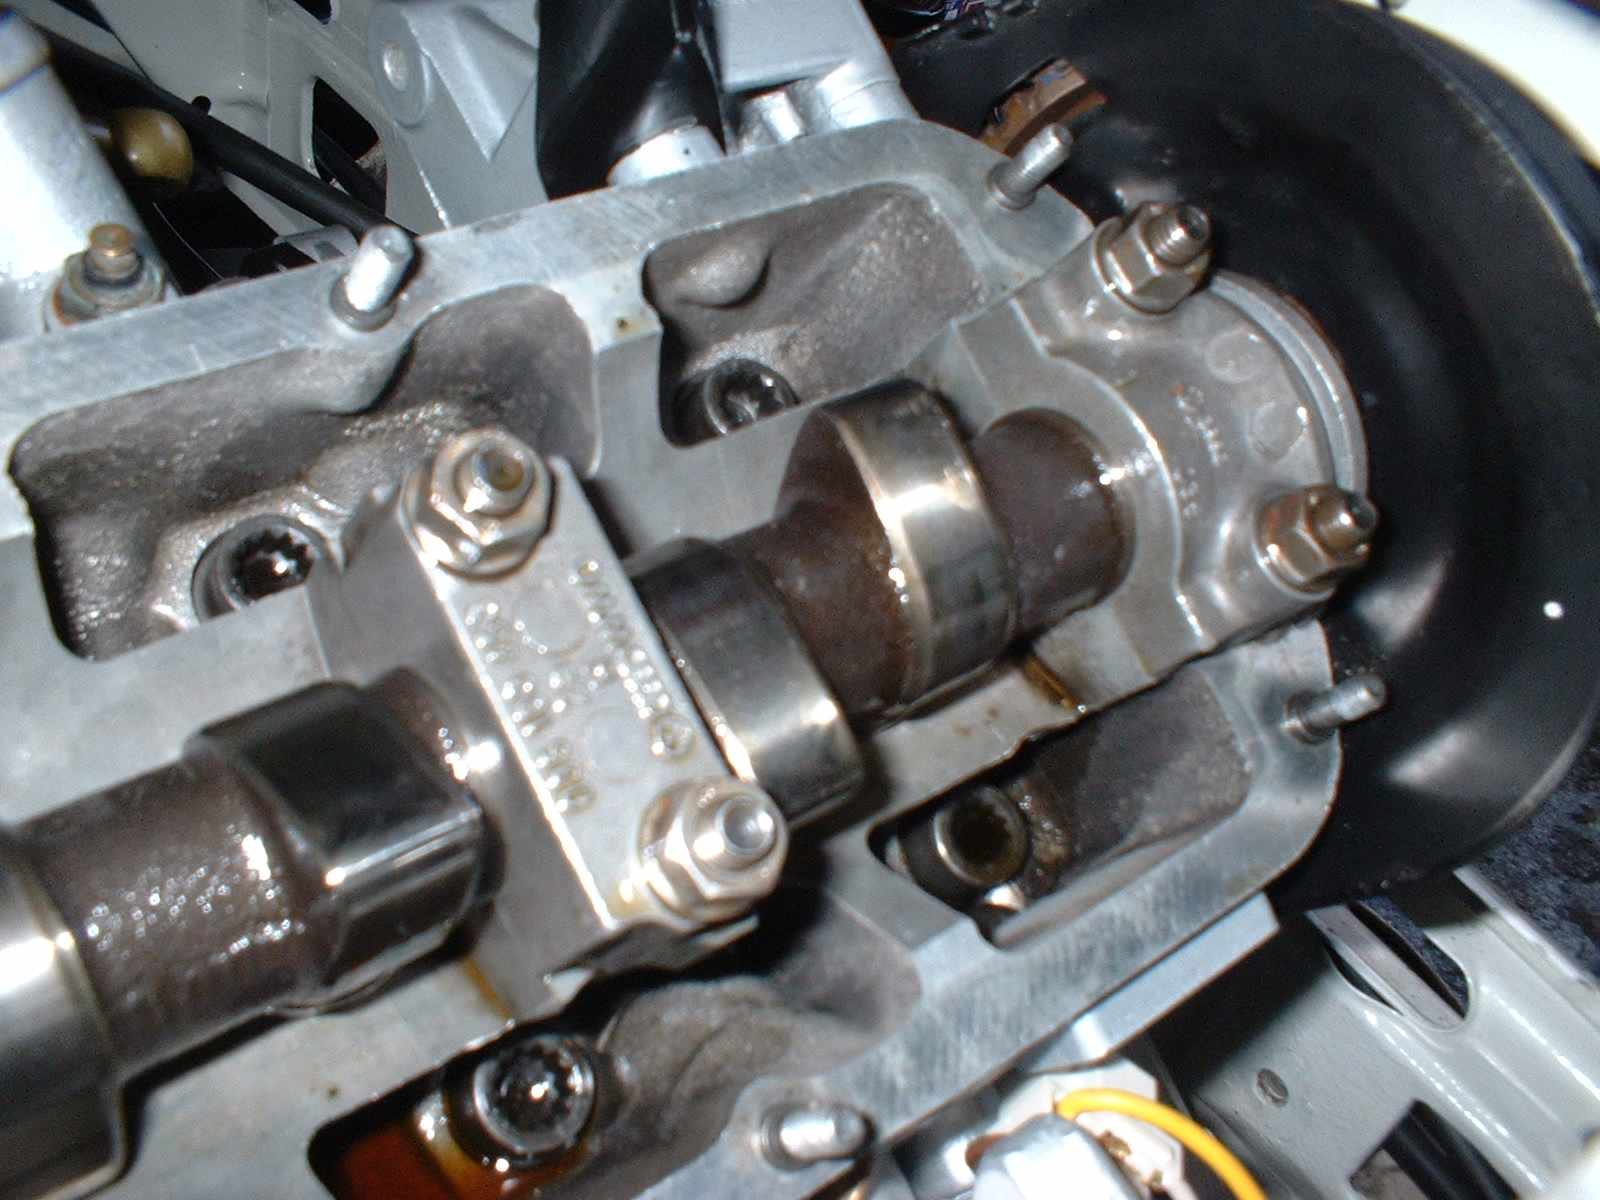
You now need to make sure that the No. 1 cylinder is at TDC (check the mark on the flywheel). Then set the cam to approx TDC (both valves fully shut).
The next thing that I did was to fit the 4 bearing caps to the head, these pull the cam down into position. This is covered in the Haynes manual quite well. Make sure that you DO NOT get the bearing caps the wrong way around, or you will snap the cap, and junk the head.........
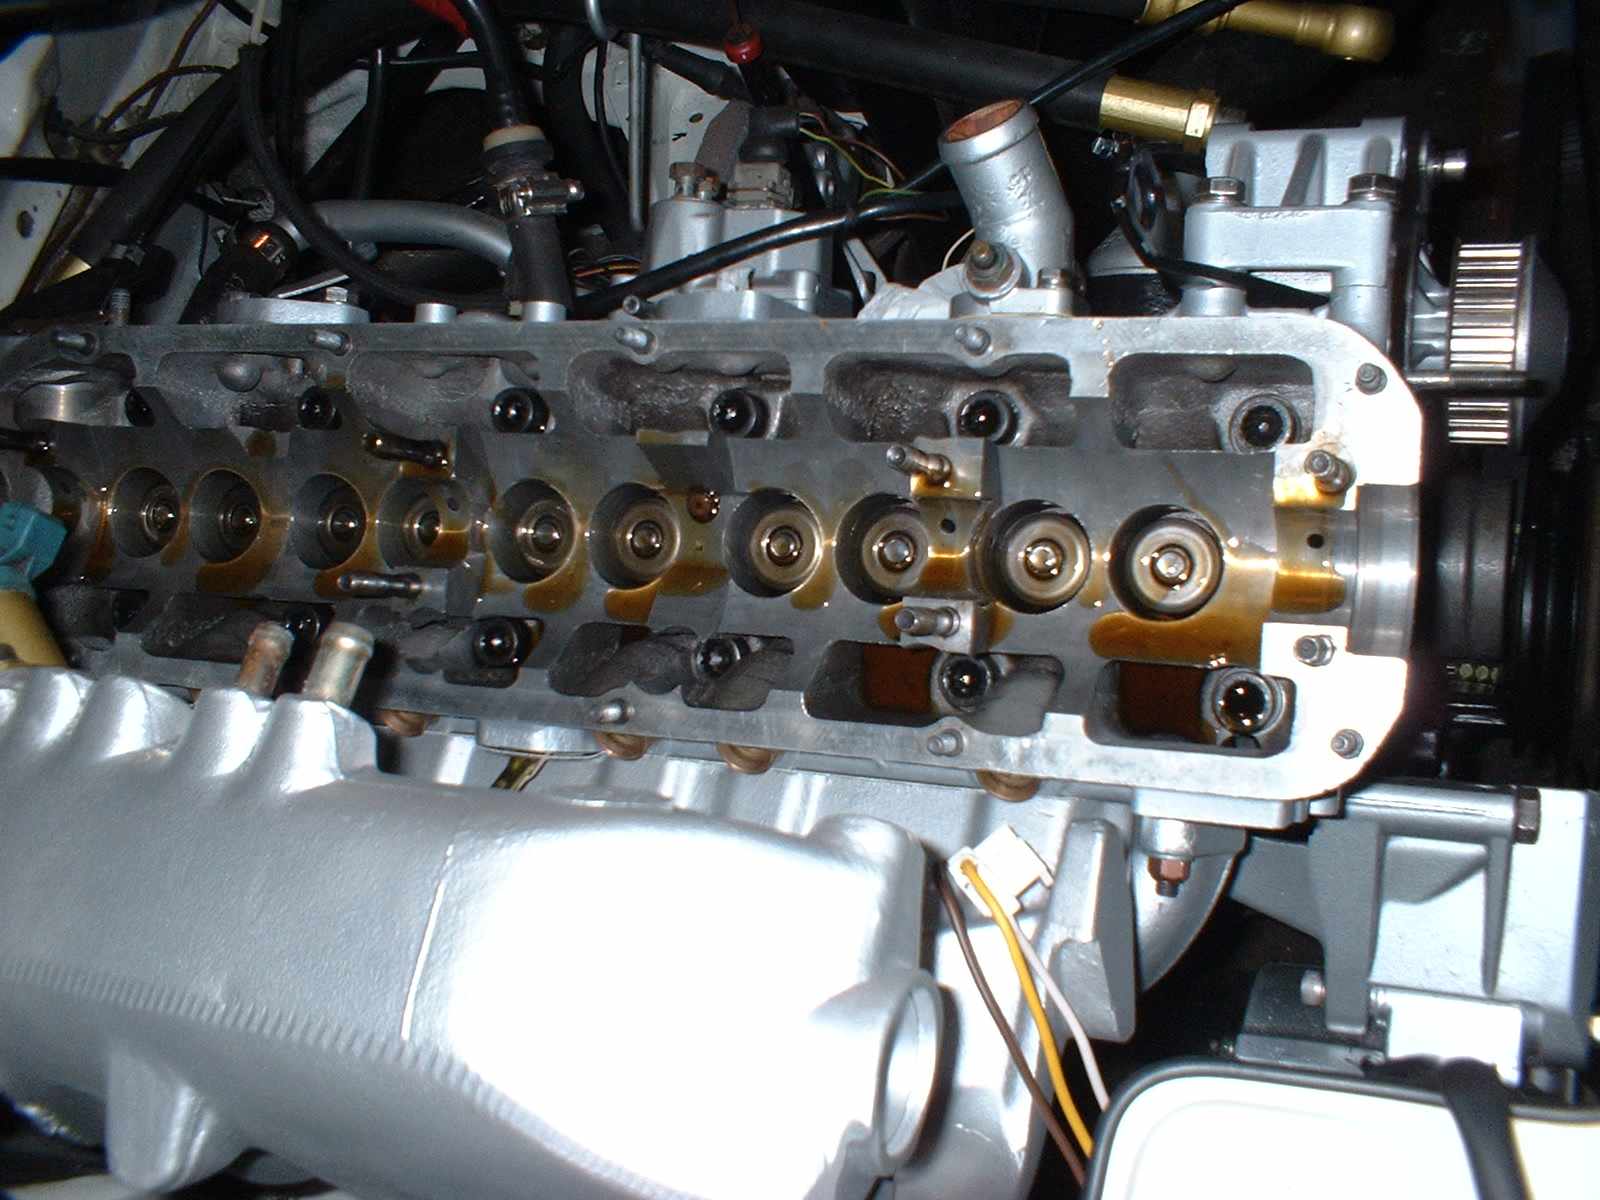
Once the torques were set, I removed the drive sprocket and fitted the front oil seal. This just taps into position, but do not push it too far in, or you'll block an oilway.....

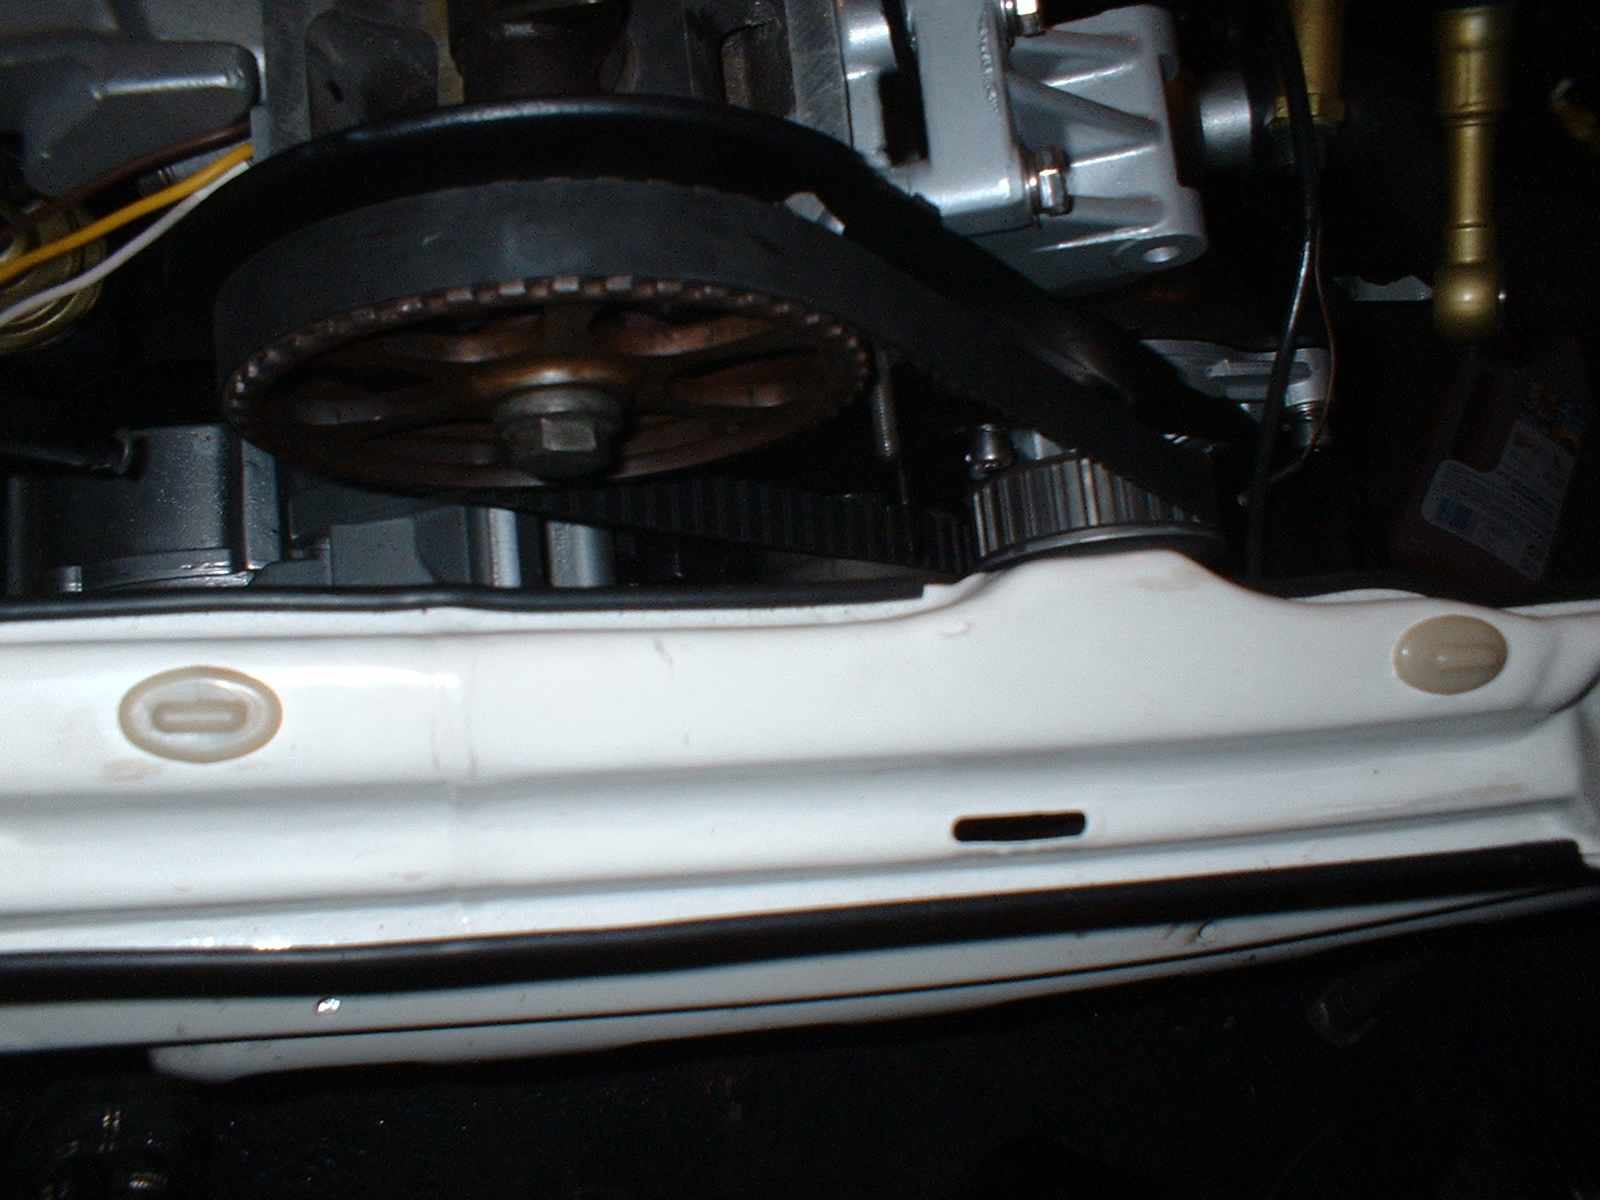
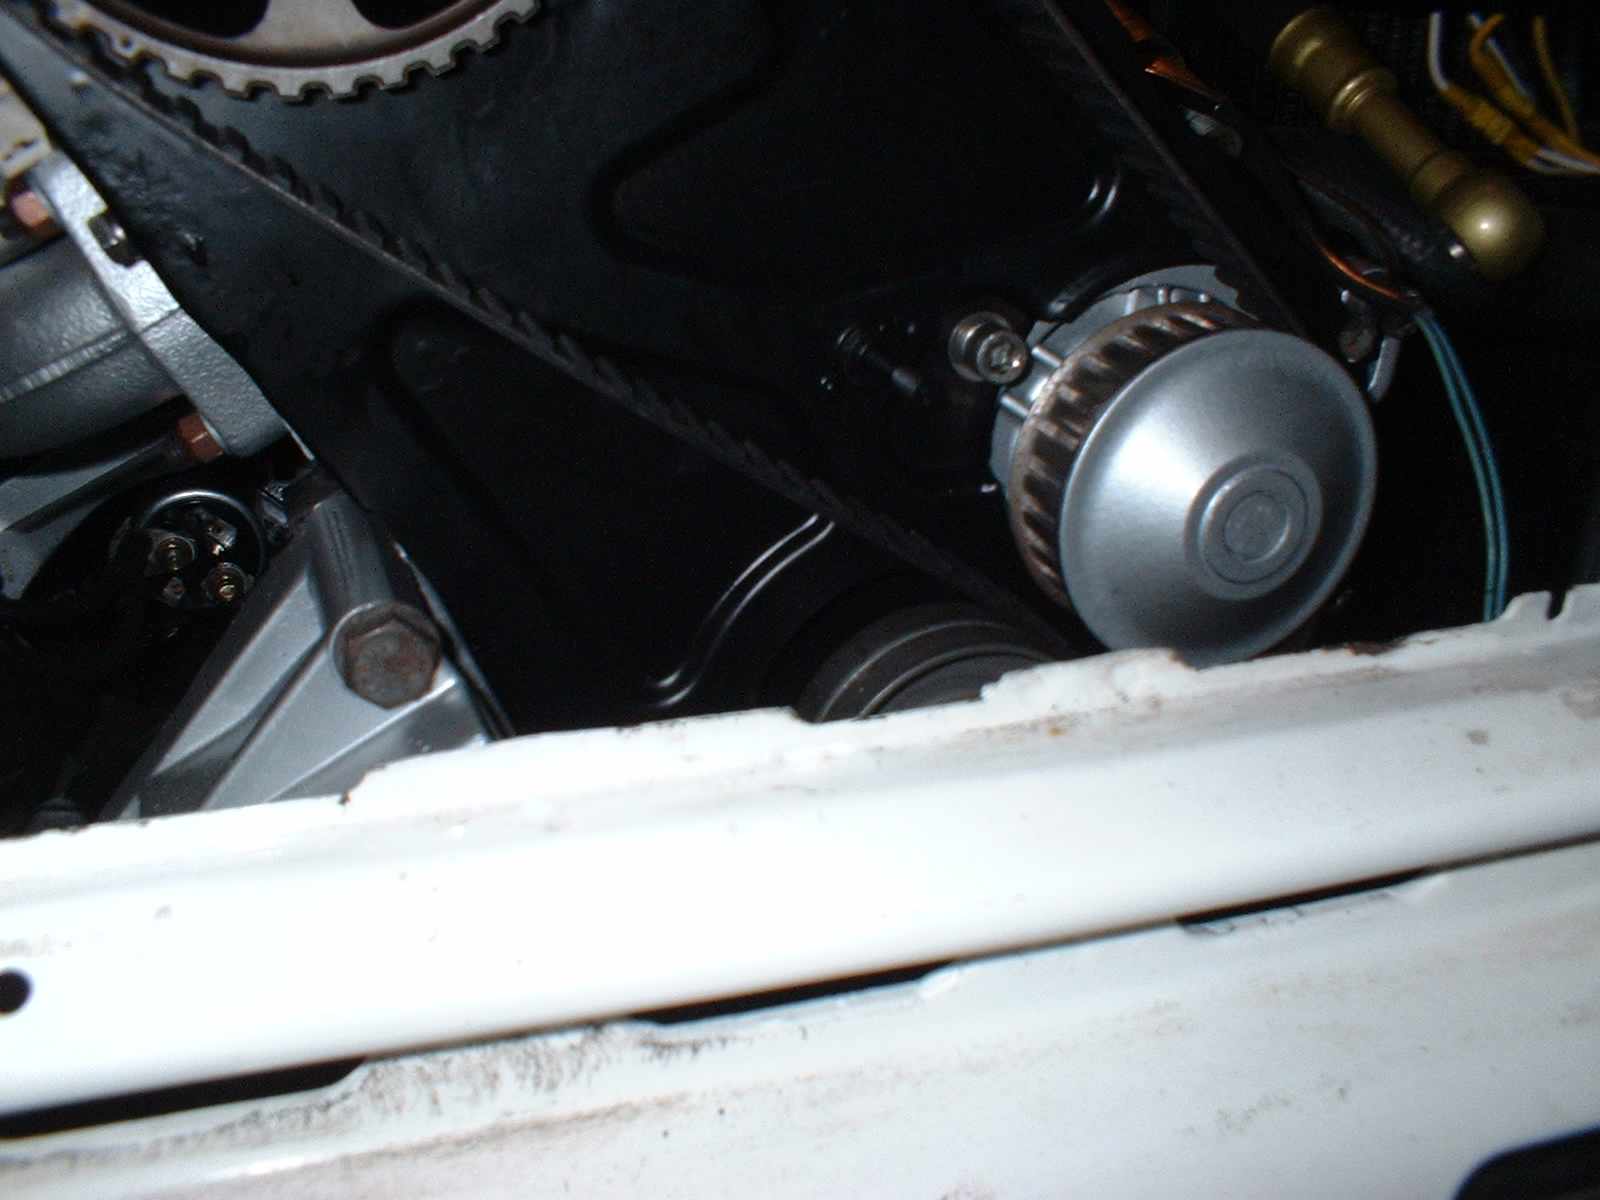
I then re-fitted the sprocket, lined up the crank at TDC, lined the notch in the rear of the sprocket with the edge of the head, and fitted the cambelt. I tightened up the belt with the water pump. I then turned the engine over a few times using a socket on the end of the crank to check that there were no strange noises etc. I had to slacken off the belt again, move it one tooth, re-tension, and check it all again.
Looks good from this angle
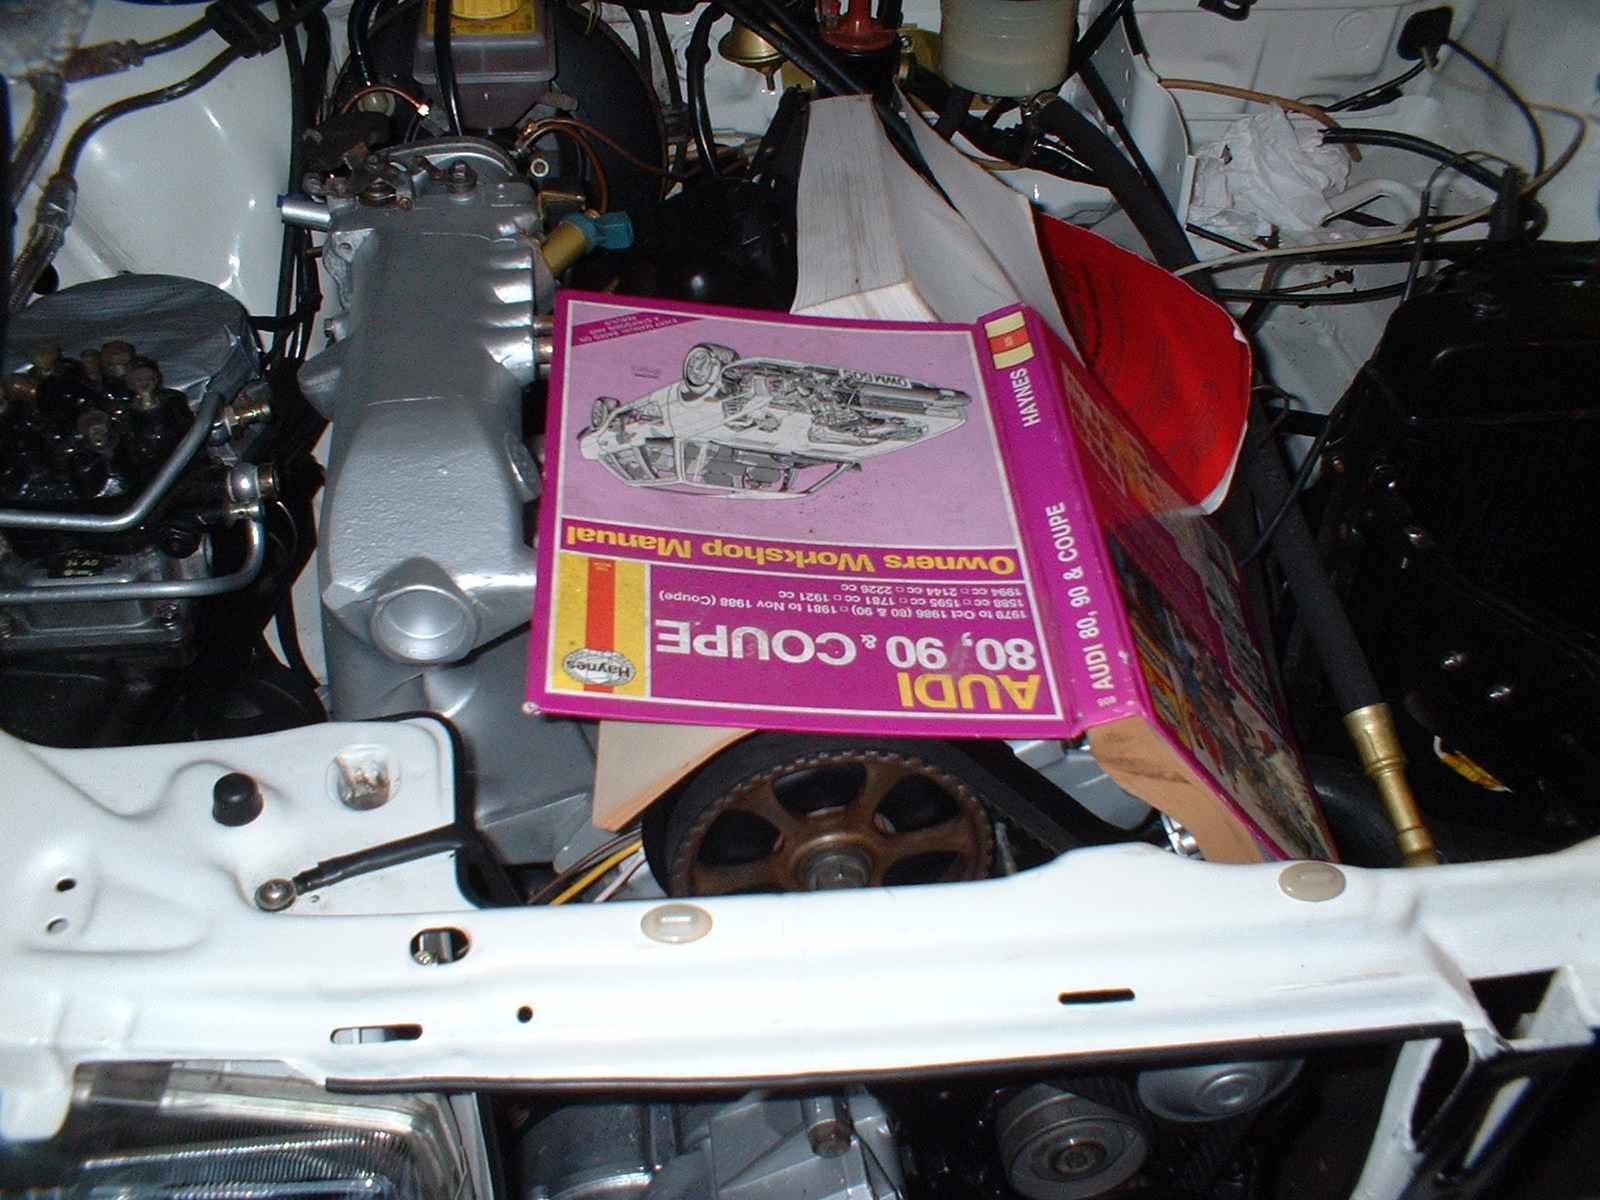
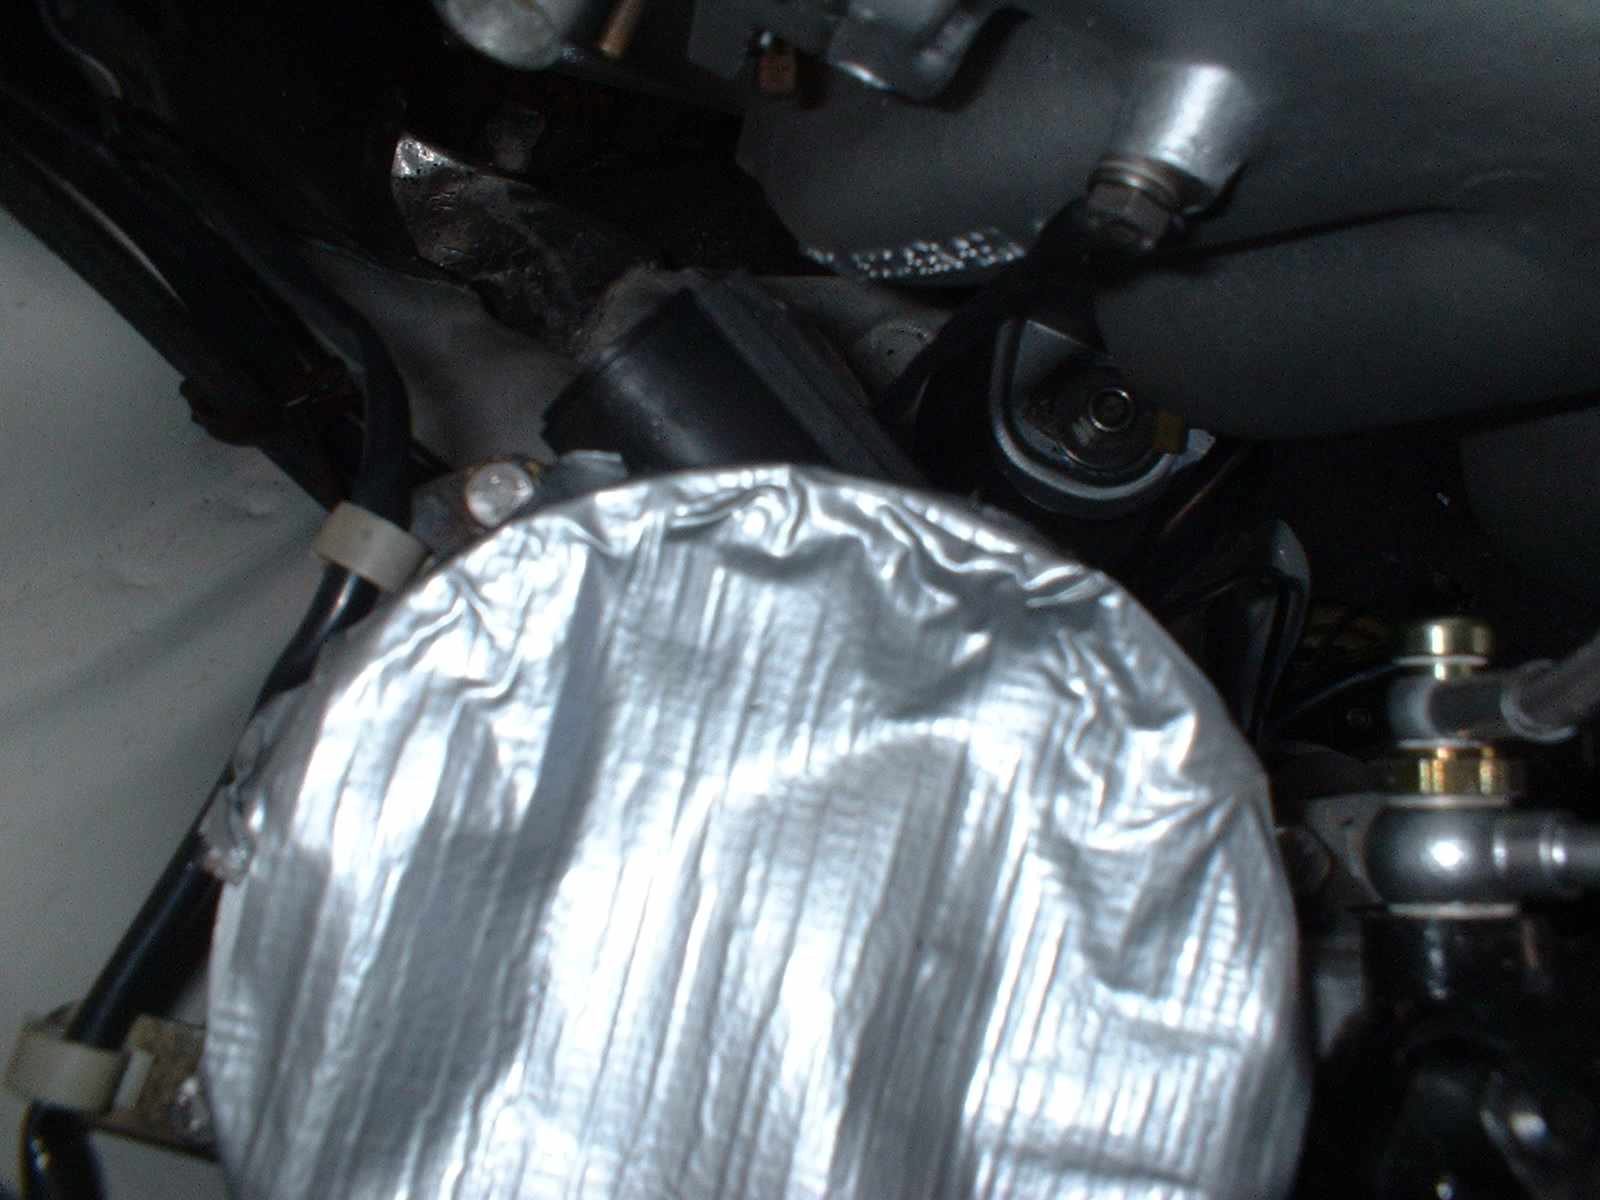
I used the manuals overnight to stop anything dropping into the spark plug holes.
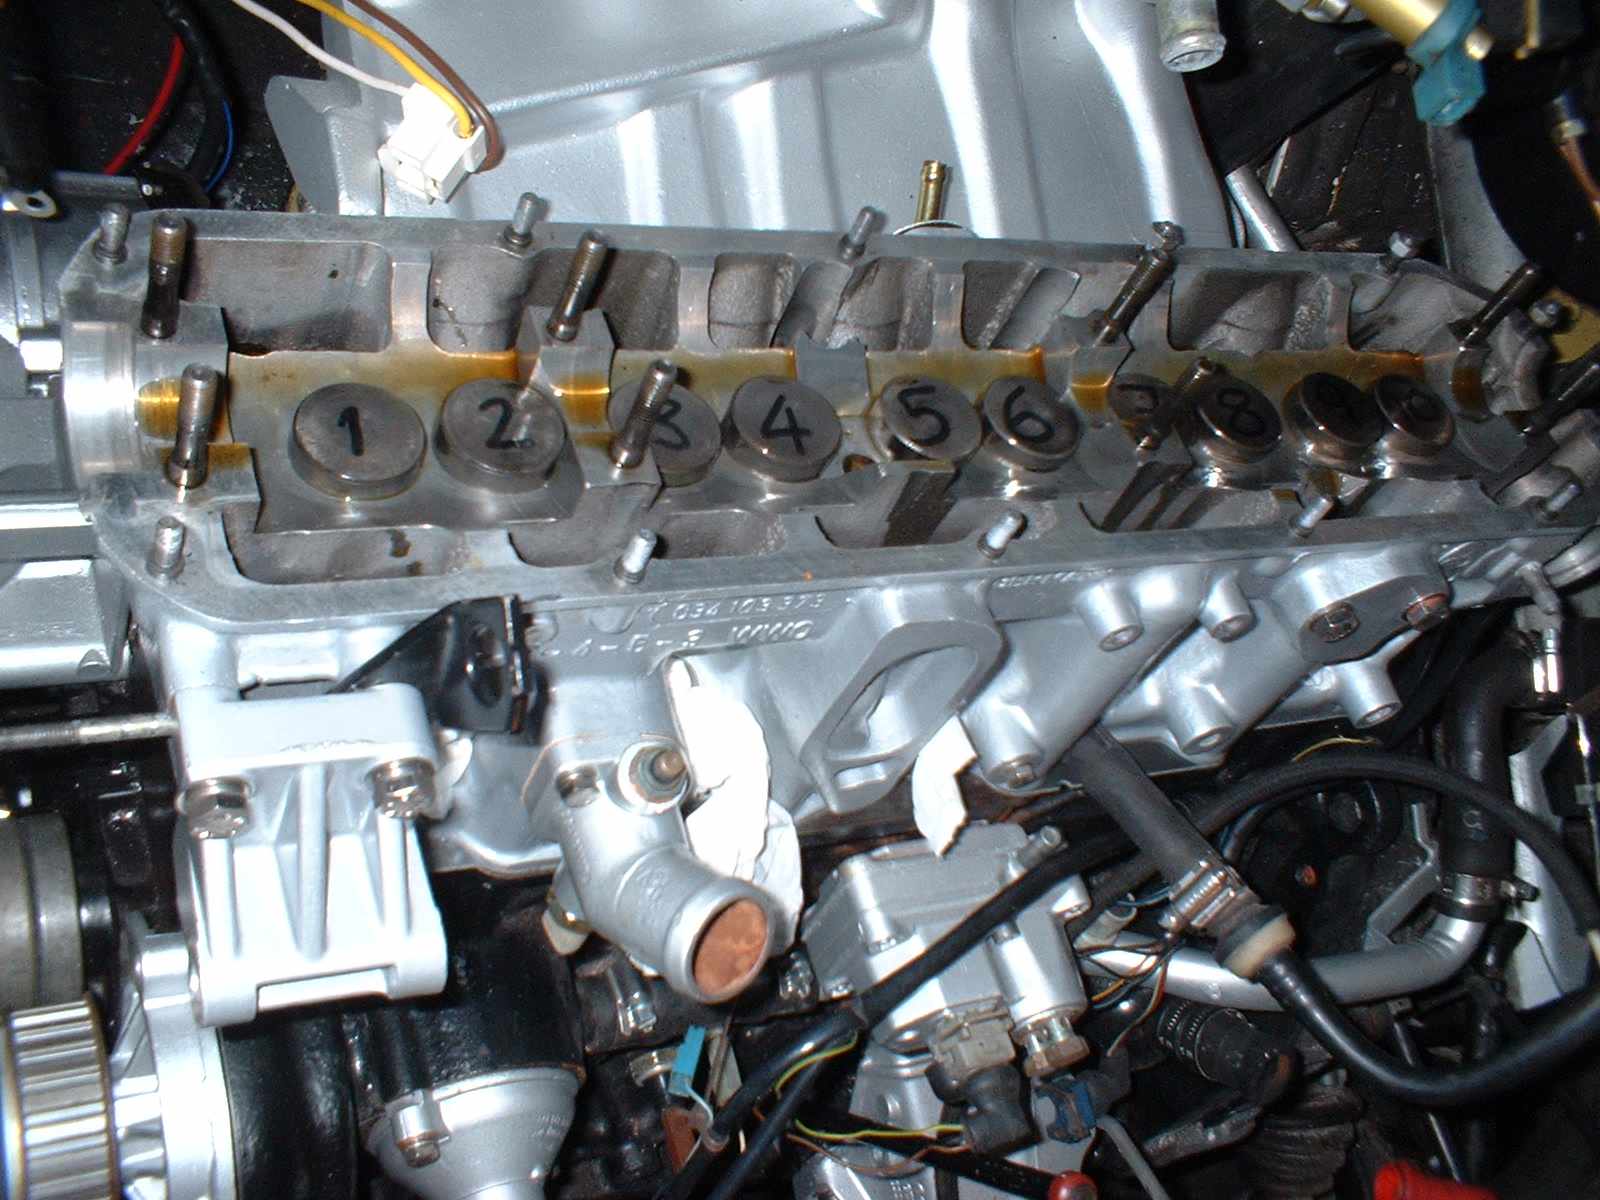
This shows the cam with both valves on No.1 cyl closed.
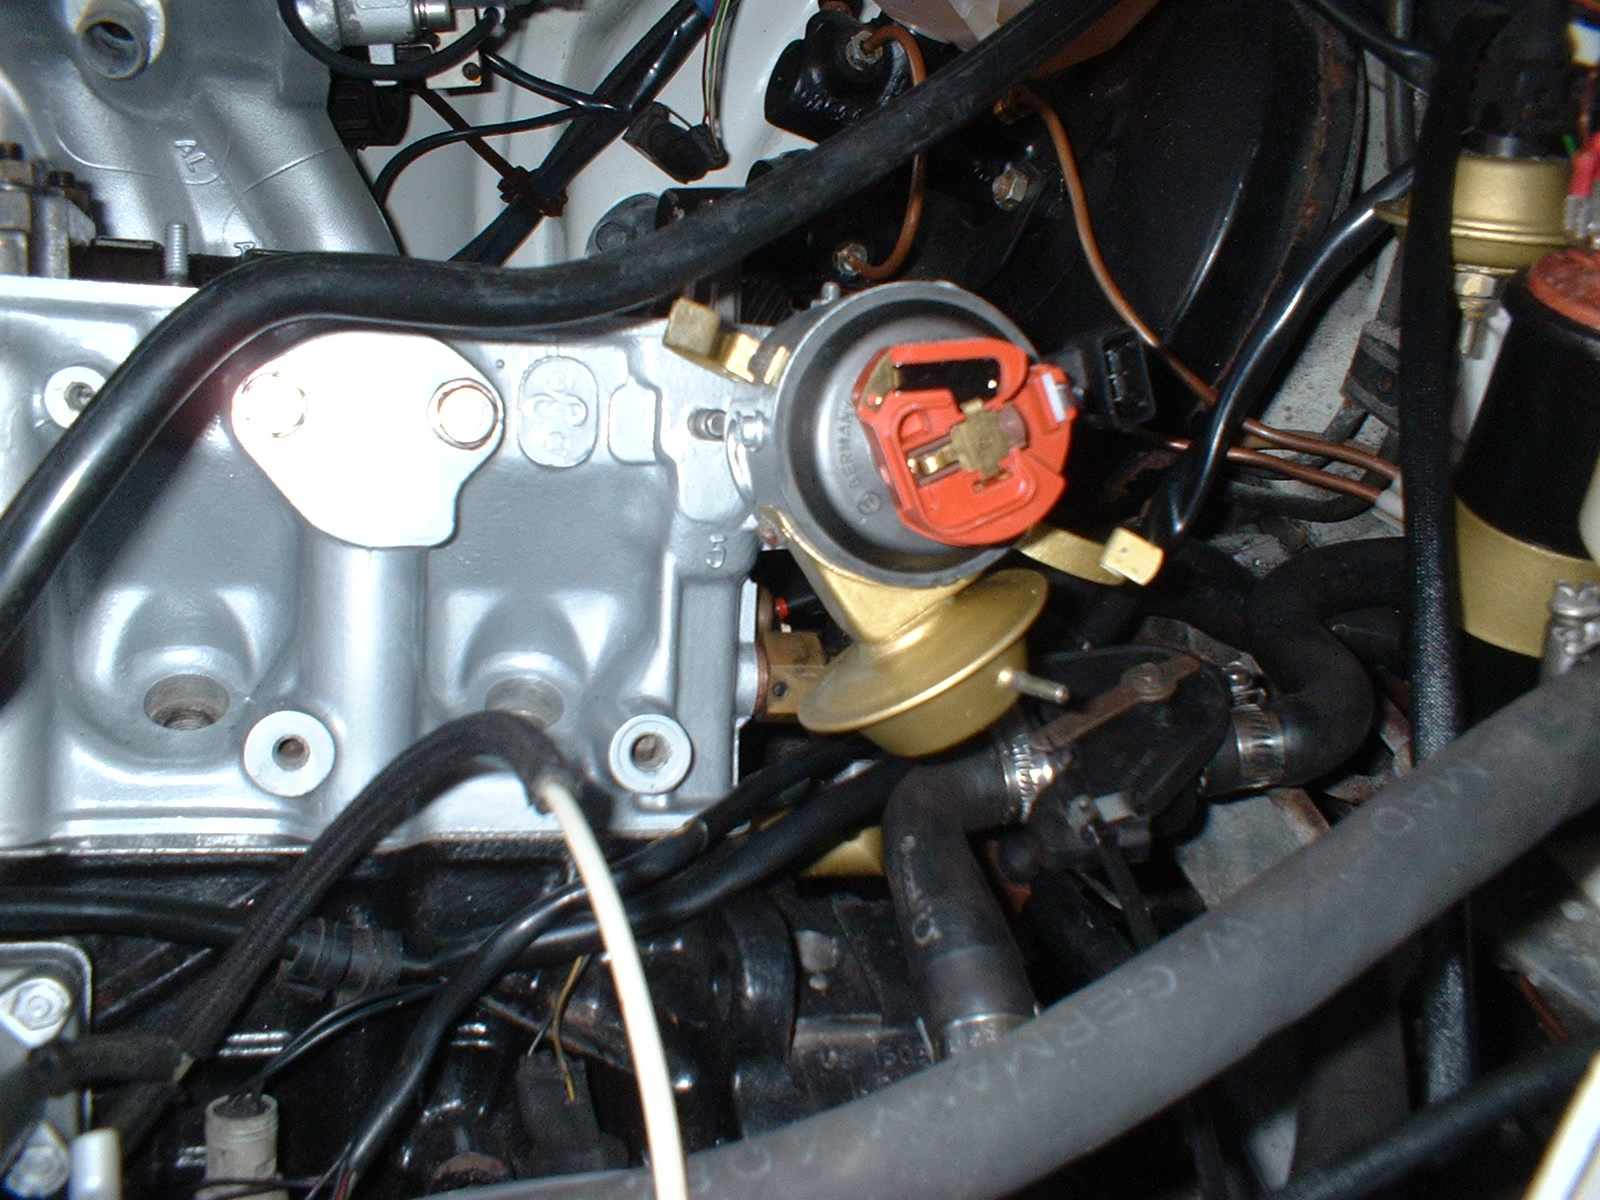
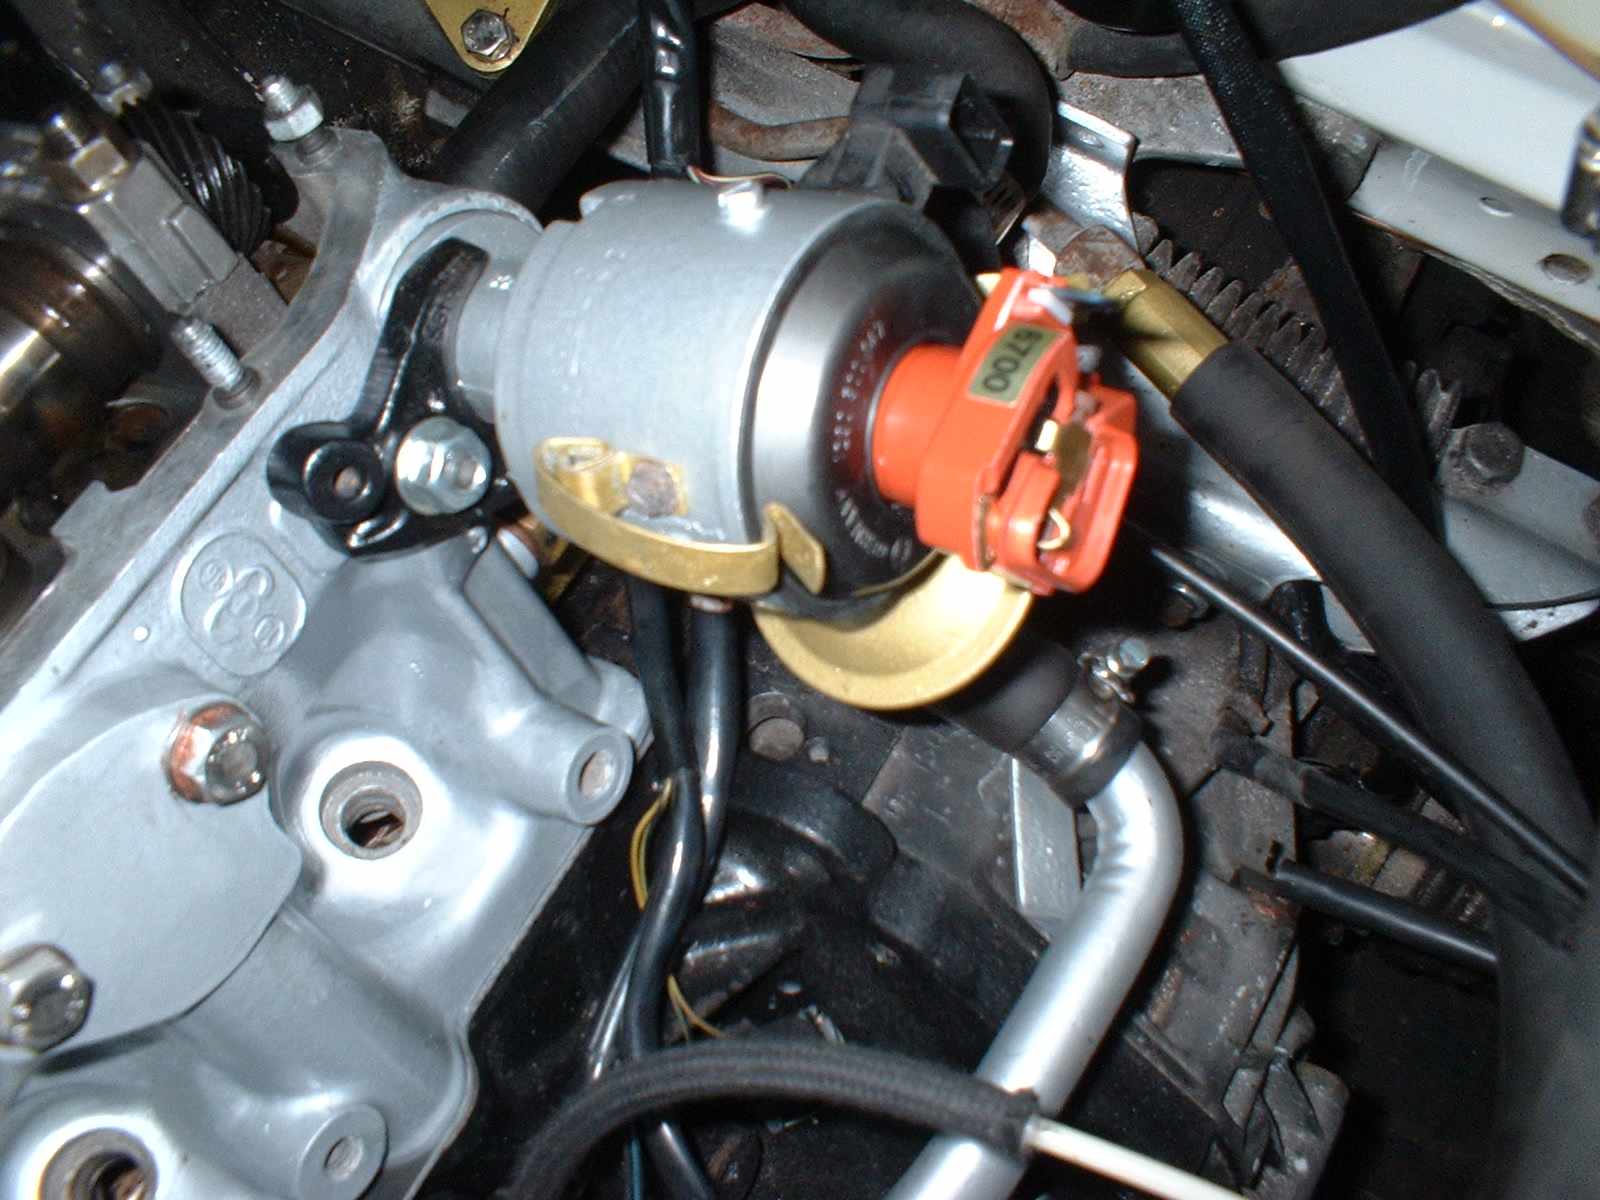
Once the belt fitting was complete, the dizzy was inserted, as per the Haynes.
Once in place, the body of the dizzy and the rotor arm were lined up, and the dizzy clamped down into place. You can see the 6700 rpm limit sticker.
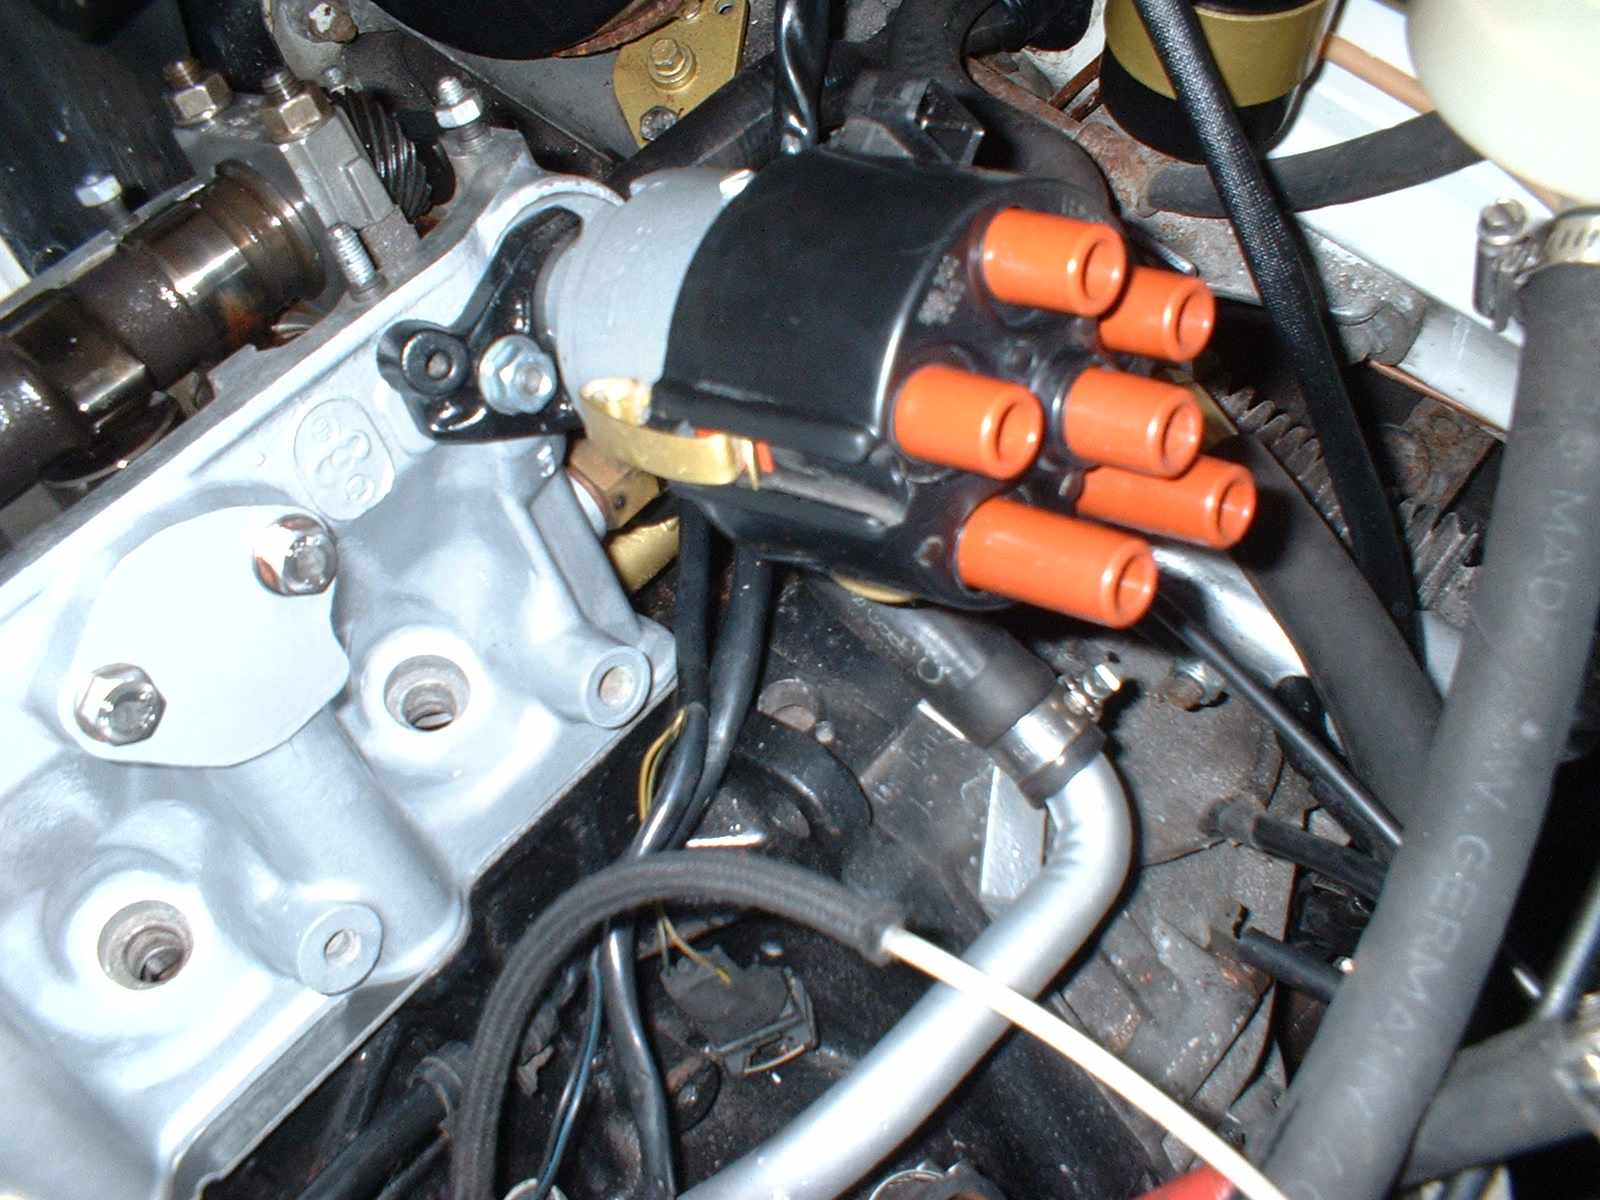
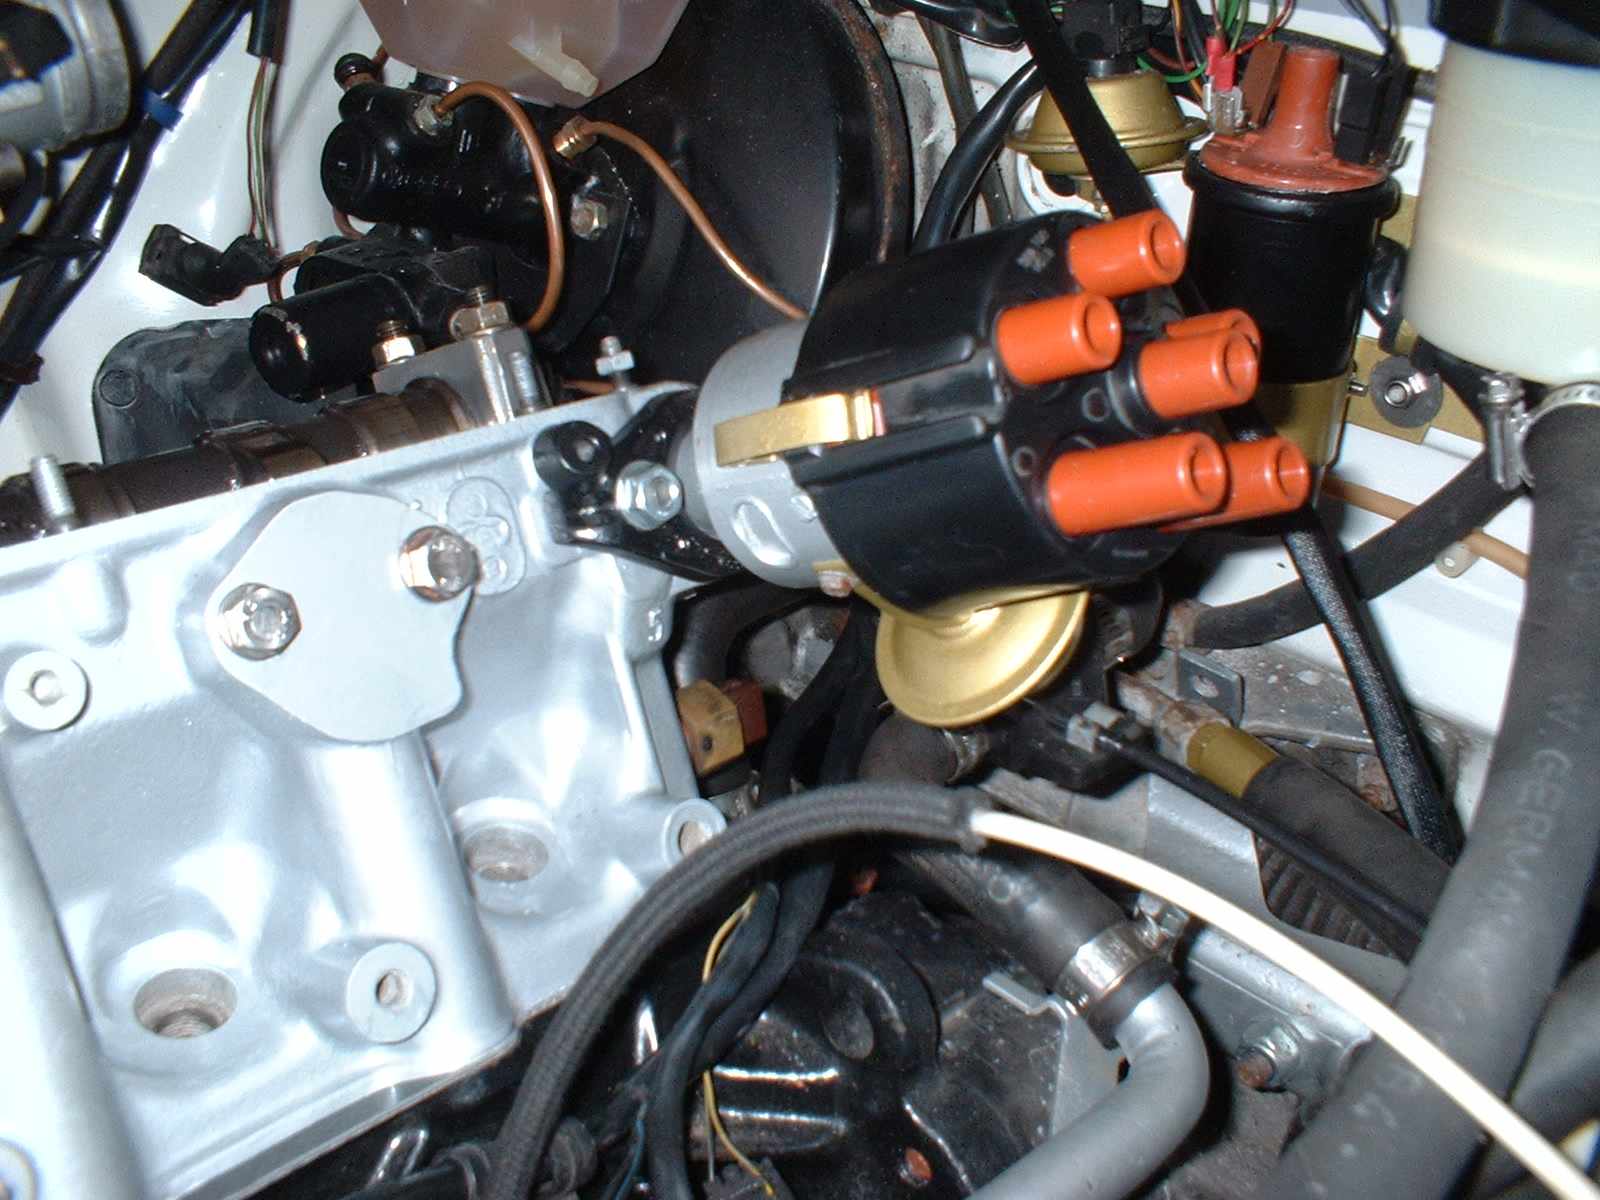
Dizzy cap, nice and easy to fit.
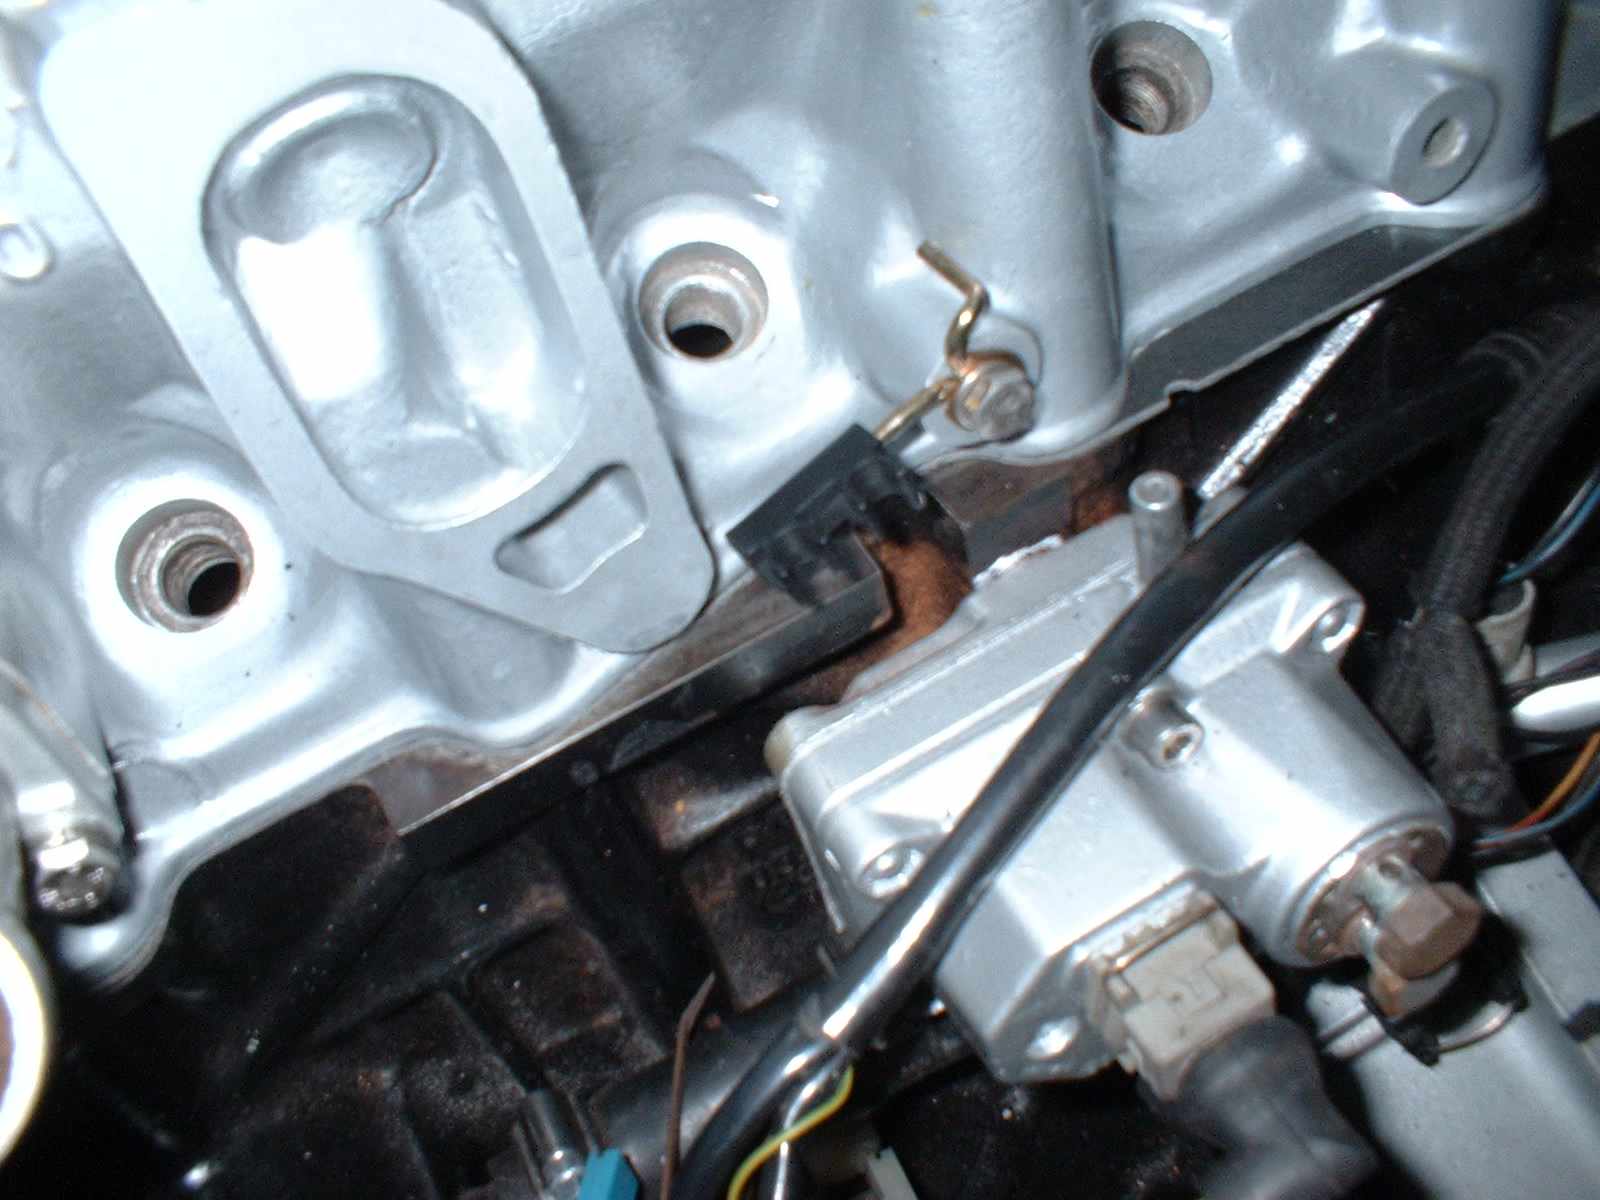
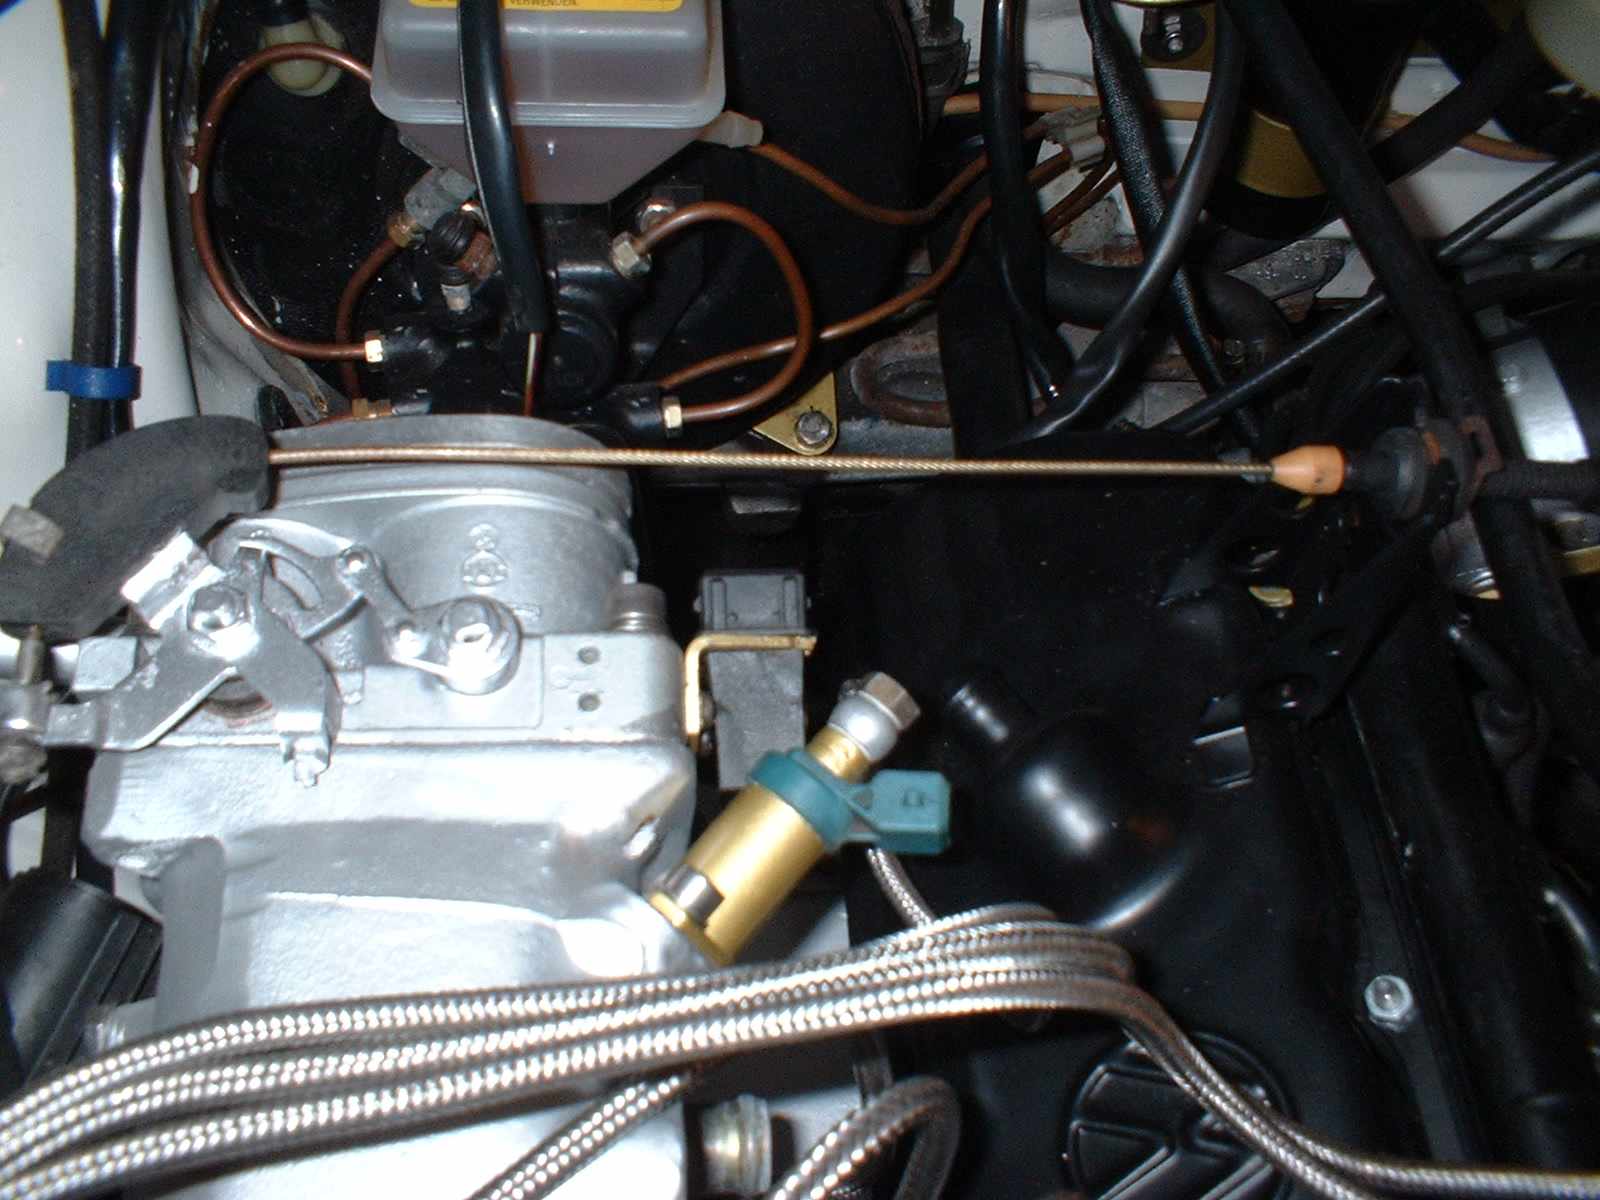
I removed and re-fitted the two sensors on the stub pipe, as I had them swapped around.
And fitted the clip that holds the lines going to the warm up regulator
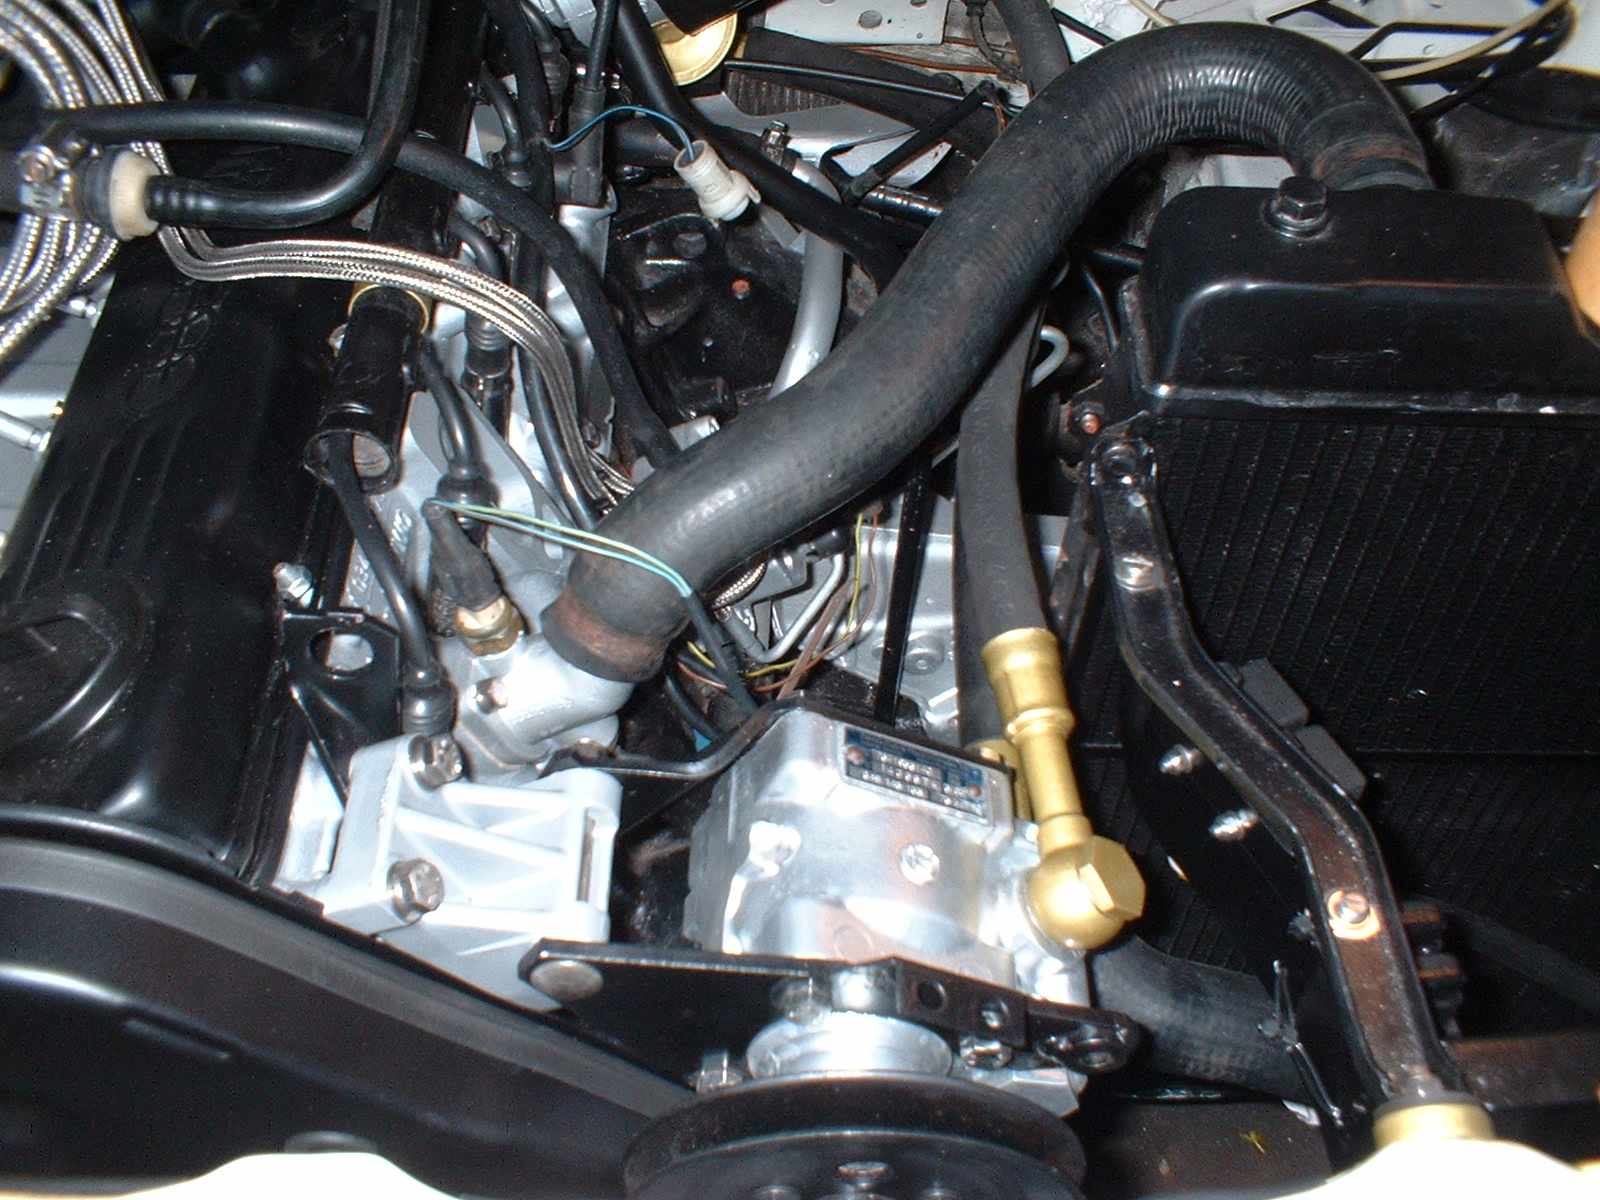
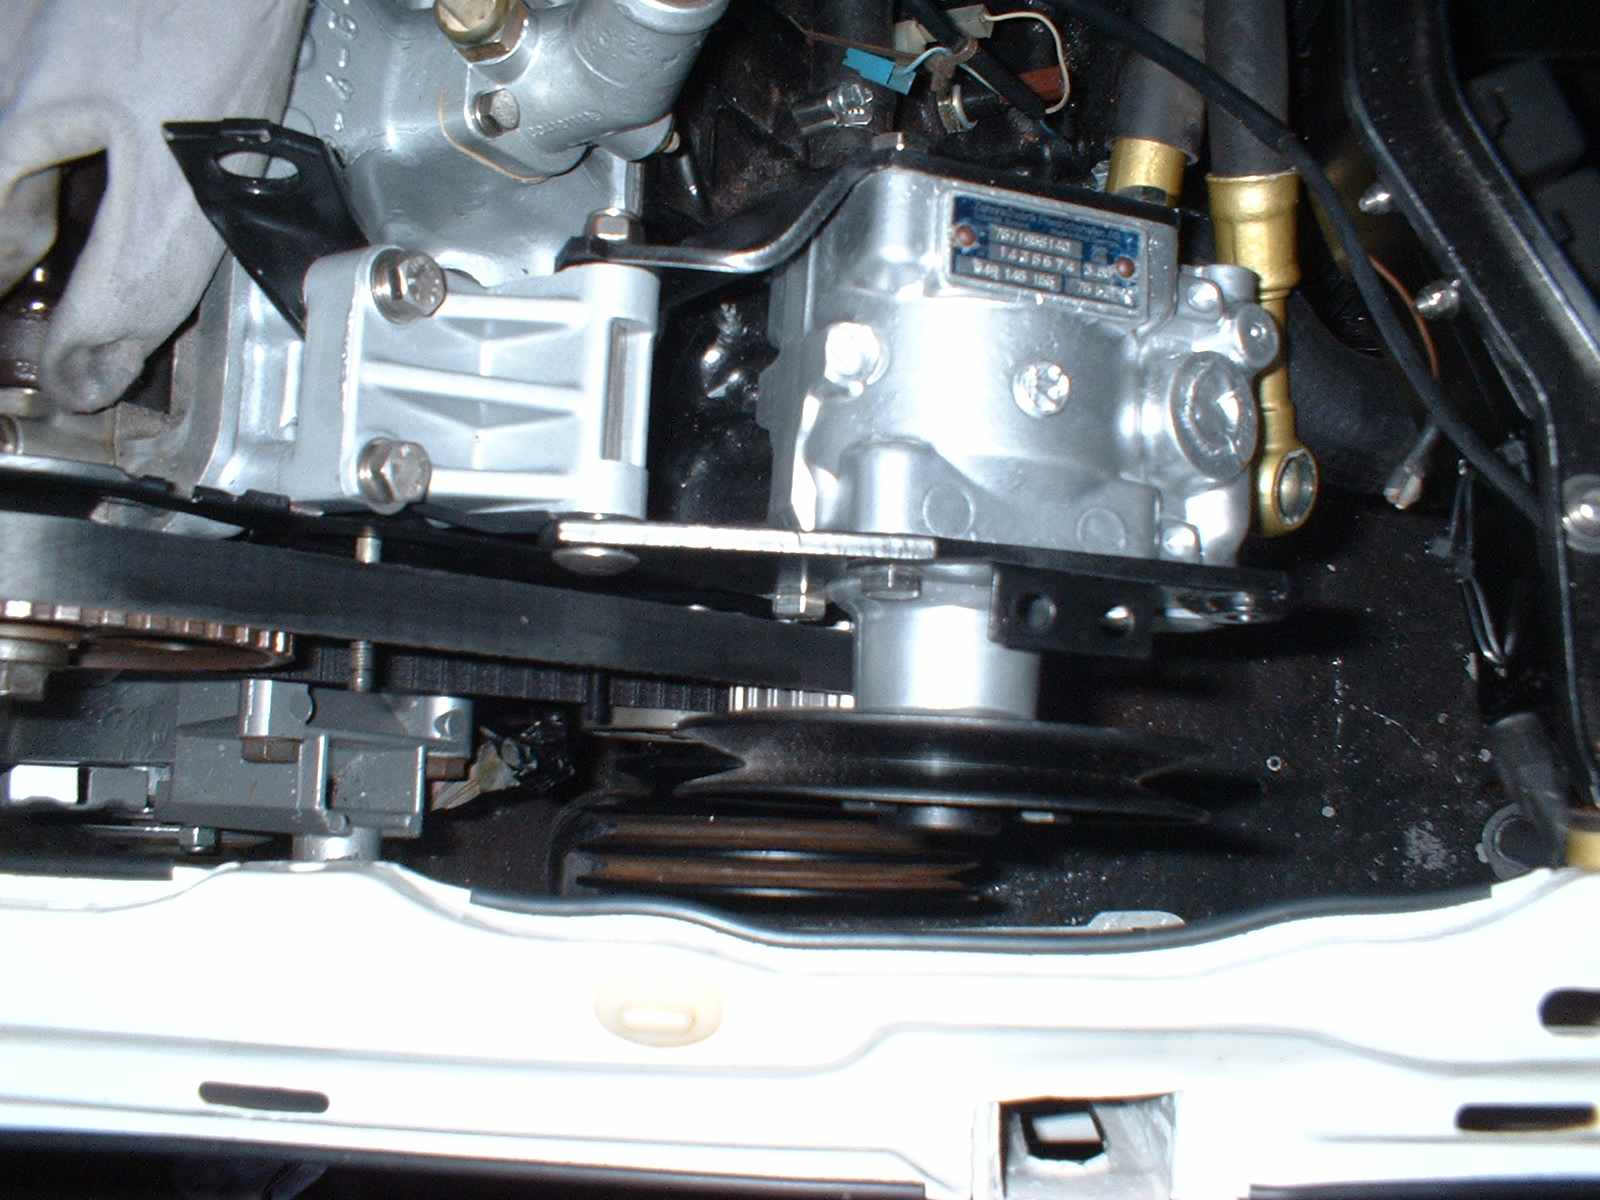
Power steering pump now in position
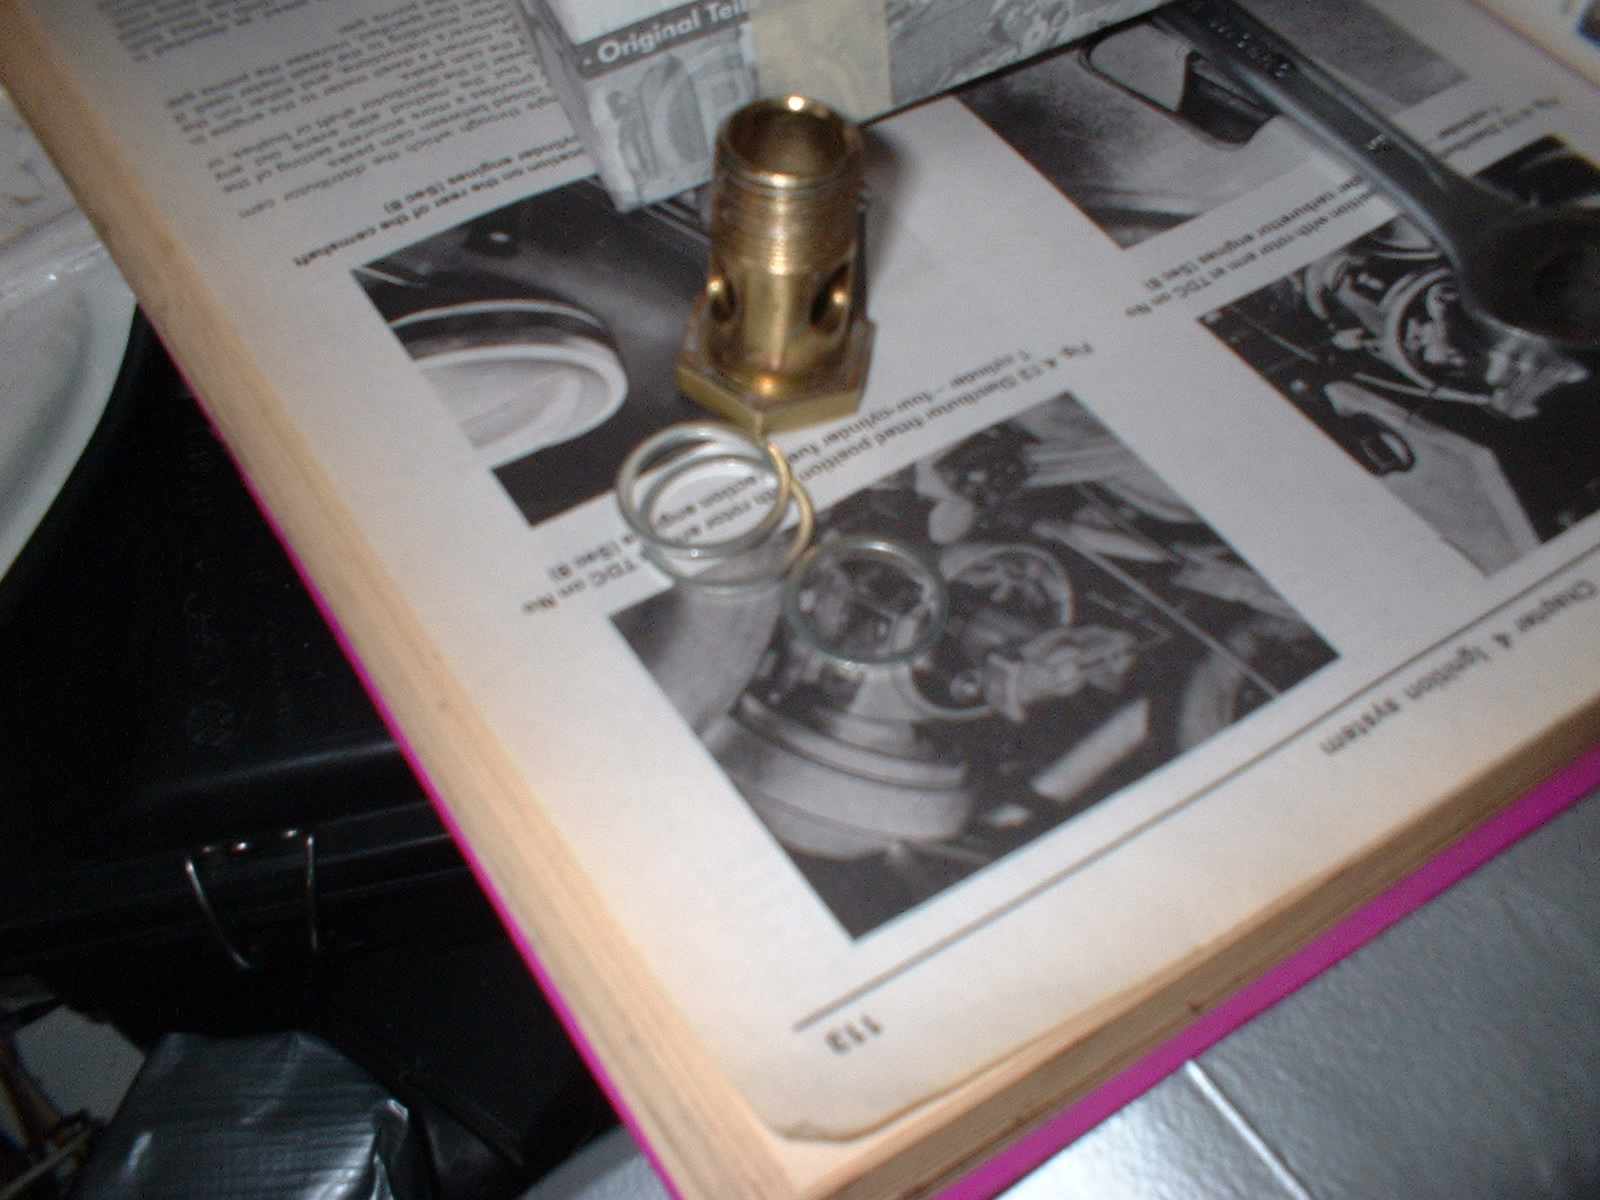
The Banjo bolt and sealing washers for the pump.
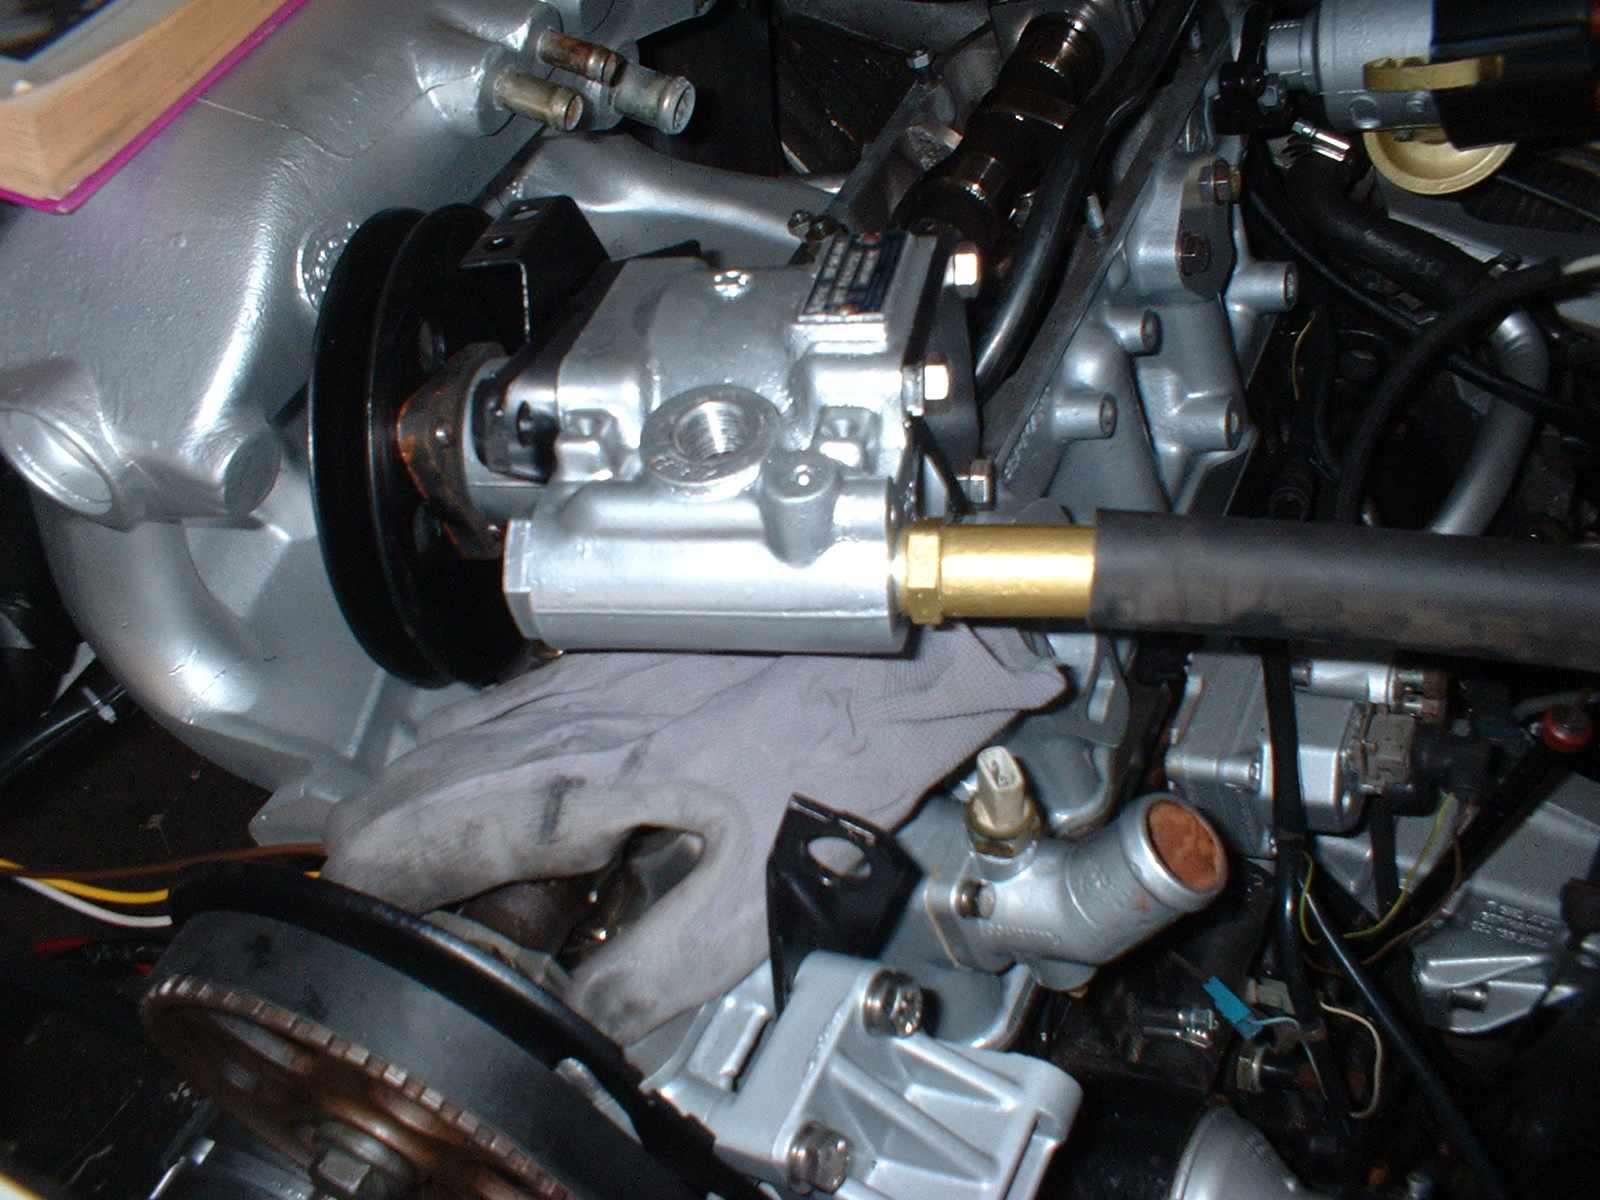
I had to remove the pump to fit the bottom hose to it.
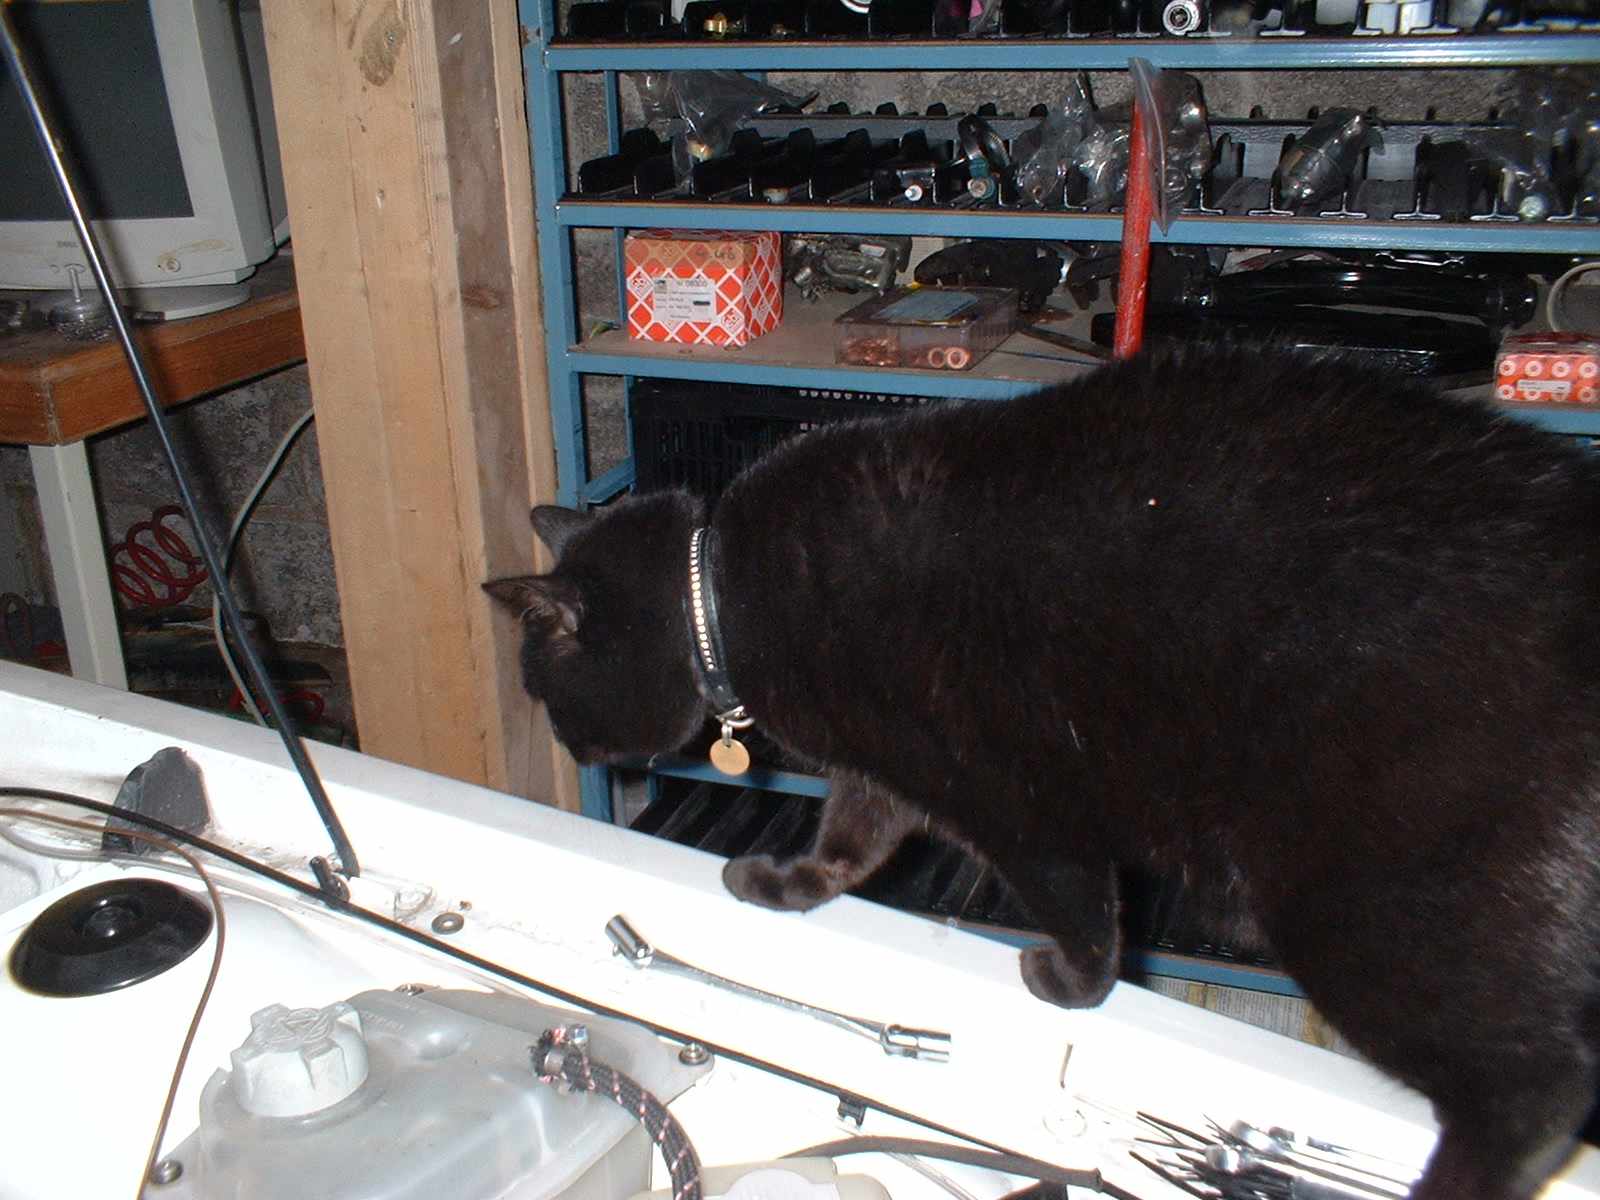
Squeaks the cat comes to check the job.
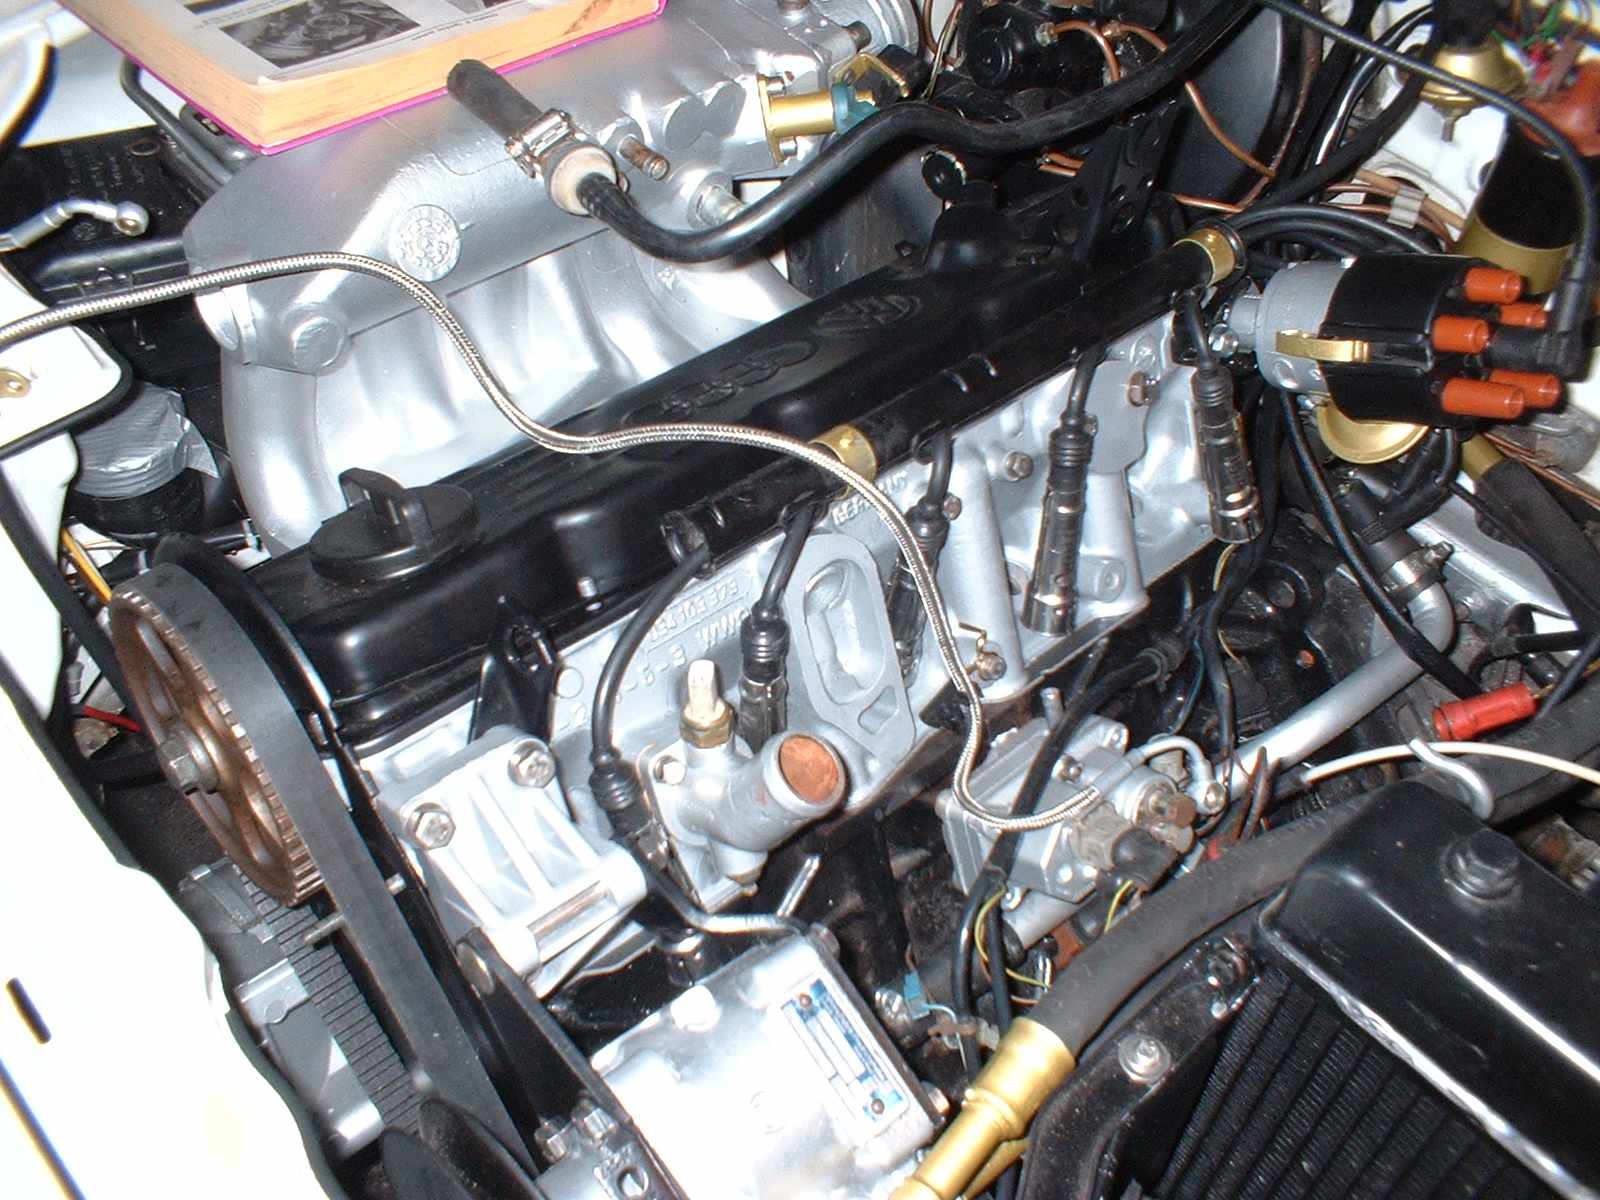
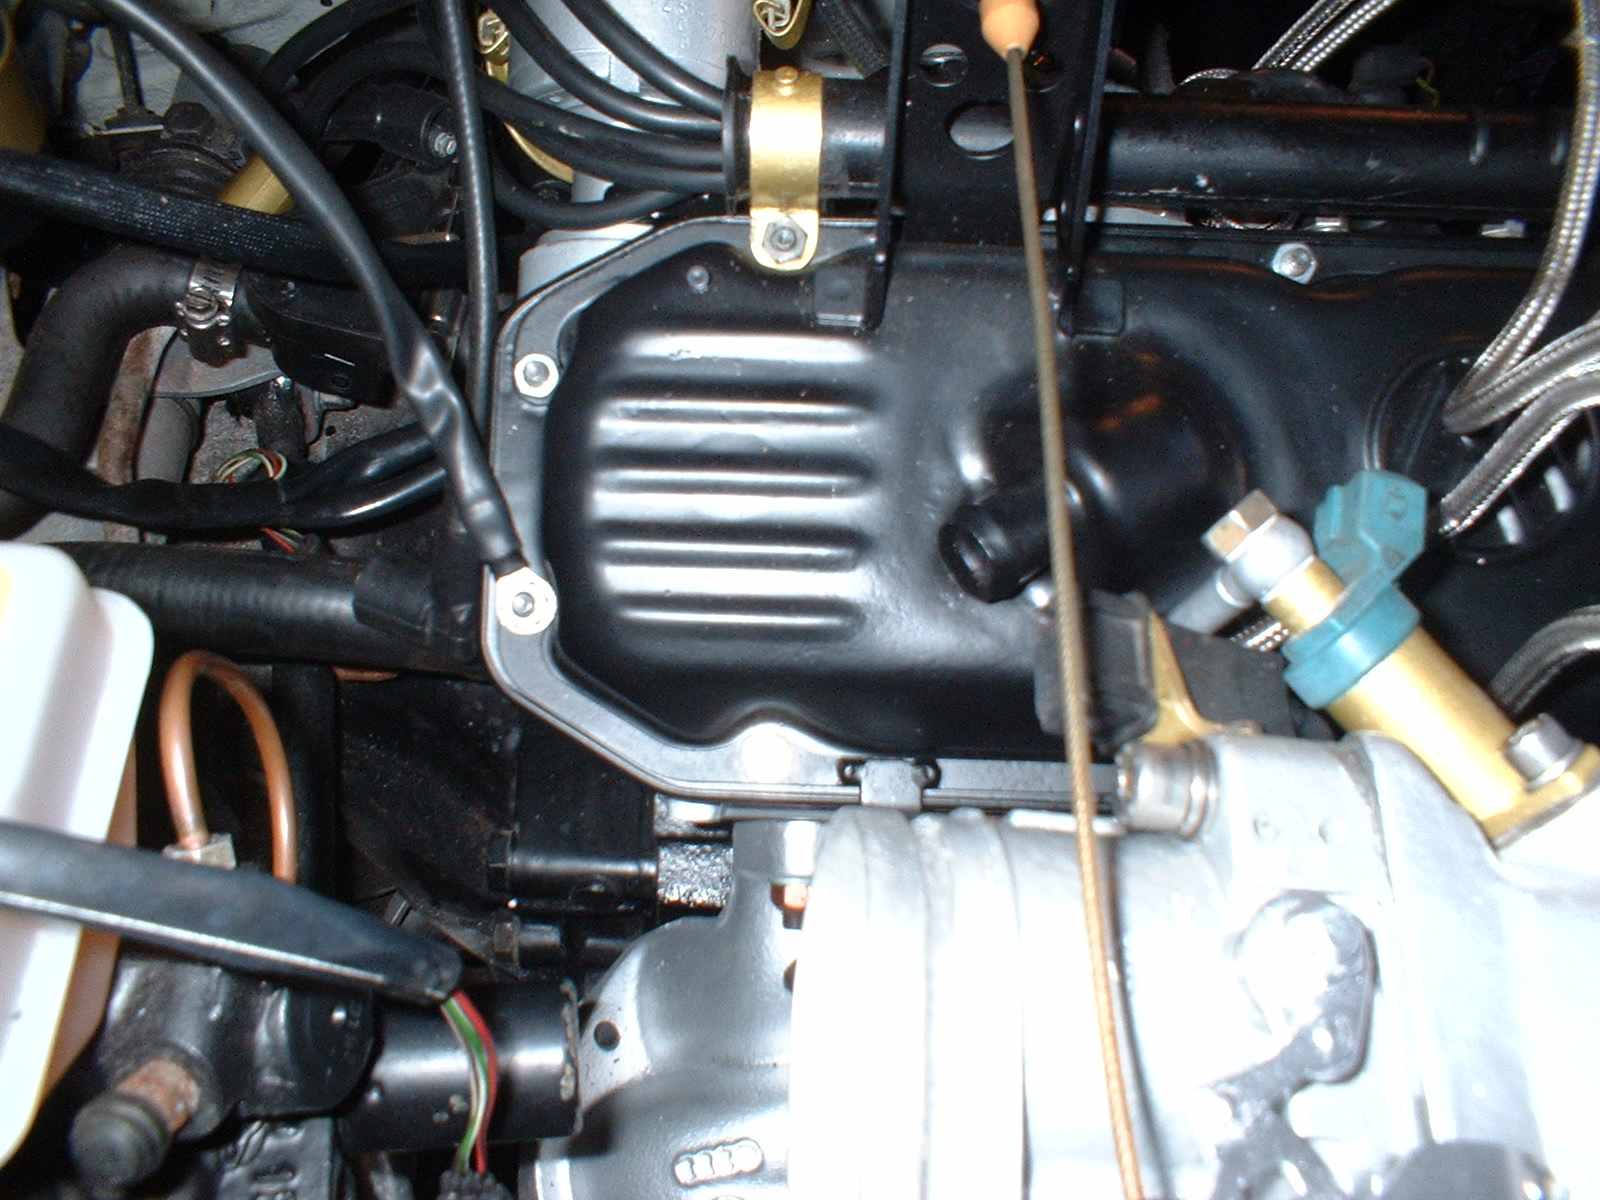
Rocker cover seal fitted.

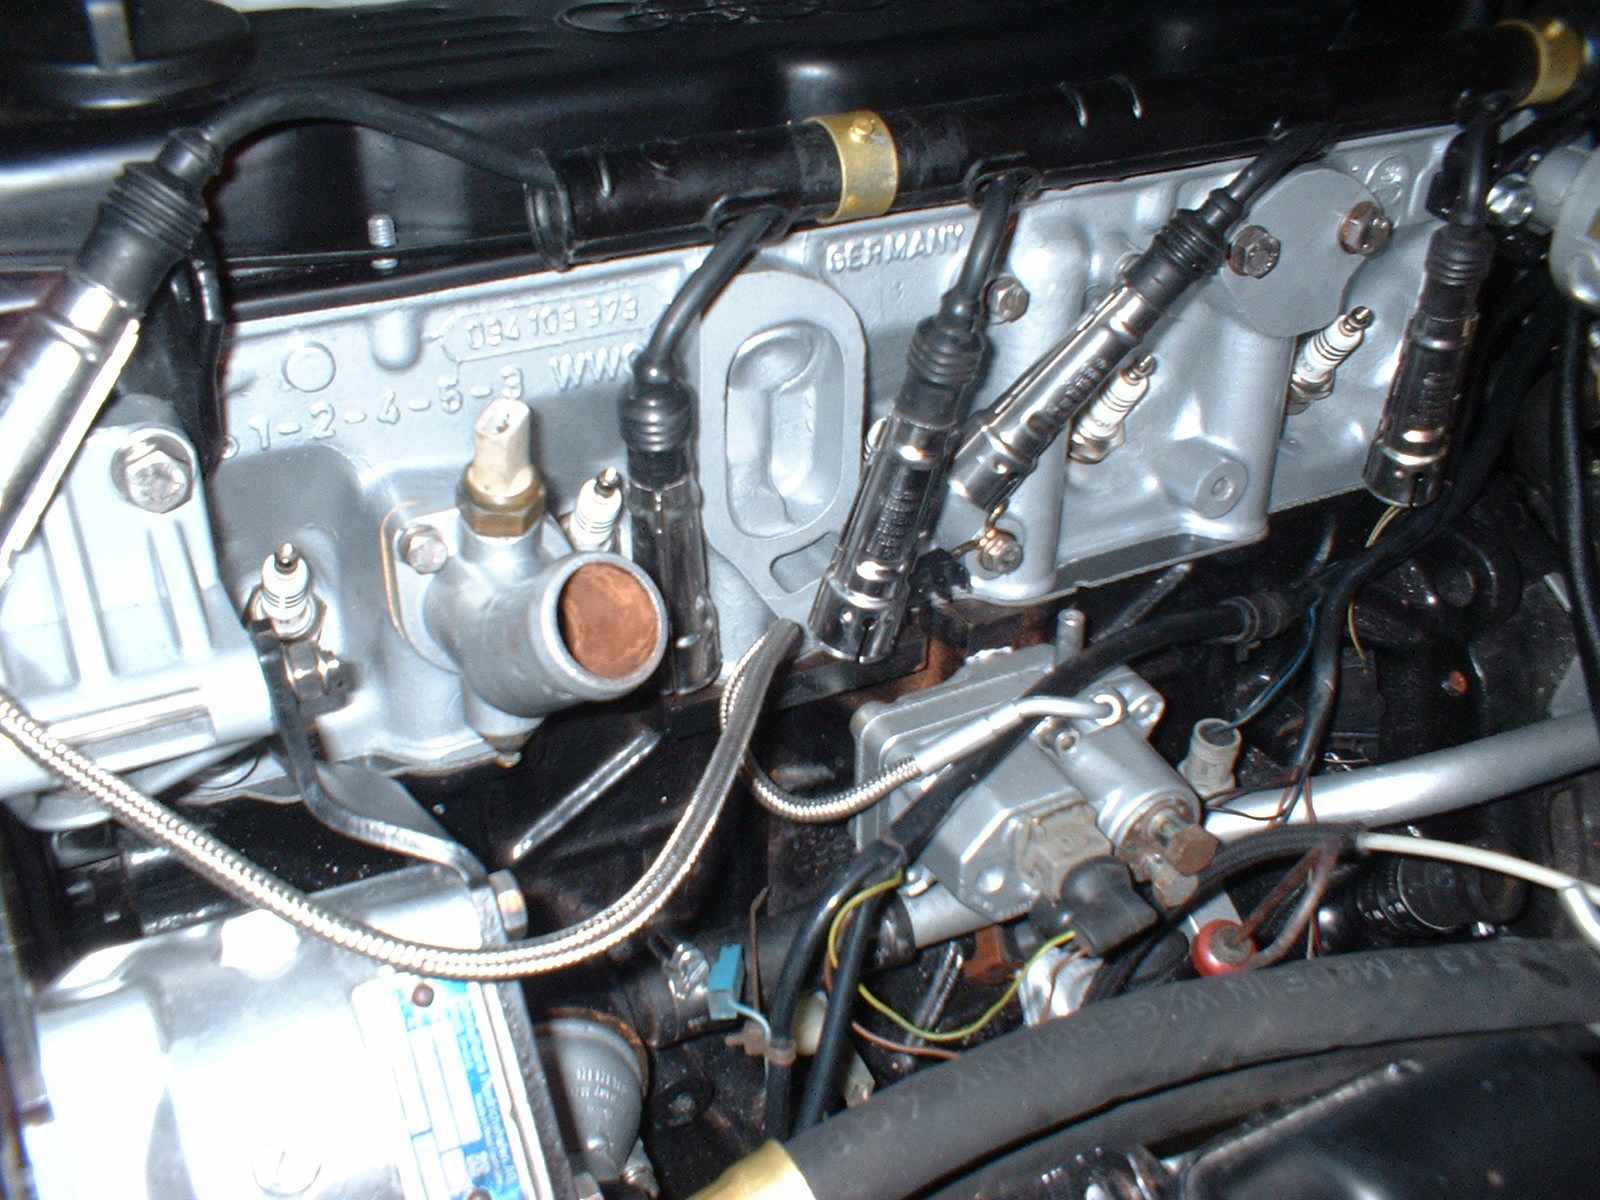
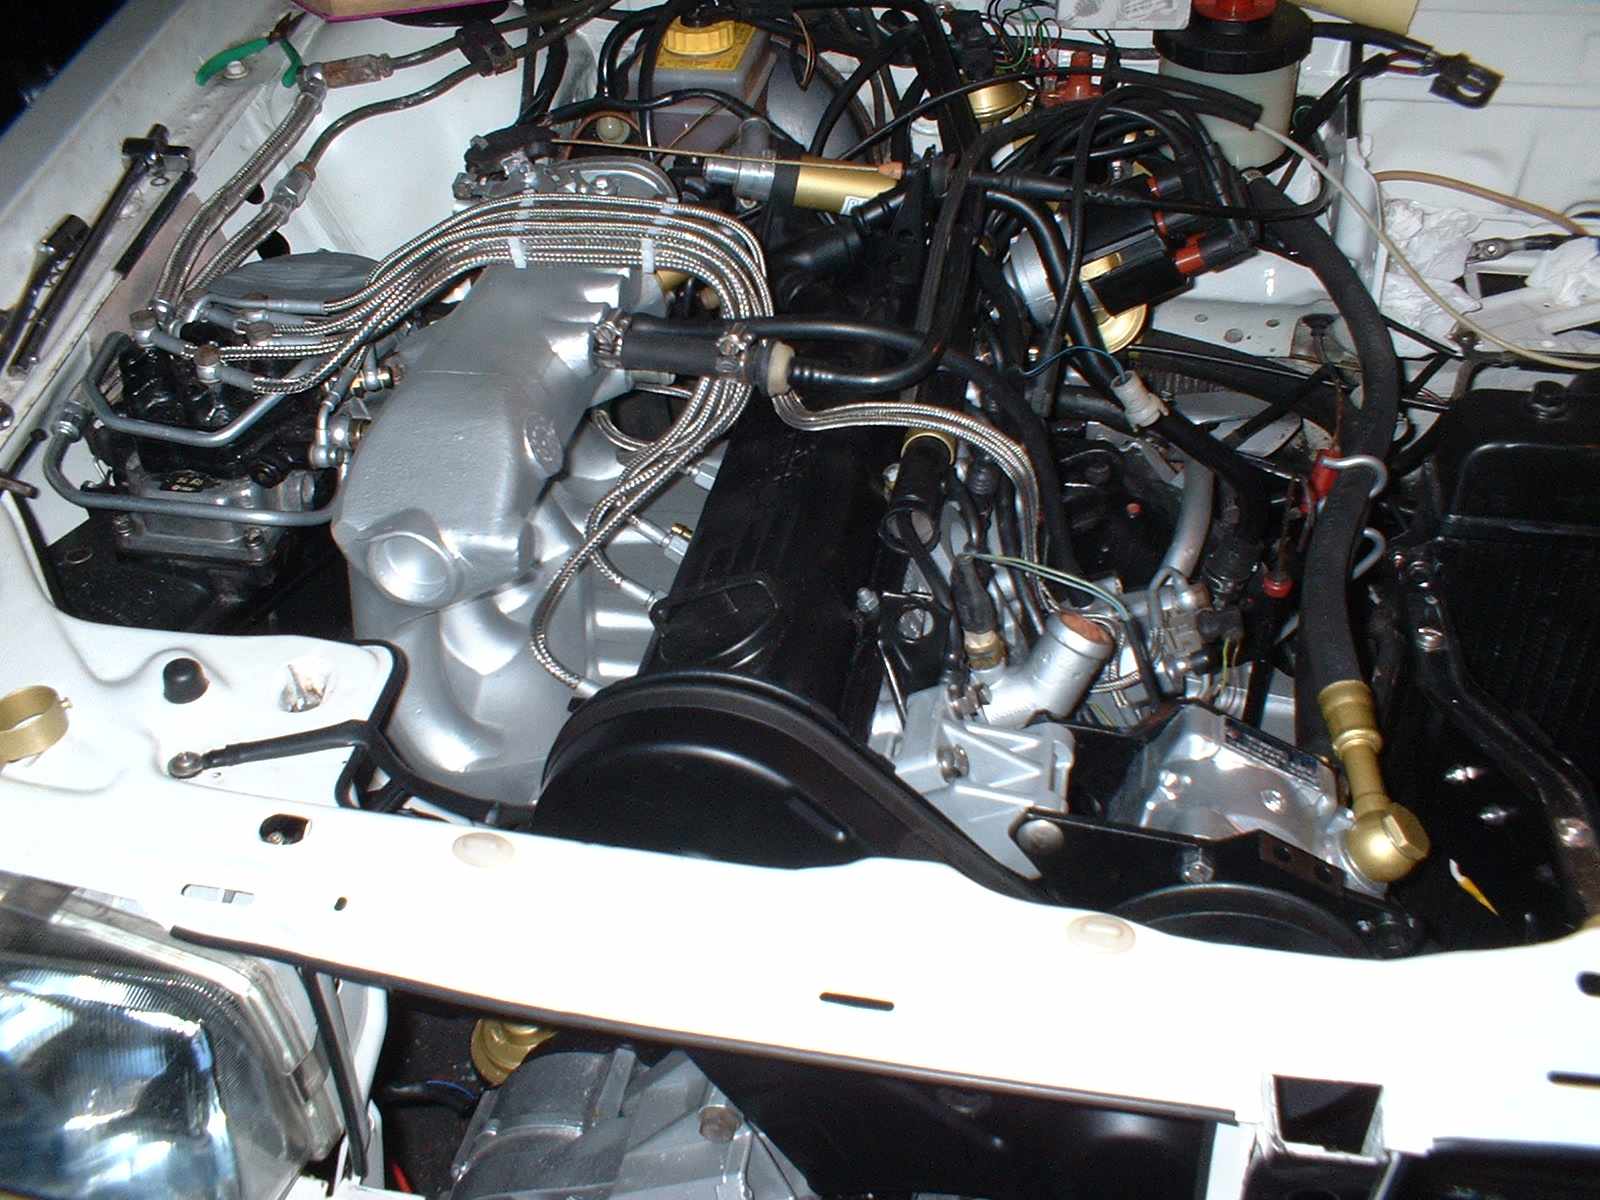
And now the rocker cover and the spark plug leads
New old stock Audi plugs, dated 1988, they have the 4 rings on them. They are Bosch W6DTC / Audi 101 000 005 AA
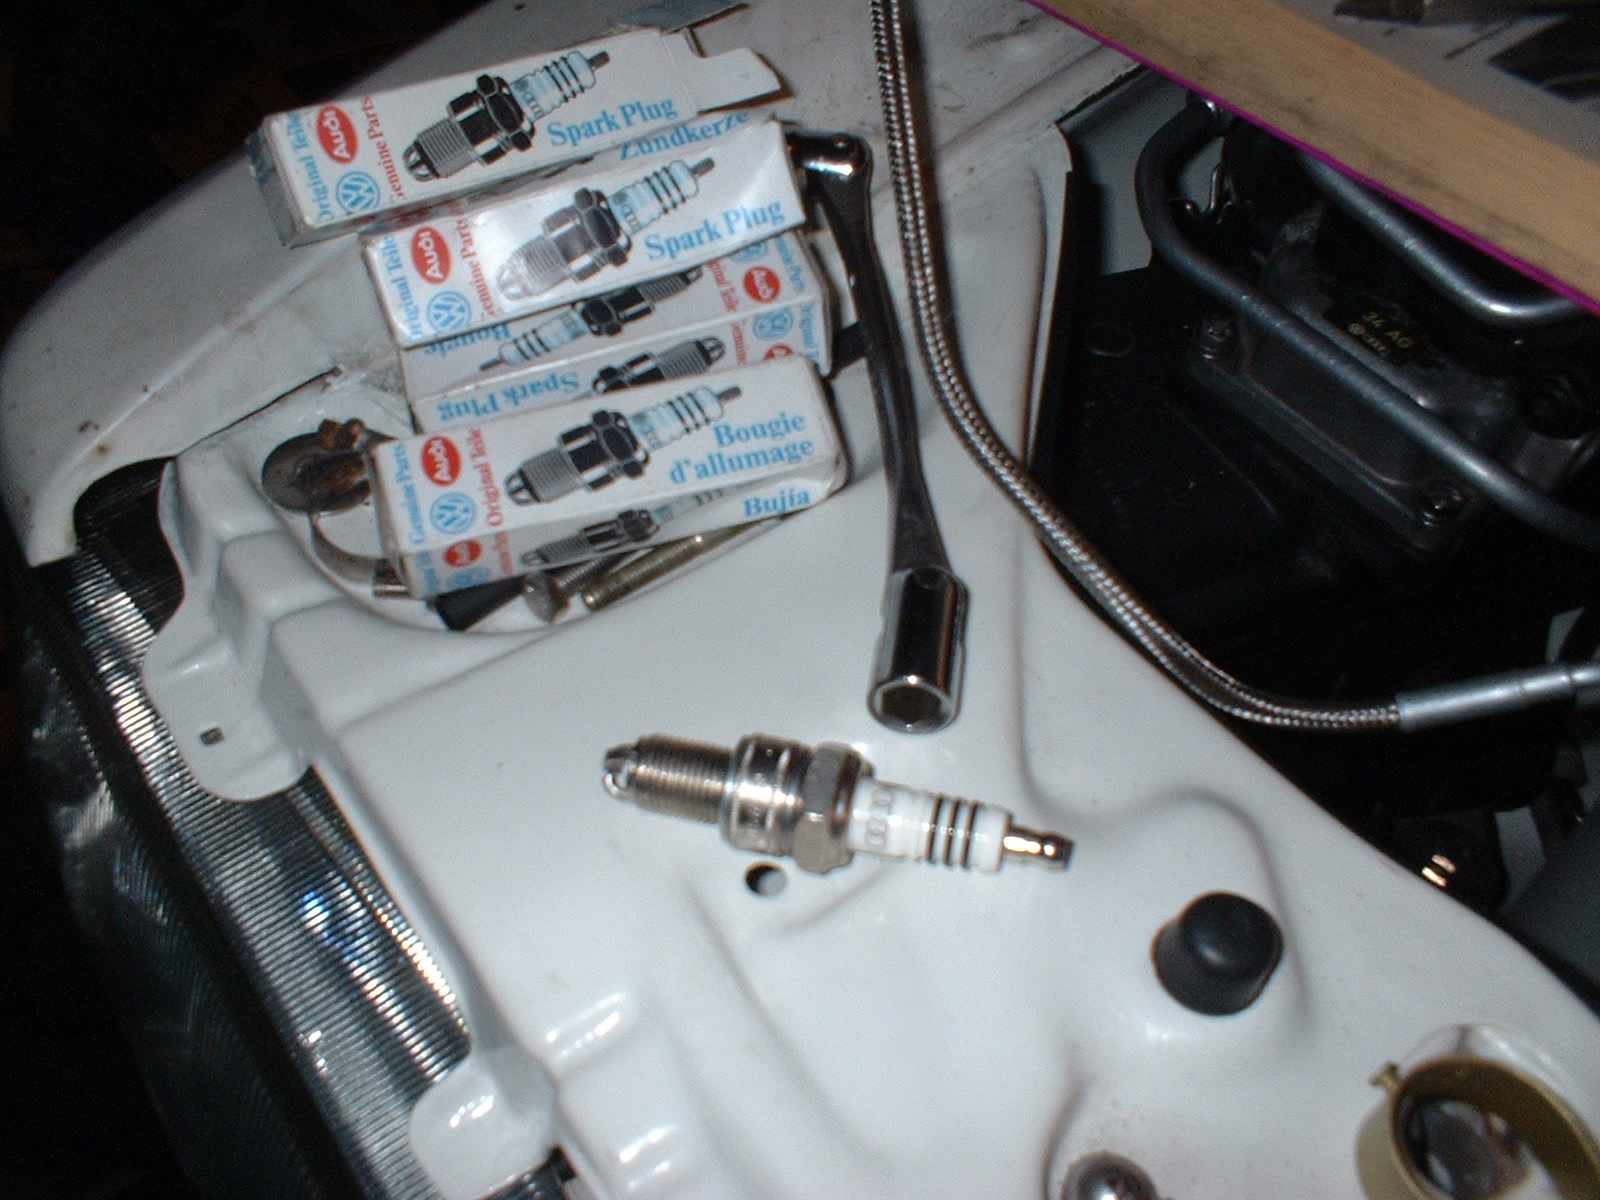
And they look really nice in location
Throttle cable refitted.
Front earth bonding lead attaches to the front rocker cover stud.
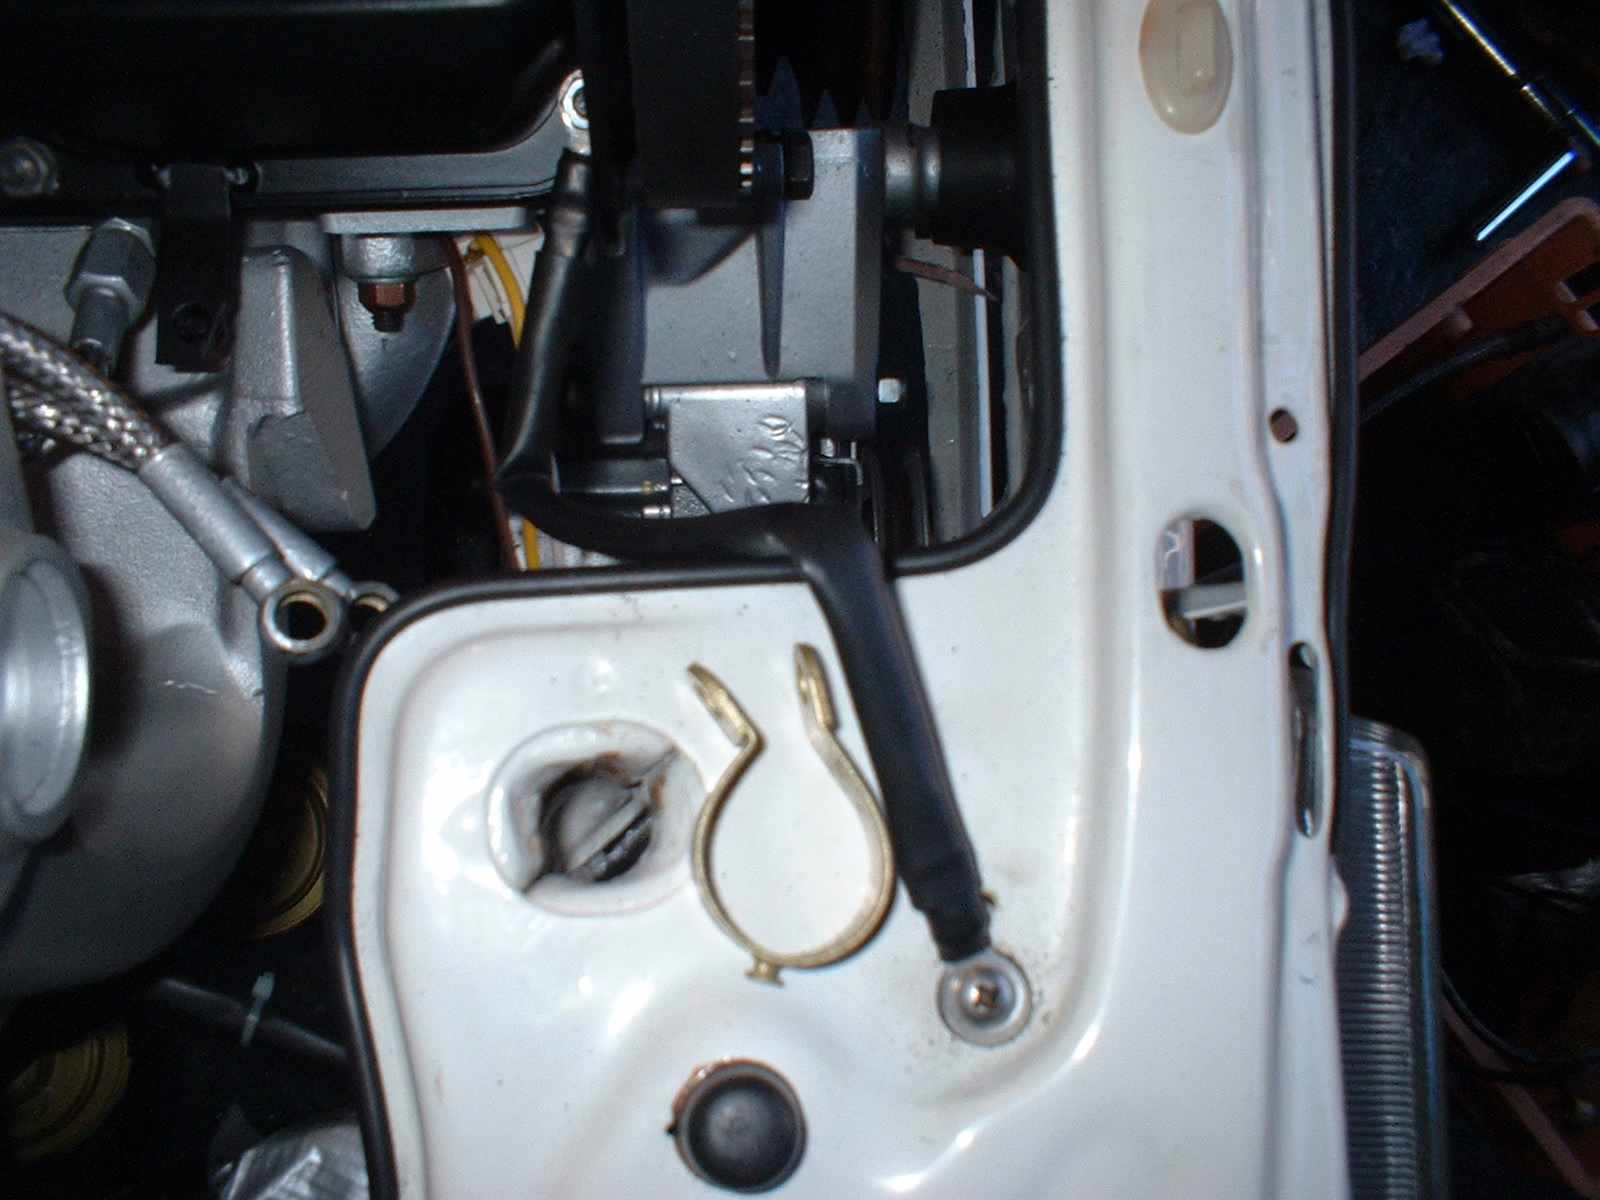
Similar for the rear.
And there is a third one that bolts to the inlet manifold (look carefully).
I spent the rest of the afternoon fitting the injector lines, and trying to figure out which one goes where... Not as easy as it looks, please mark your lines with their location and where they connect to (if you want to avoid the grief that I had...)
And the Top Hose dropped into situ for the night.