HOME
HOME
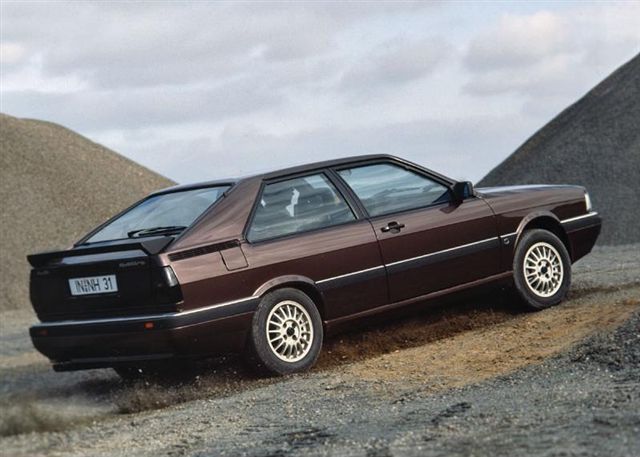
The Coupe quattro
My CQ
Ongoing Restoration
Gallery
Info / Data
Suppliers
Links
T85q.com
Starter motor refit. 18th Dec 2005
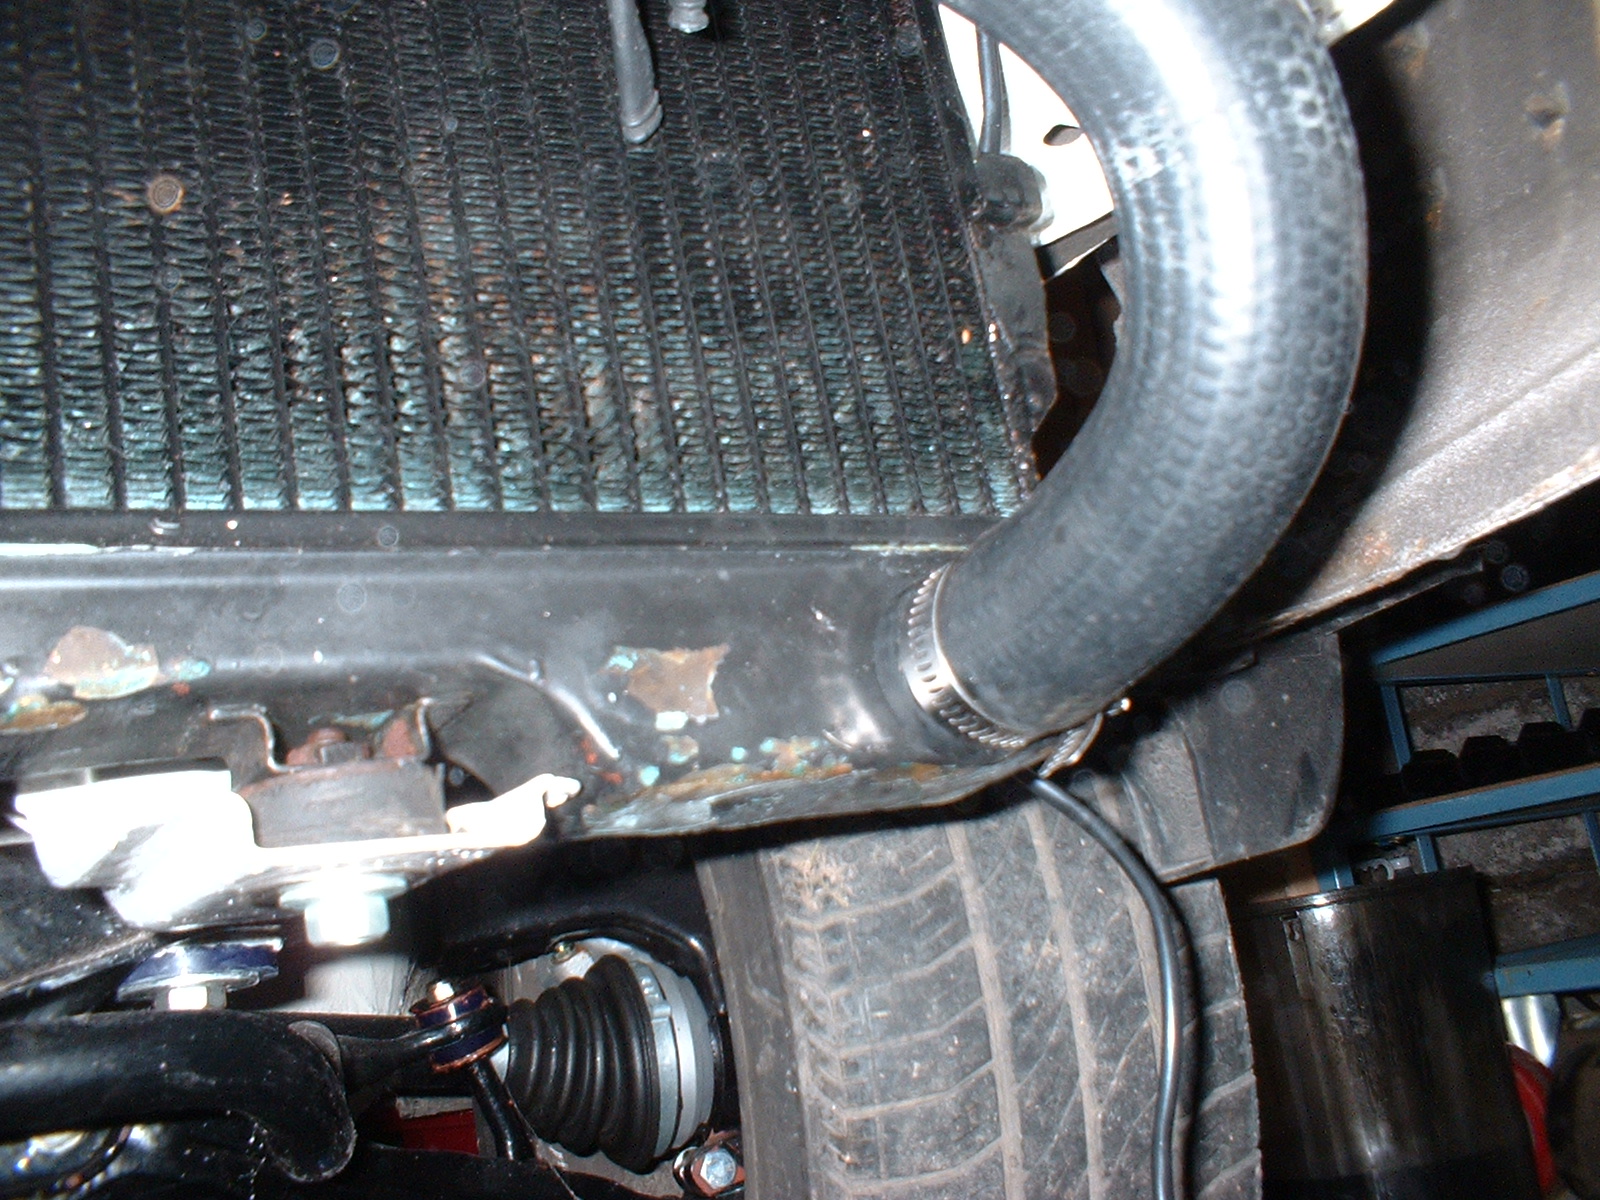
| I refitted the hose from the underside of the header/ expansion tank. Held on at the top by a jubilee clip. I use stainless steel clips whever I can |
 |
| And the other end. This radiator is a bit scabby, I'll have to consider a re-core / replacement... |
 |
| Connected up the bottom end of the botom hose too. |
 |
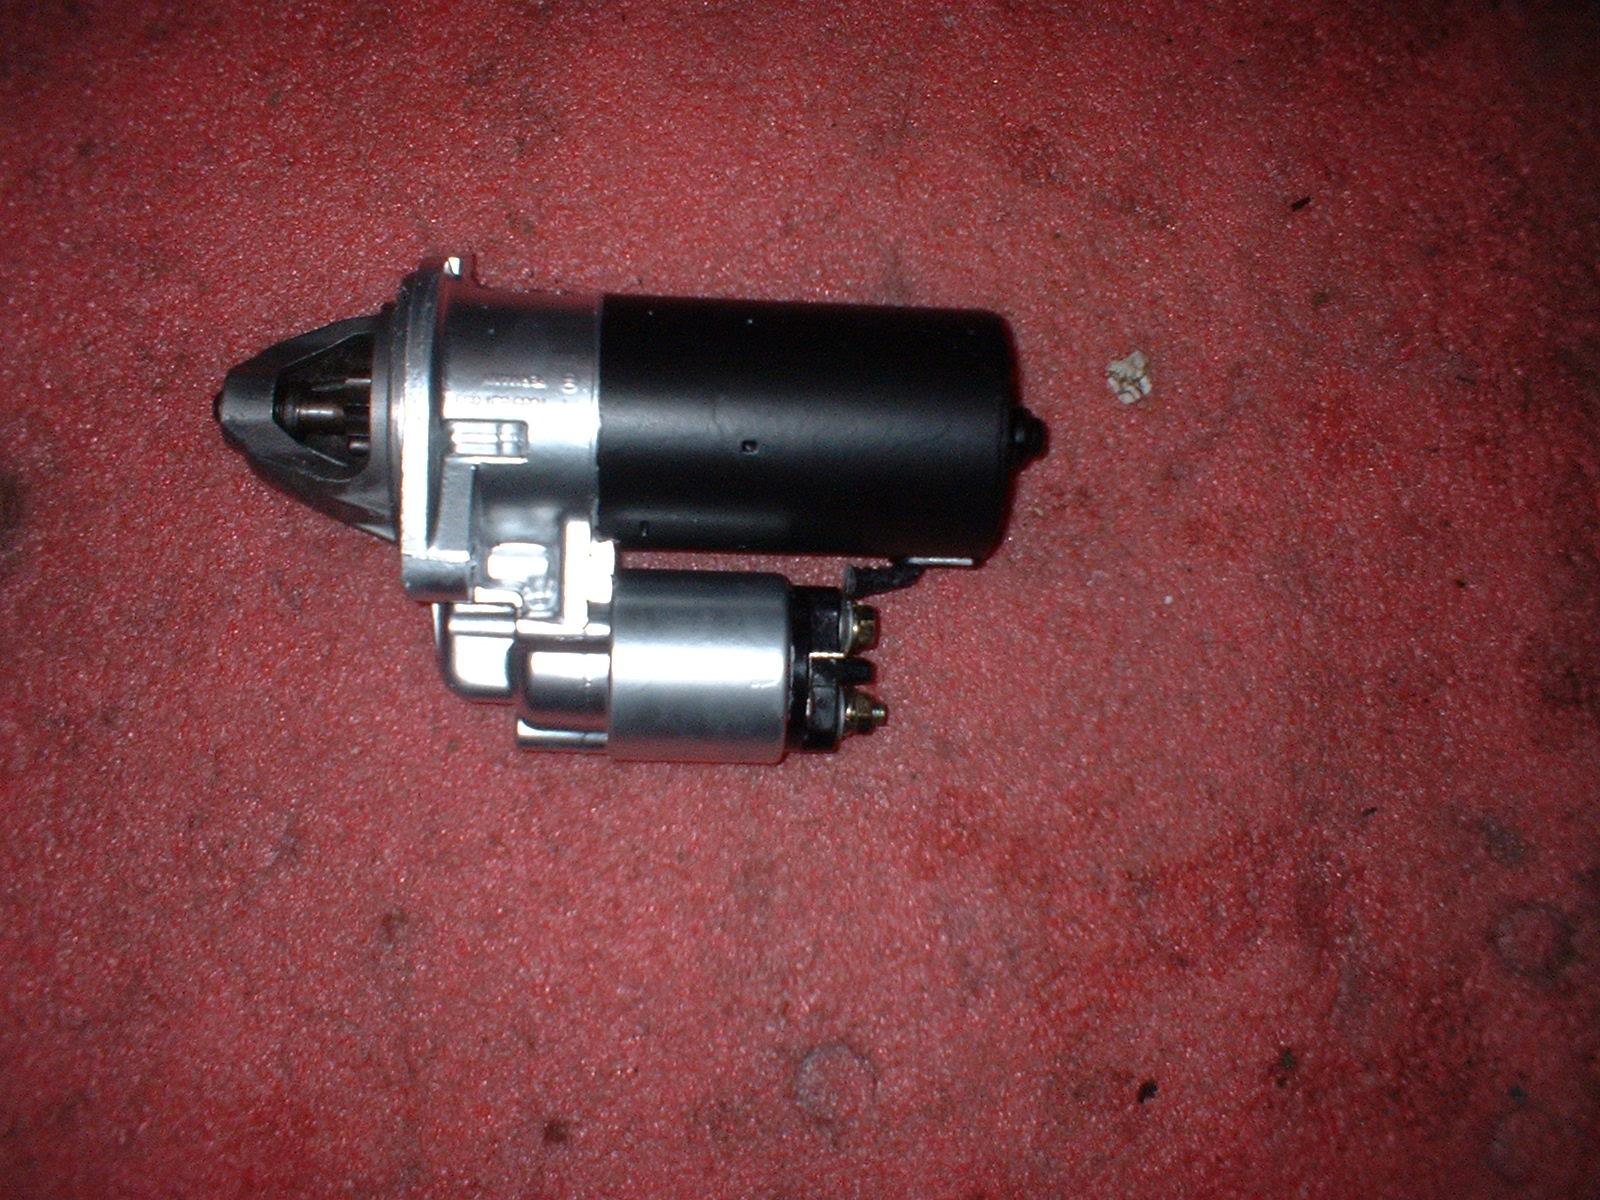
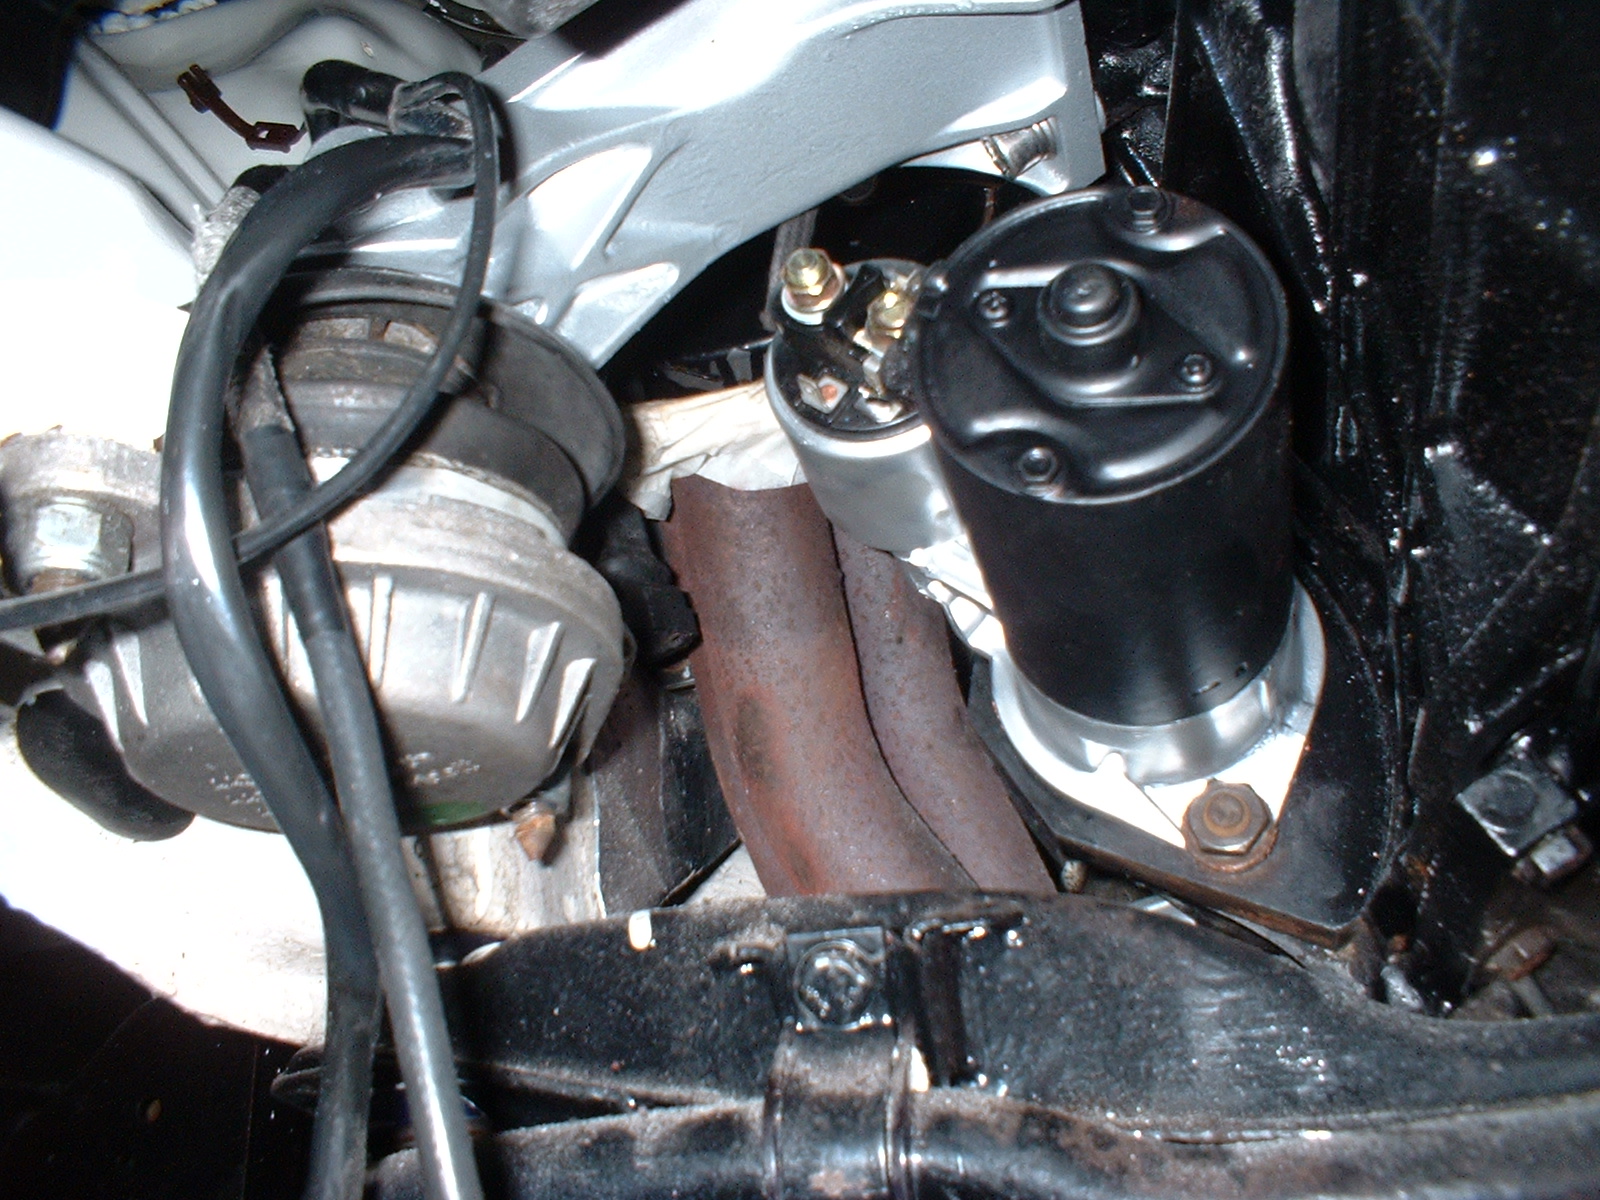
| Original starter motor. New bushes and solenoid, refurbished by by local auto-electrician, much cheaper than a new one. Paint by me..... |
 |
| Location for the starter |
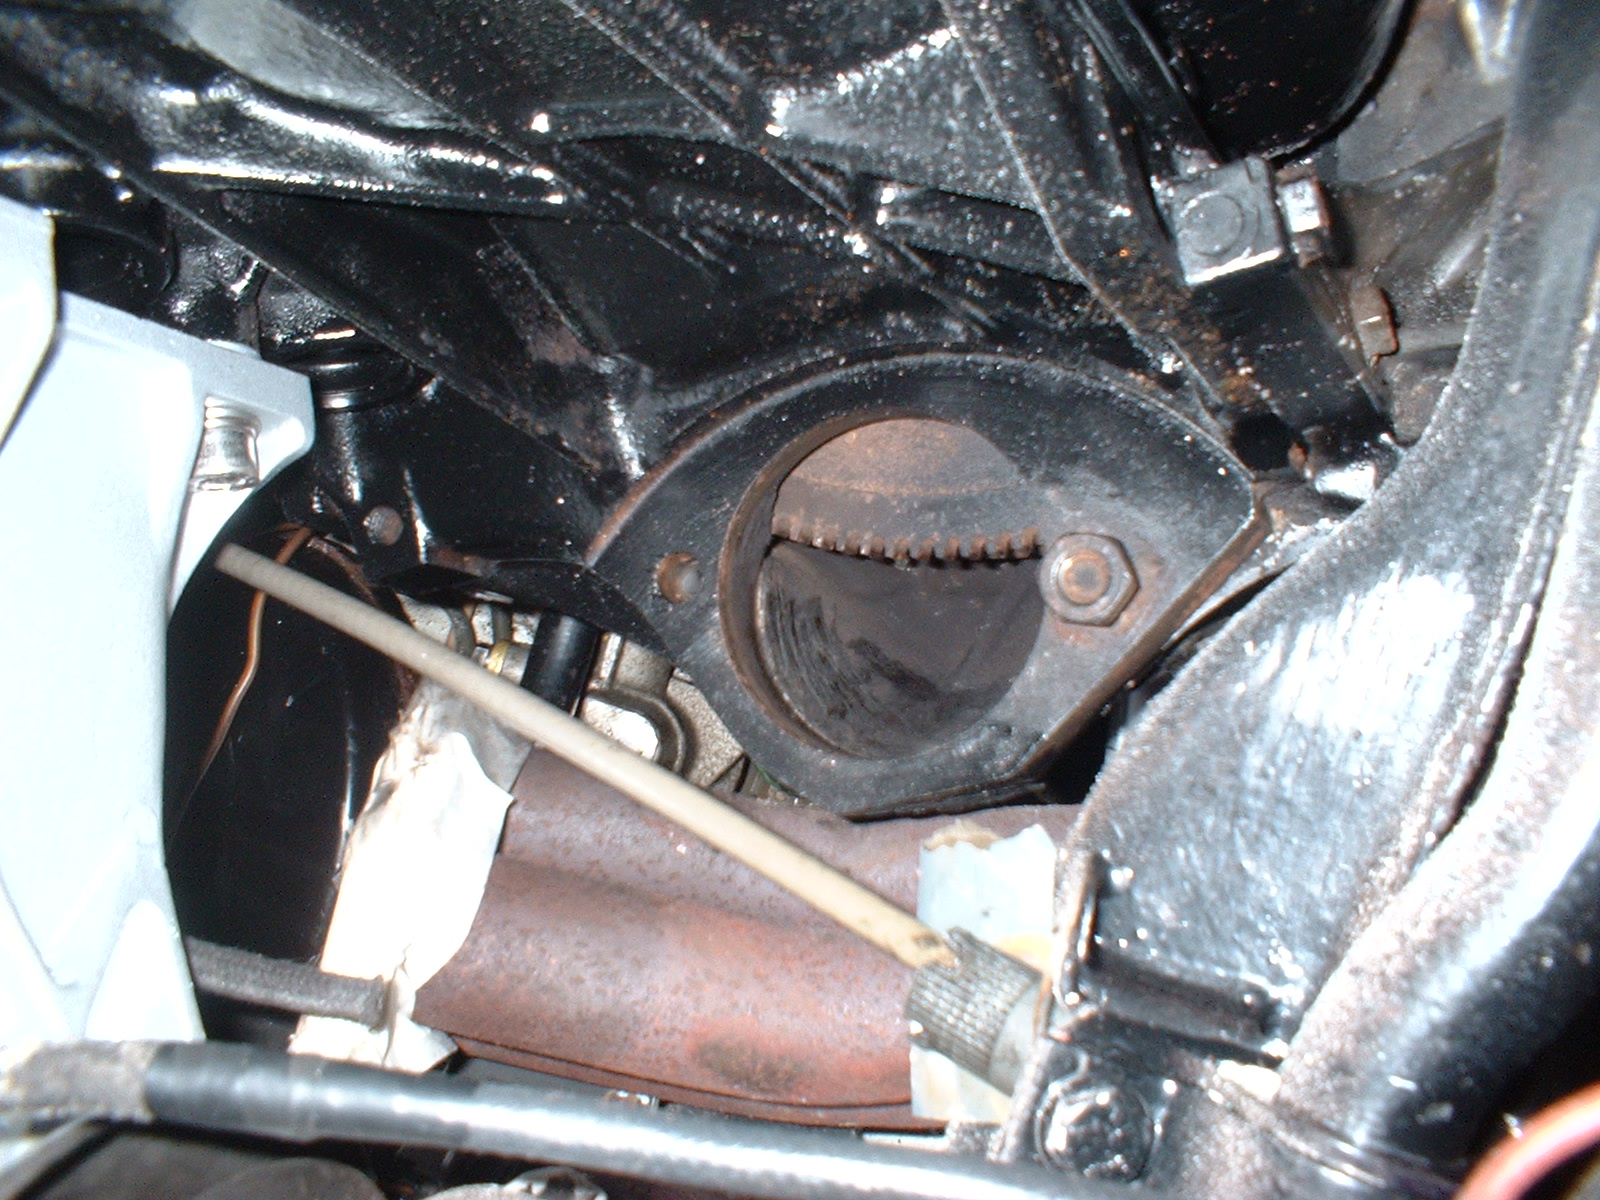 |
| And that's how it fits. The bolts are a bit awkward, it's a bolt into a tapped hole on the starter motor at the top, and a bolt and a nut at the bottom. 19mm spanner/socket . |
 |
| Note the gold coloured cable guide which is a push it onto the right hand engine bracket. The starter motor cable, alternator cable, and a small loom of other wires are fed through it. |
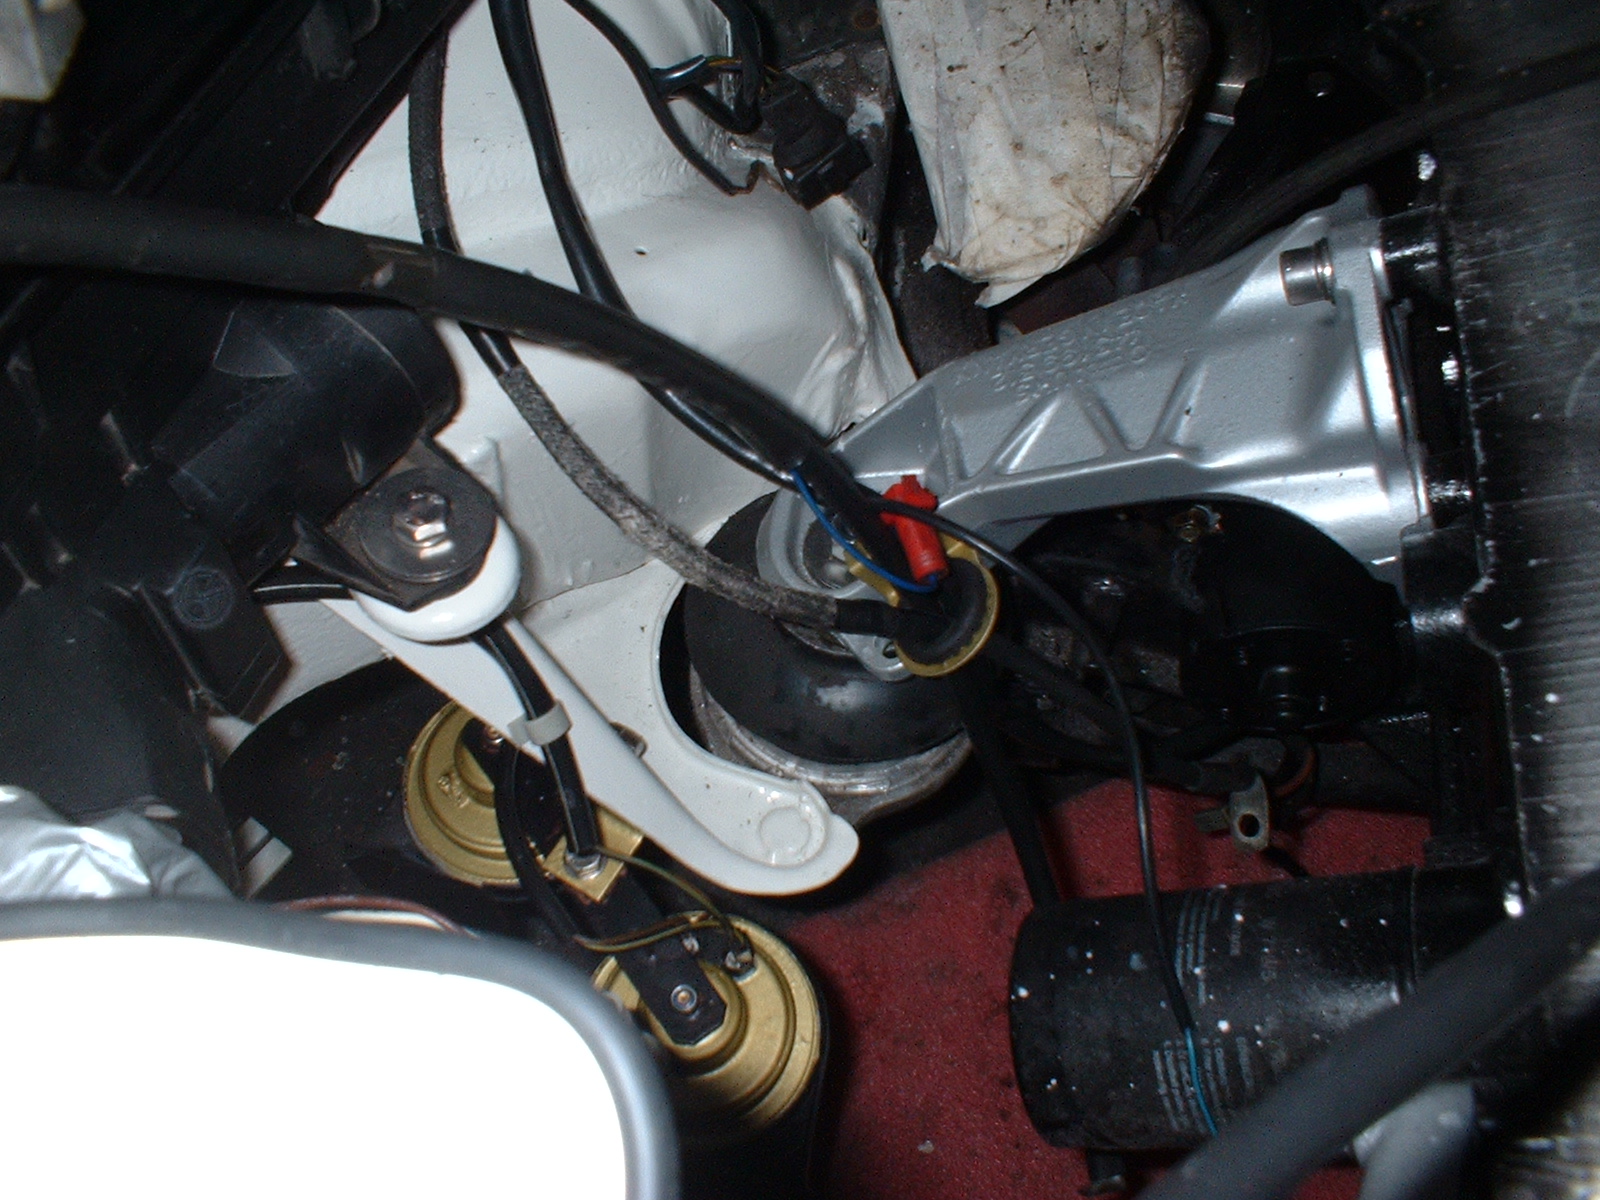 |
| Remove the top washer, spring washer and nut from the top stud. The other stud is connected to a braided wire that goes into the starter motor. |
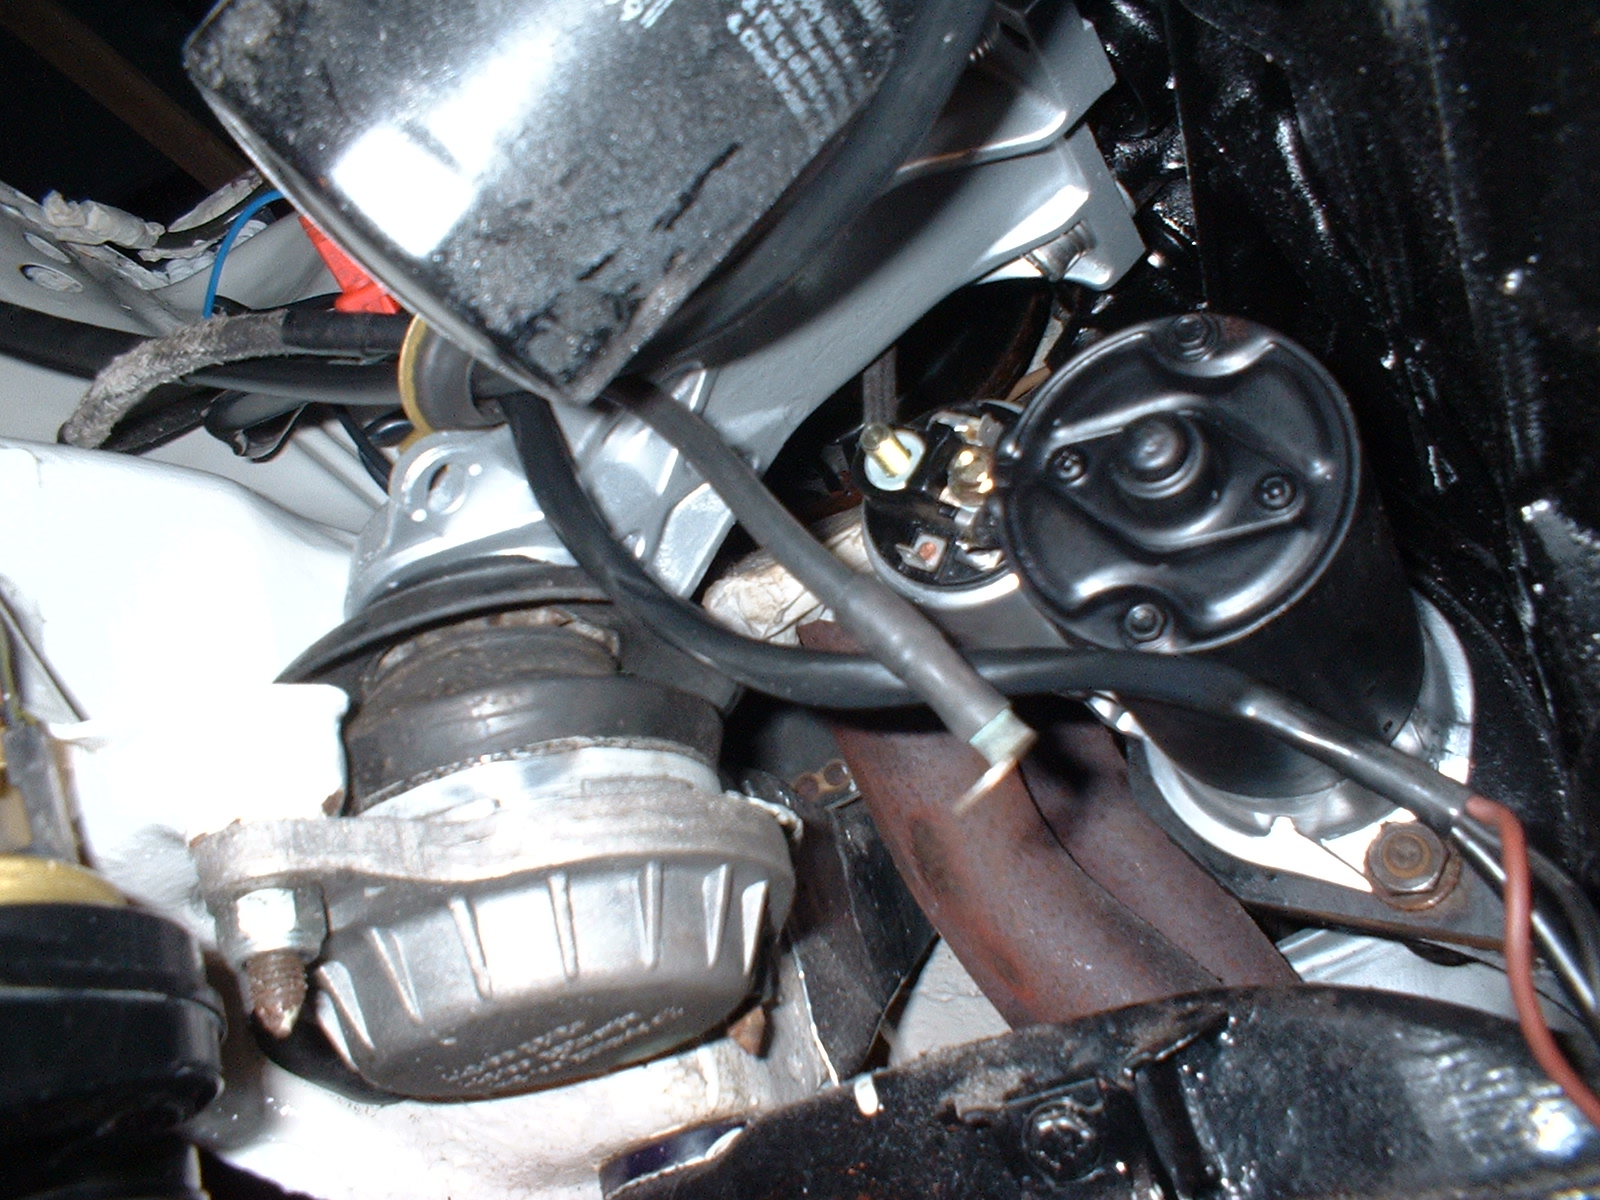 |
| Fit the cables and secure with the previously removed fastners. Note that I left the starter solenoid and coild cables disconnected, I'll connect them AFTER the head has been refitted..... |
 |
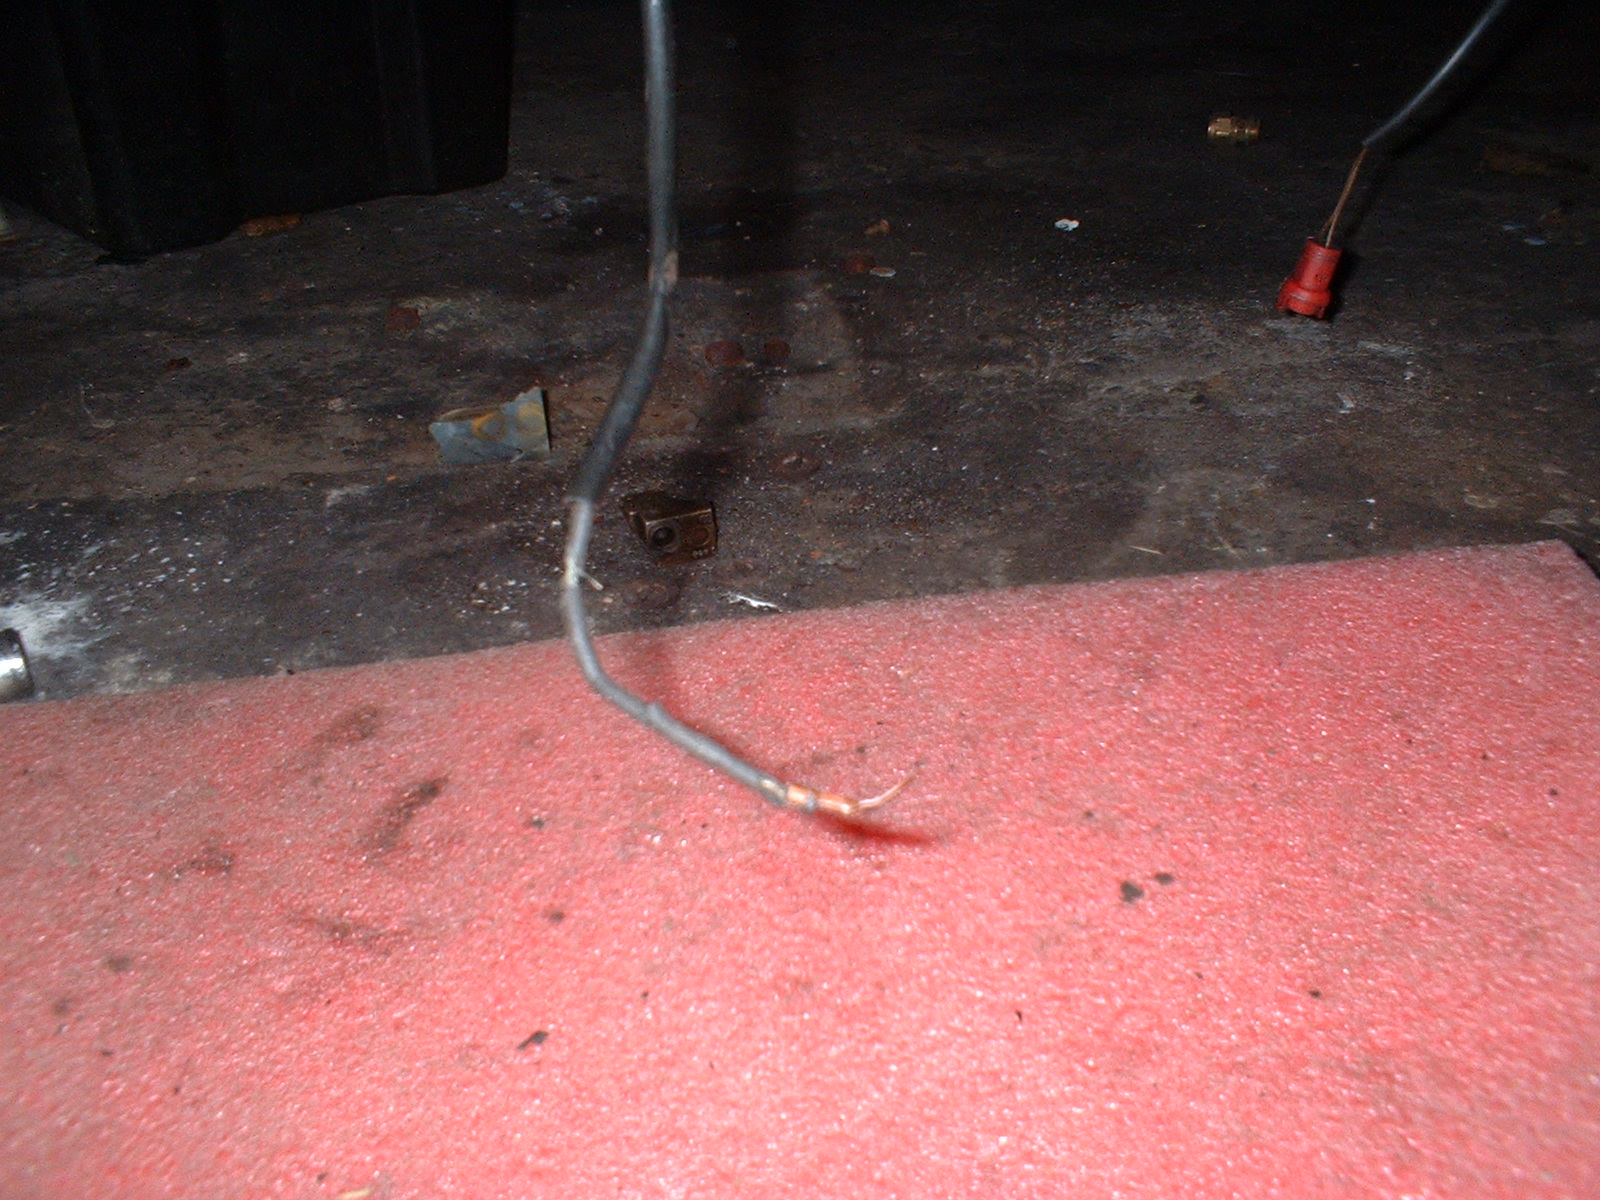
| The cable to the oild temp sensor. The insulation is cracked and perished, so a repair is called for... |
 |
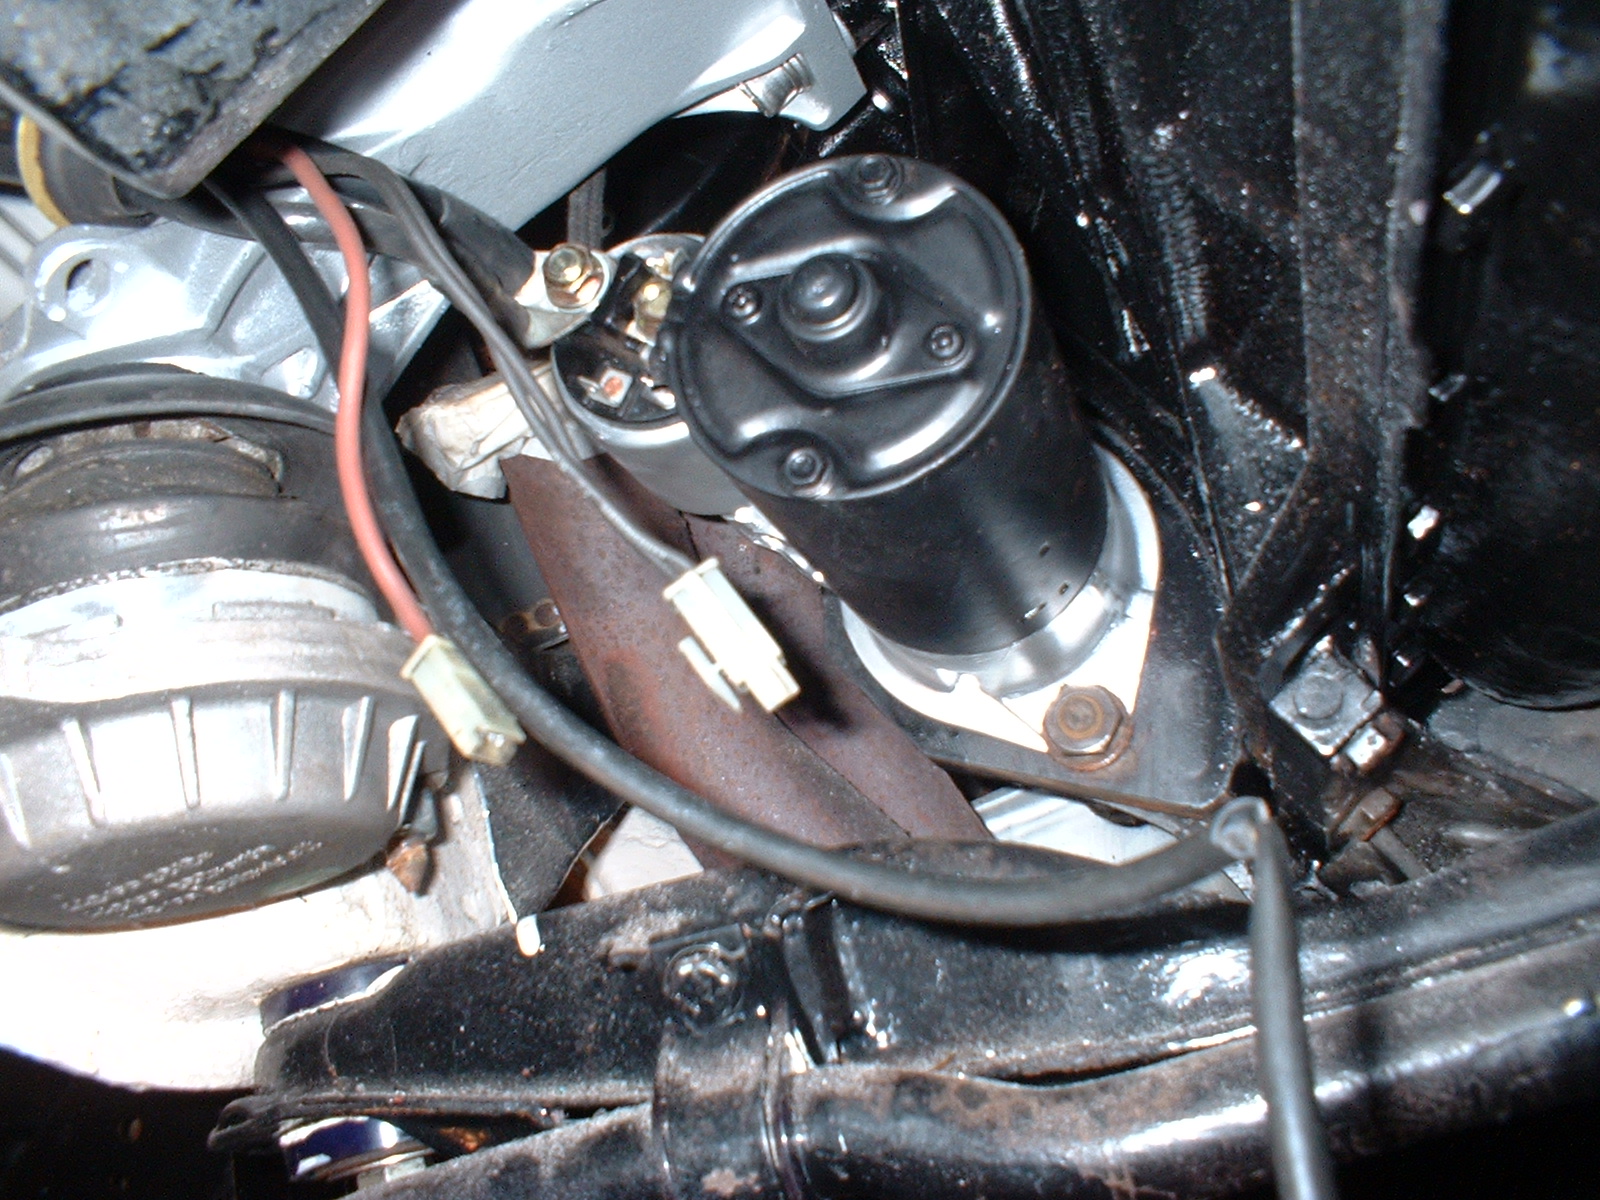
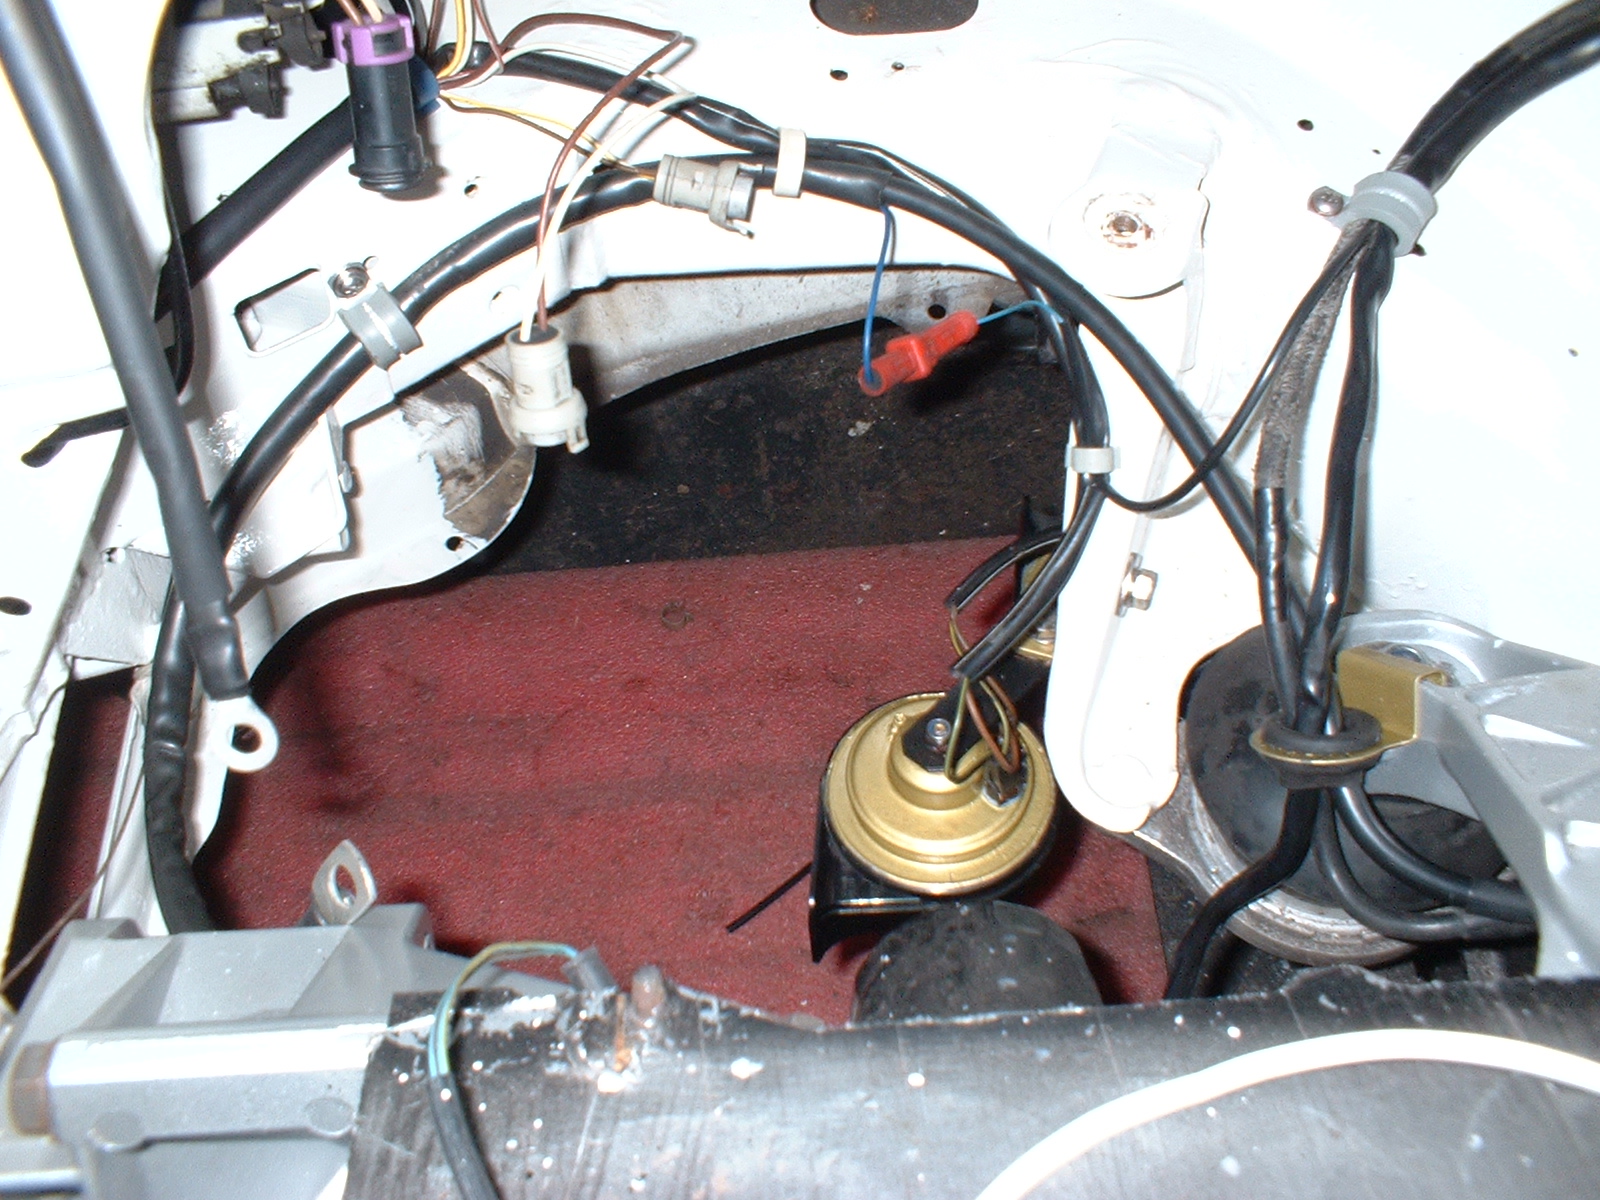
| The cables routed around the right hand side of the engine bay, and secured with appropriate cable clips. |
 |
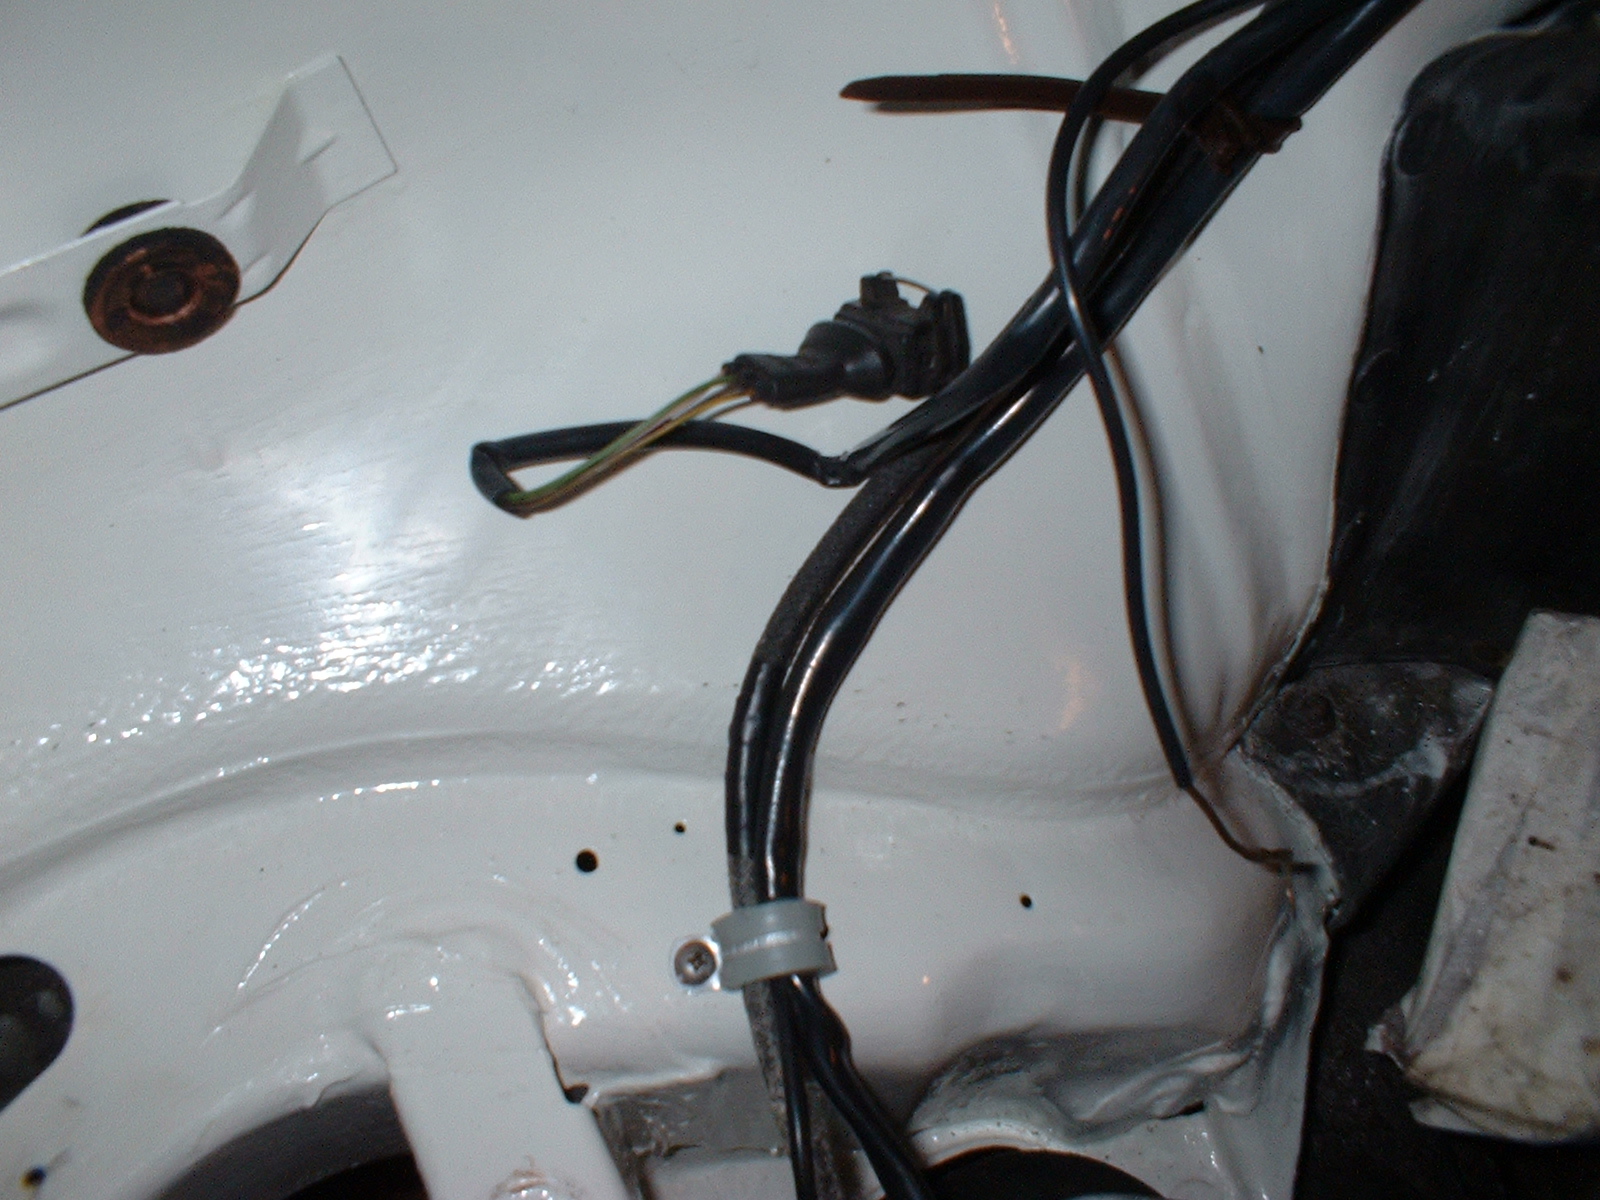
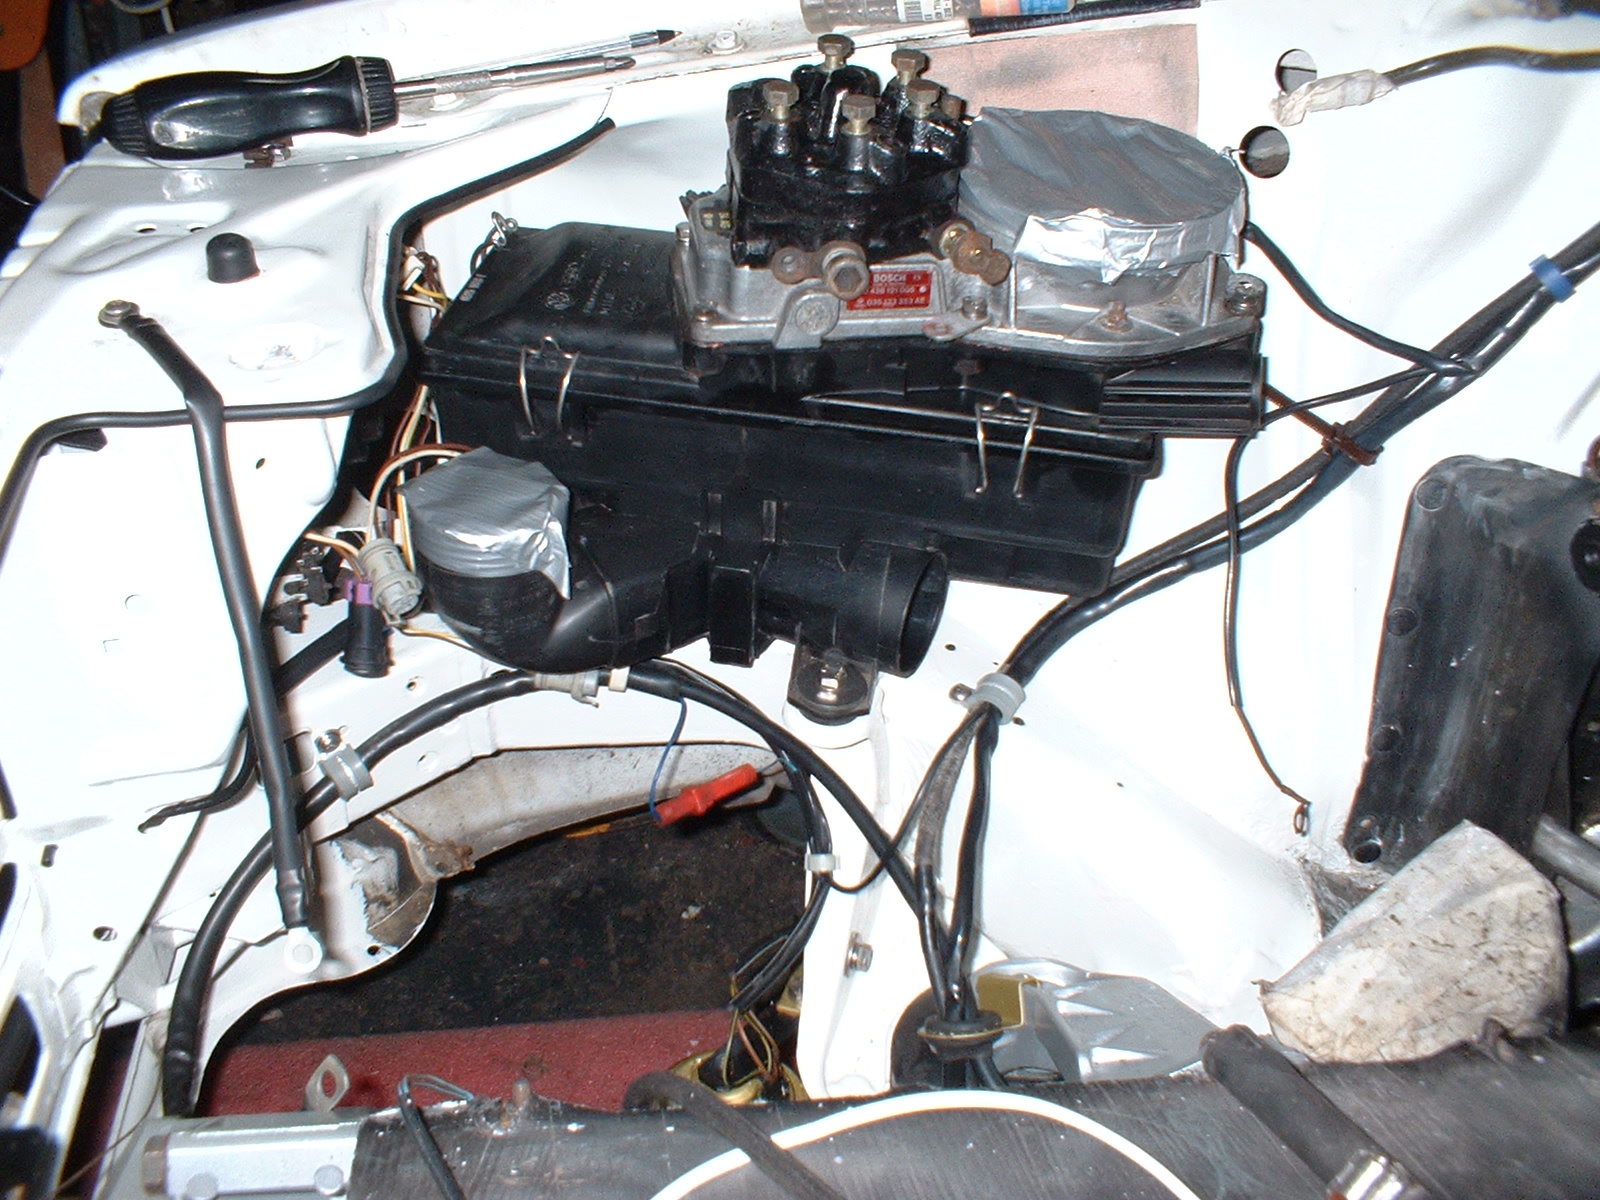
| As far as I can see, this (unused) connector which was tie-wrapped in situ to the existing loom is to connect to the airflow potentiometer on the metering plate. This was for the few CQ's that got the onboard computer or digital dash. |
 |
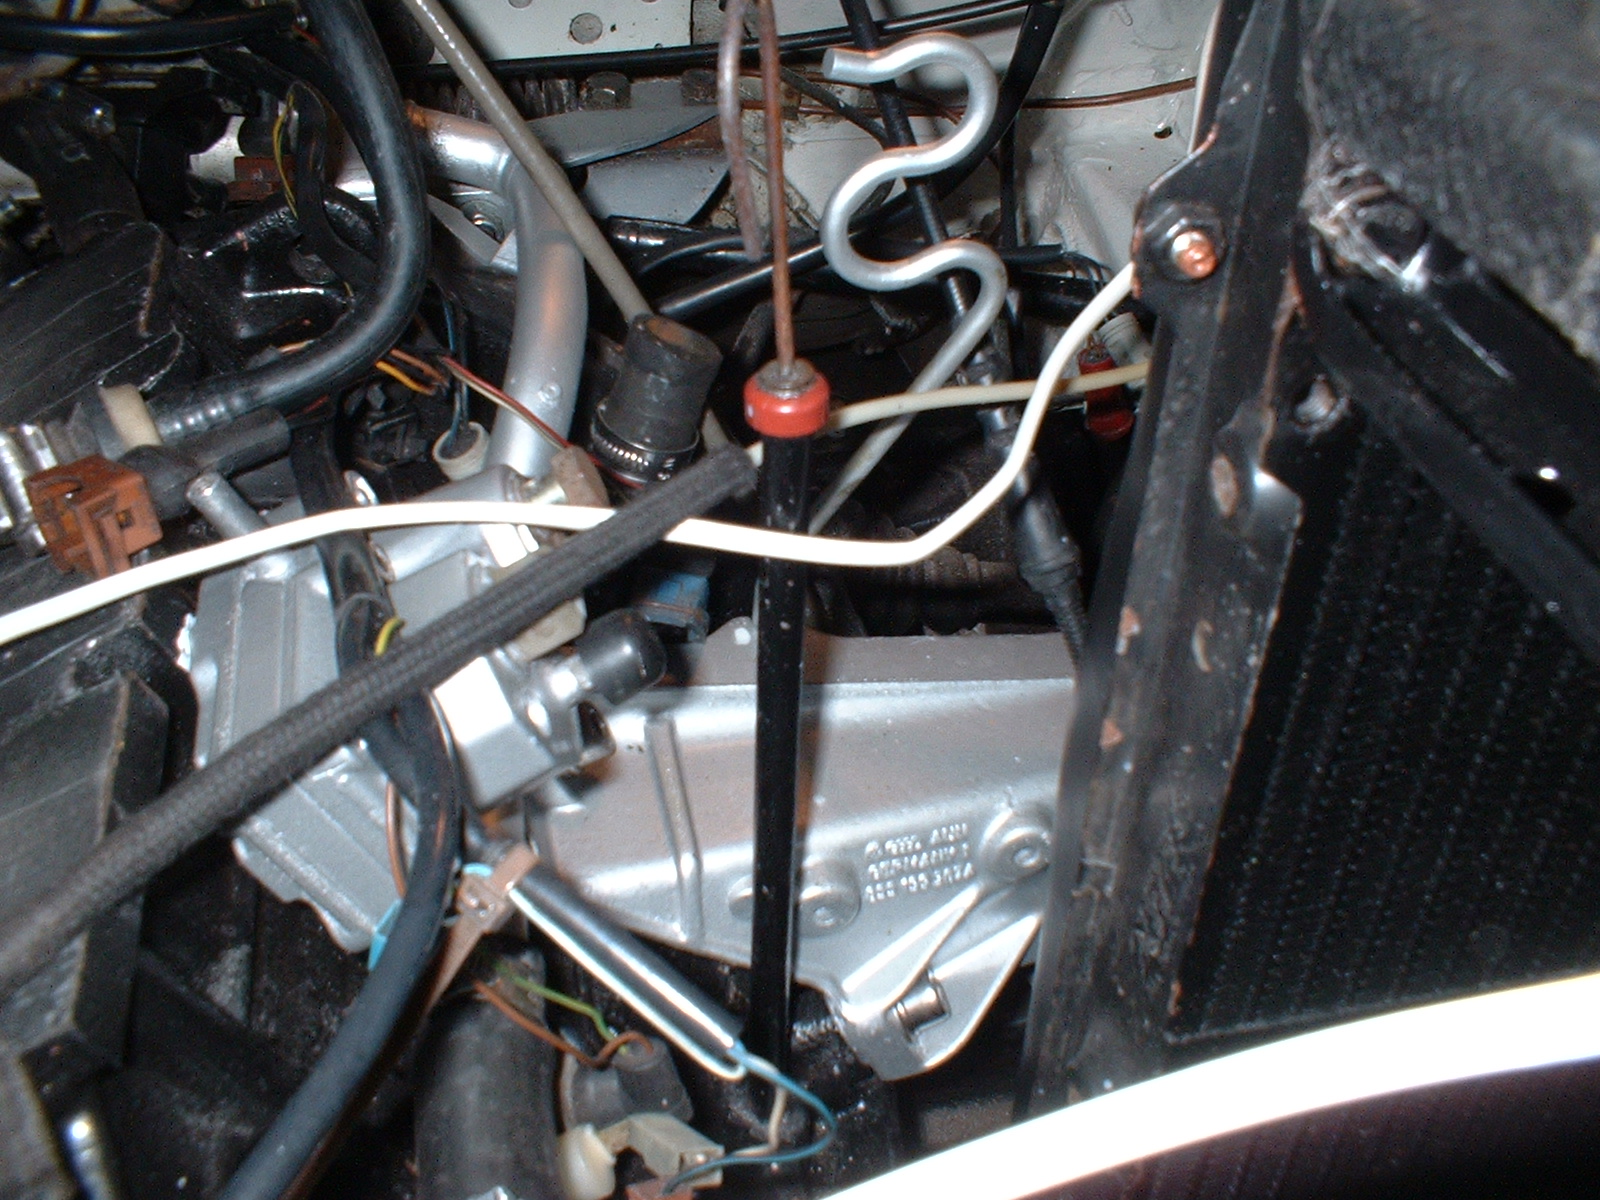
| The support bracket for the power steering pump pipes. |
 |
| Airbox now back in situ. |
 |
| New engine earth bonding lead. |
 |
Click Here to email me